
Every year our church hosts a Halloween “Harvest Party” for the local neighborhood. As part of the event, we have a section set up for Trunk-or-Treat walk-thru of which my family volunteers every year. This year I wasn’t able to attend personally because of my work schedule, but my wife and family chose Super Mario Bros as their theme. My wife and I made some Piranha Plant props to go along with the vehicle decor.
It was difficult deciding how to create the flower heads as they needed to be large, hollow, and spherical. Foam balls that large would be expensive and rubber/plastic balls would be difficult to strengthen. We opted to utilize paper mache in their construction. Unfortunately, I didn’t think to take pictures early on, but we used the standard paper mache process utilizing a large round mixing bowl as the form. In order for the final structure to have sufficient strength, we added more layers than normal with extra emphasis around the edges. Since we were making 2 plants, we needed 4 halves total that we could join together to form the heads.
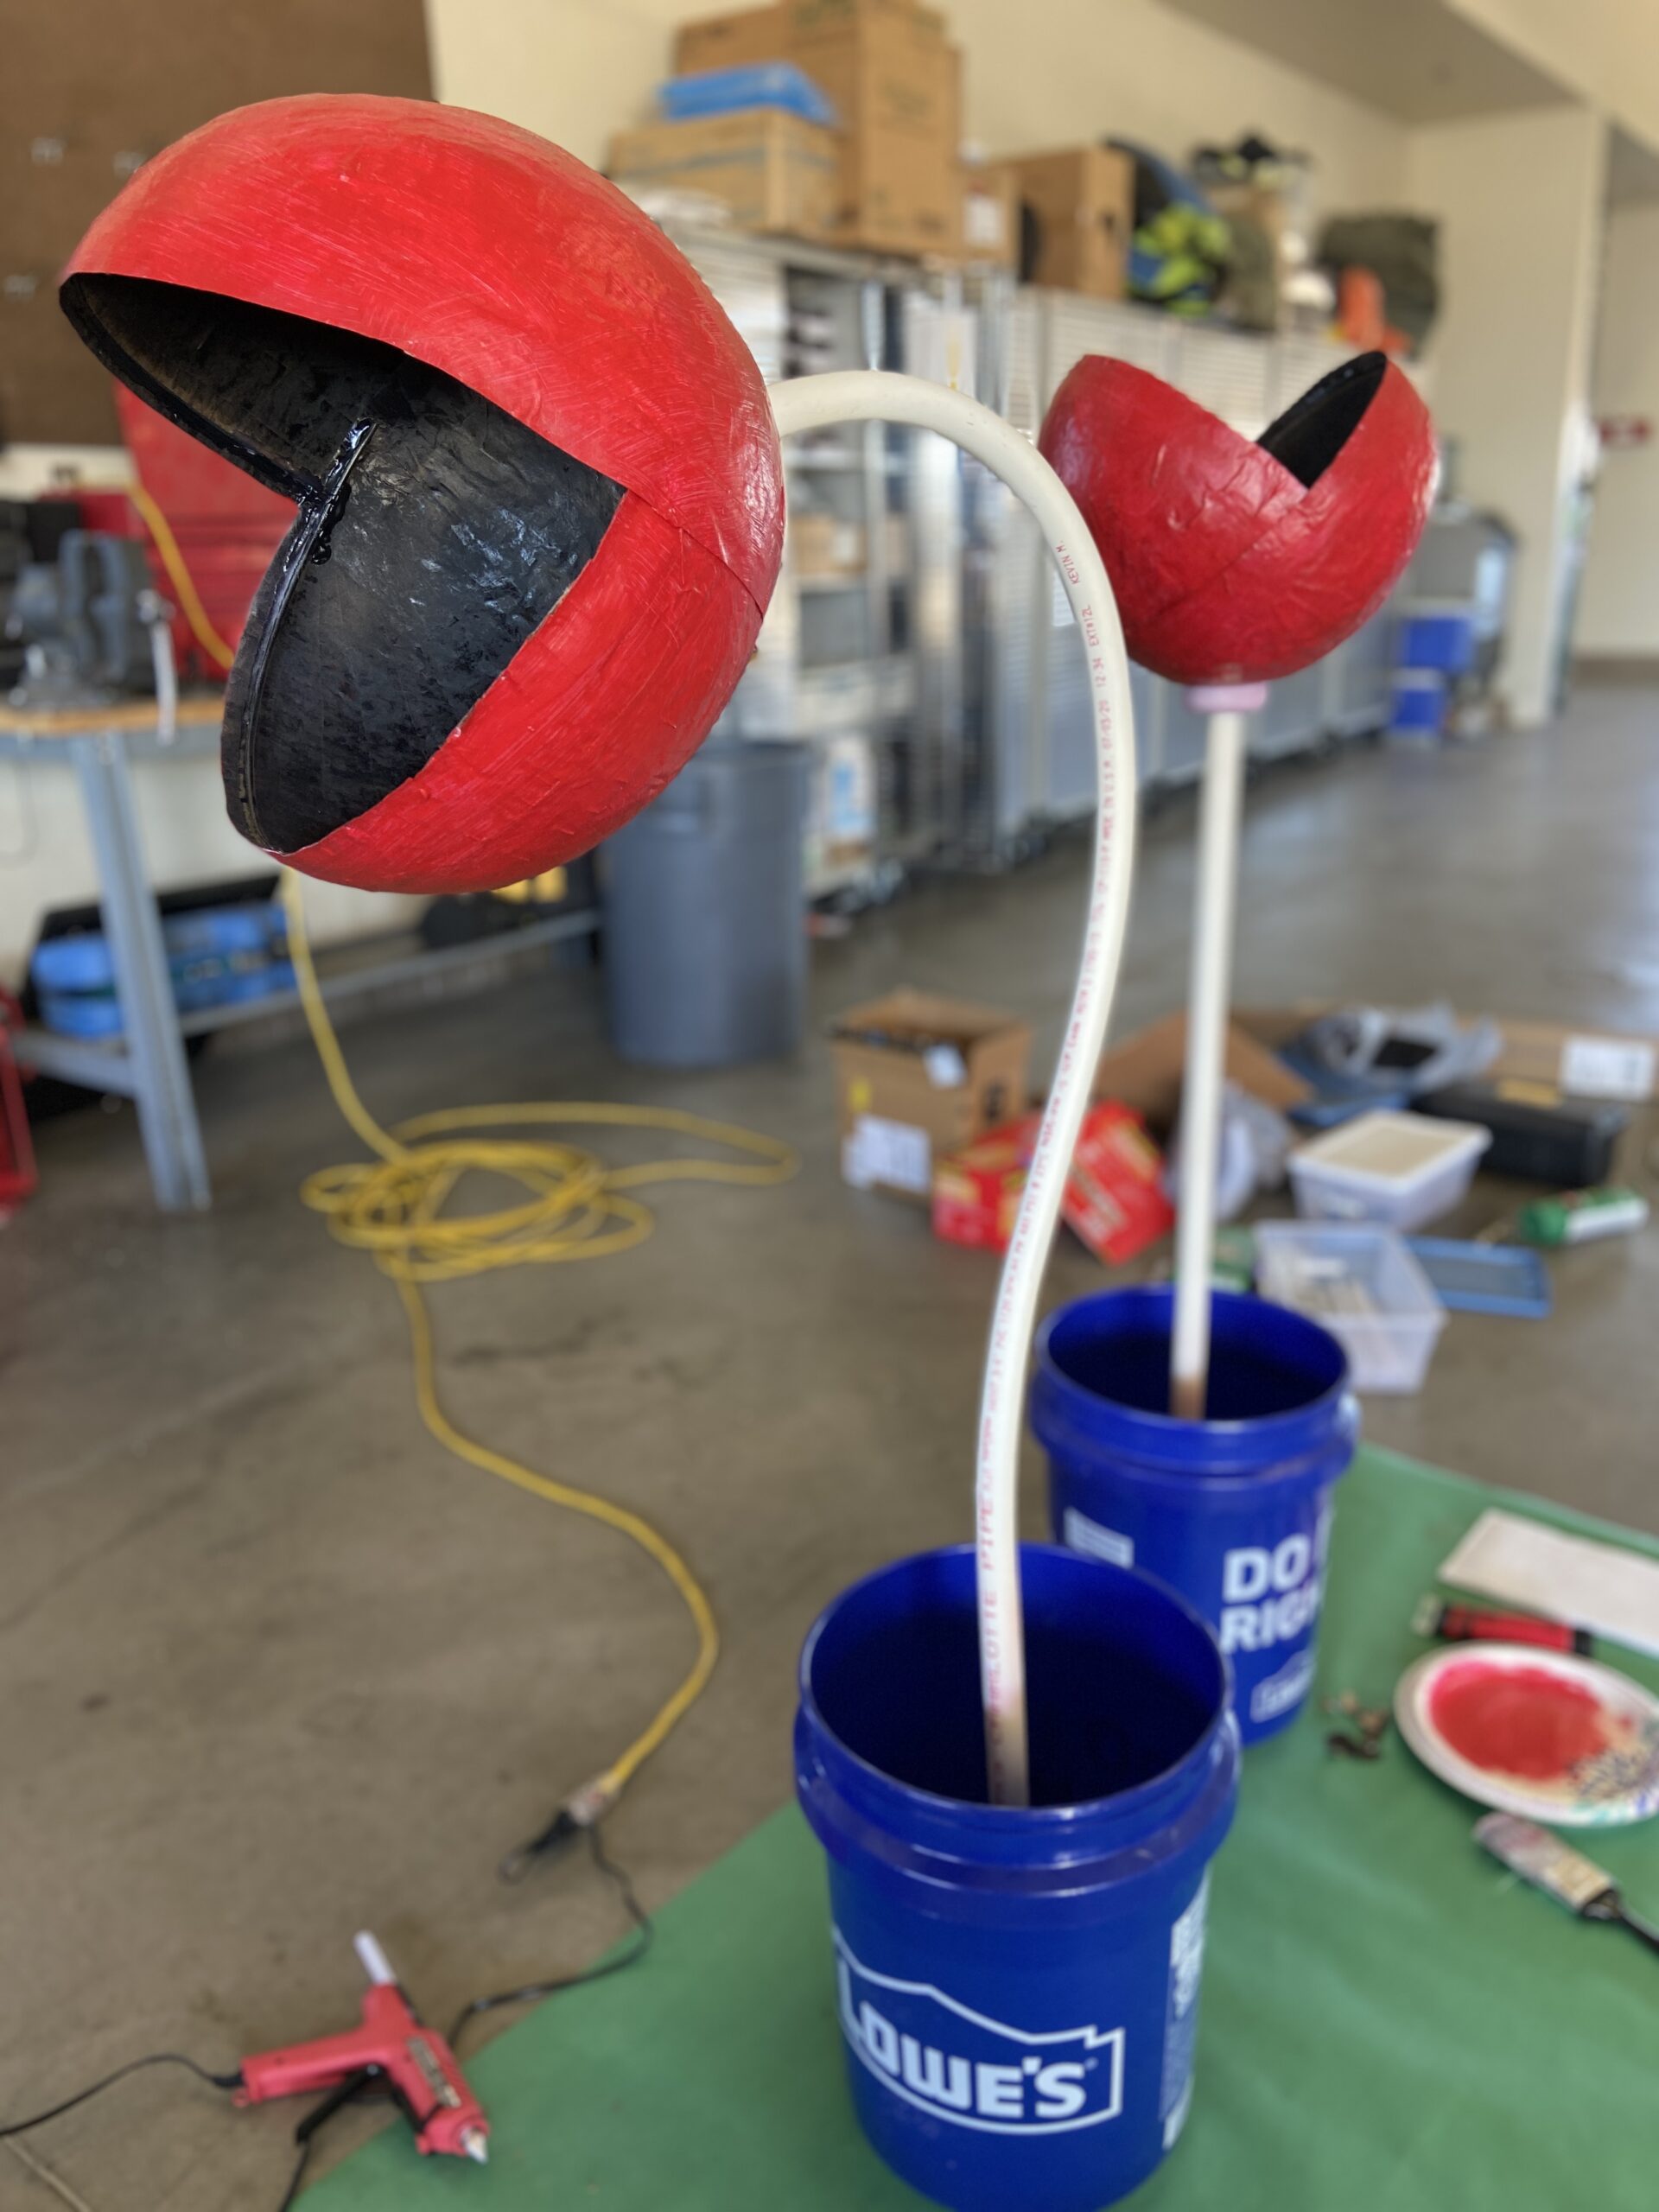
Once all 4 were complete and dry, I trimmed the edges to give a clean edge, then hot glued 2 of them together to form the desired open mouth. To give additional strength, I bent and hot-glued a length of stiff wire (coat hanger would work) around the inner rim. Finally, I spray-painted the inside black and outside white to help the final red acrylic paint to pop. It took 2 coats of red paint to get an even finish on the plant heads.
At this point I finally took my first pictures.

For the plant stalk we used some scrap 1″ PVC pipe. I epoxied a 1″ pipe fitting into a block of wood to act as a weighted base. All this we placed inside a 5 gal bucket that I thought would act as a good “Pipe” that the plants are emerging from.
PVC pipe is easily bendable if heated with a heat gun or similar. Work the heat up/down a section of pipe for several minutes while testing its pliability. Nothing will happen until suddenly it will bend like a limp noodle. Hold it in the desired position (this can be tricky and often will require help) until it cools and hardens.
I left one of the plants pointed straight up and the other I curved as these are the two positions often seen in the video game. I then cut a hole in the back of the plant head to poke the pipe through and also cut circle disks out of scrap 1″ project foam (found at HomeDepot) to give additional strength at PVC attachment point. I glued the foam disk to pipe and then disk and pipe to plant head. Be generous with the hot glue to ensure adequate strength.

From this point I utilized sheets of white felt to cut/glue circles onto the plants and also for the lips and teeth. For the leaves, I folded green art paper in half and cut out large pointy leaf shapes (2 per leaf) and sandwiched them with a length of stiff wire running down the inside spine and out the bottom. I then glued the exposed wire to the sides of the PVC pipe (you could also drill a hole and poke inside) and wrapped more green paper around the wire to cover the glue joint. Finally, everything was painted with green acrylic, giving extra attention to the leaves.
The blue buckets were wrapped with green art paper in 2 layers creating the pipe and pipe rim effect.
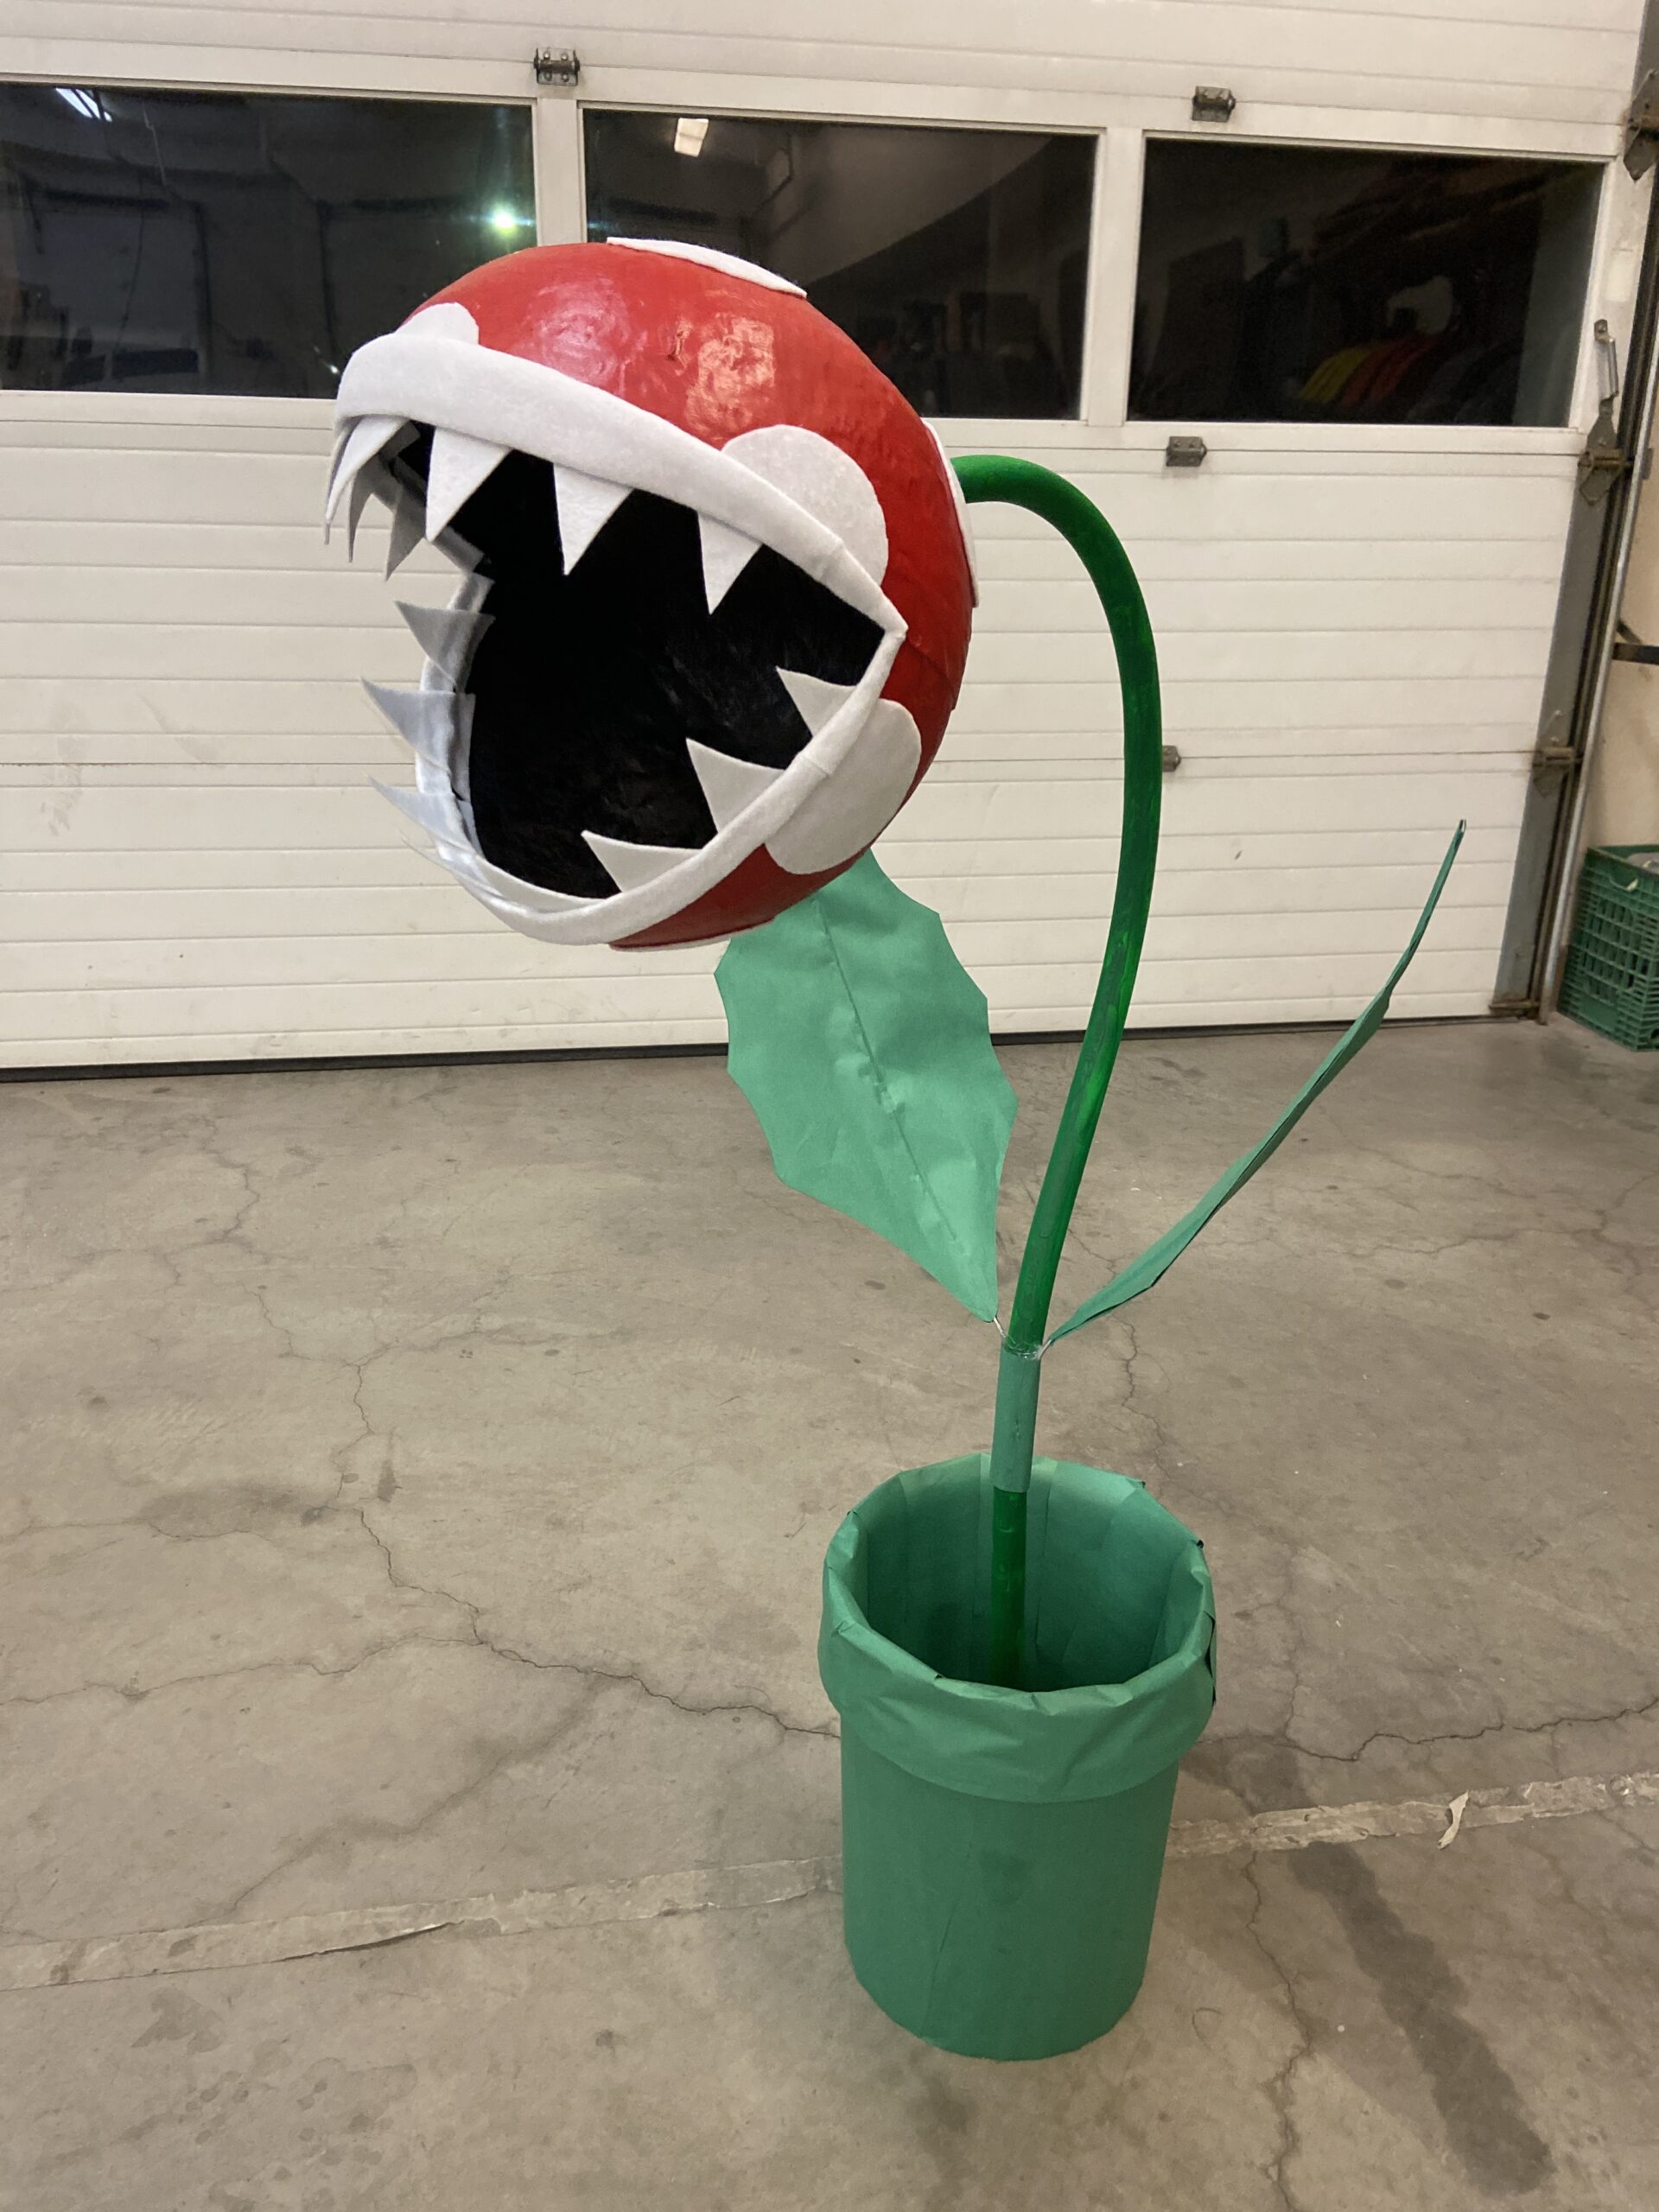
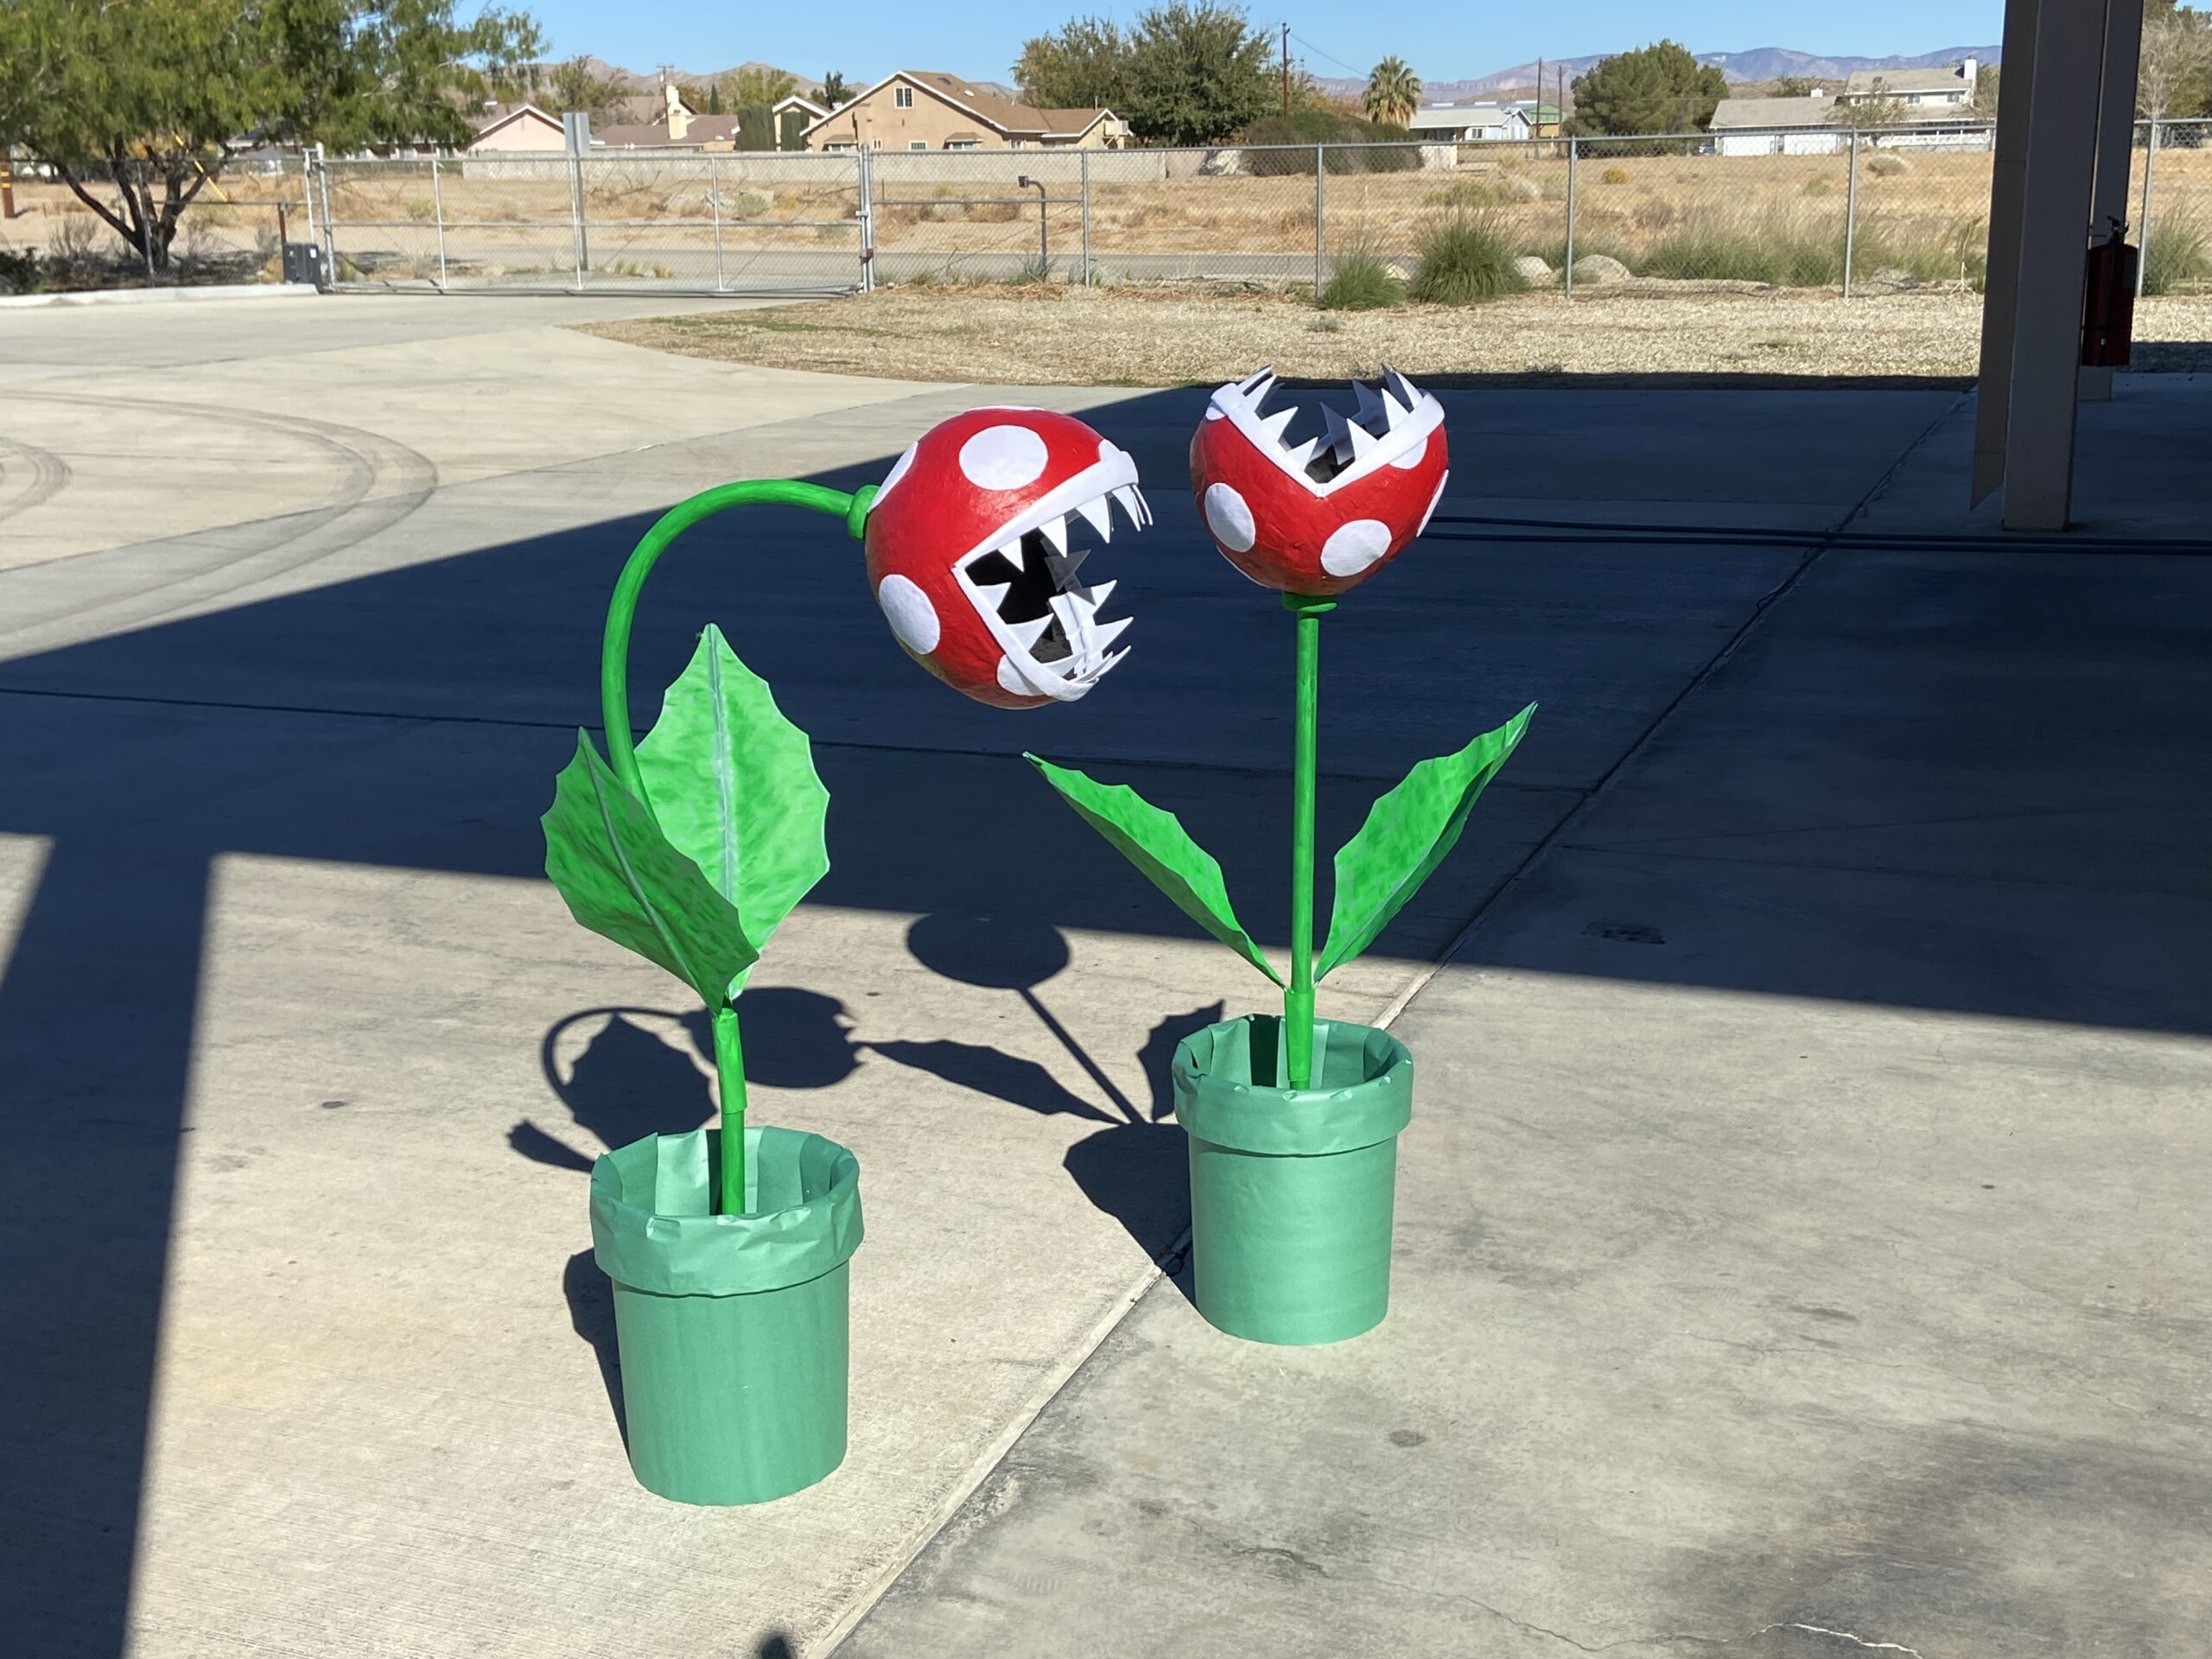
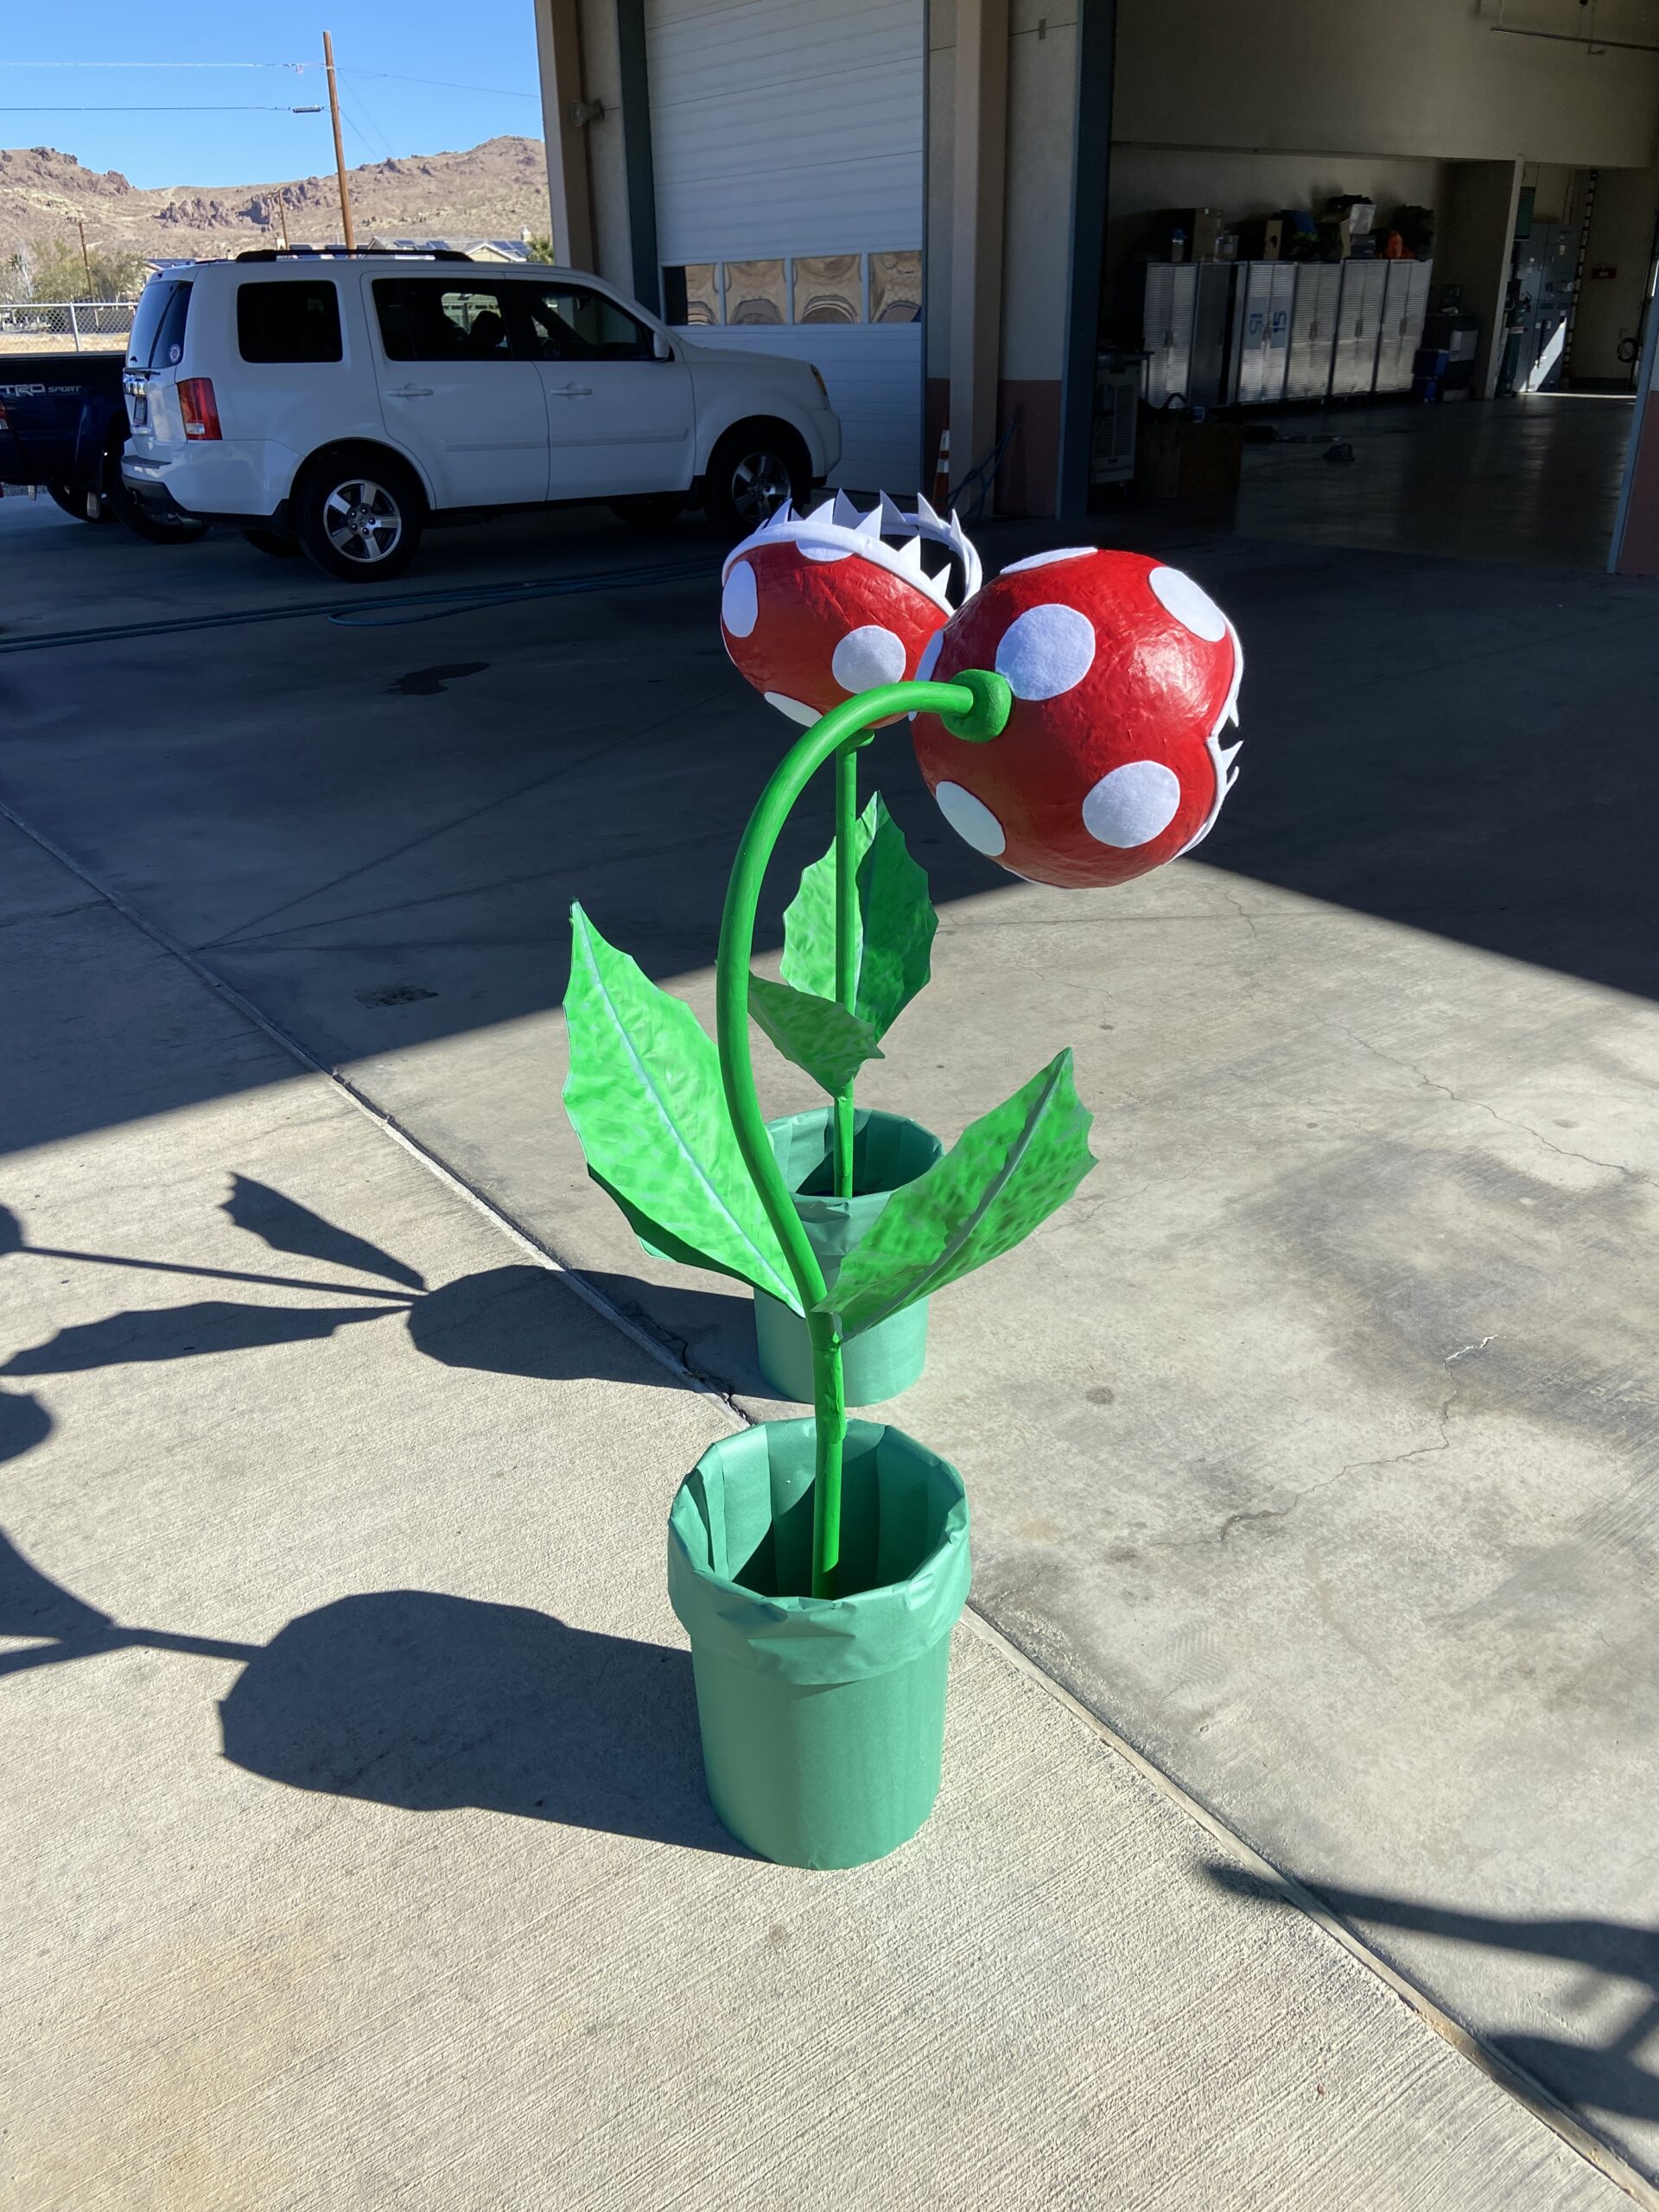

The final result was better than I had hoped for and was a big hit at the Trunk-Or-Treat event!
The upright flower was sturdy enough that they used it as the candy bowl for the trick-or-treaters.
Hey Nathan! I was wondering what exact type of green art paper you are referring to? Also, how did you get your foam disc so smooth? I want to get as close as a replica as possible!
Hi!
So I have a giant roll of green “art paper” I bought from Amazon awhile ago and have used for several projects. It’s basically green butcher paper about 4ft wide and 200+ yards. I’d guess something similar could be found at Michael’s, teacher supply store, or similar. The foam I use I buy from HomeDepot. It’s called Foamular NGX and comes in 2ft x 2ft sheets. It cuts real easy with a knife or hacksaw type saw blade. It also sands really easy by hand. I use foam sanding blocks and regular sand paper, around 100-150 grit. You can get it pretty smooth with a fine sandpaper. I’d avoid any power tool use as heavy electric sanding will melt the foam if it gets too hot from friction. Then I’ll paint a few coats of acrylic paint. Careful if you use spray paint as it can melt some foams. Do all of this outside as you’ll have pink foam dust that sticks to everything and goes everywhere. Always good idea to wear a mask and eye protection.
Hi there, what did you use to cut a hole through the back of the plant head without breaking the paper mache?
I was worried about tearing it, so I used a knife and cut an X and pushed the pipe through. To reinforce the hole I cut circles (like thick washers) out of hard high density craft foam (bought from Home Depot) and glued them to inside and outside of the paper mache. This also gave more to glue to the pipe and really made a solid connection.
Awesome, thank you!
How much to buy these props?
I really appreciate the interest, but the original props are not for sale. We re-use them for Halloween and other special events.