When it comes to creating an inviting and aesthetically pleasing outdoor space, every detail matters. One element that often disrupts the harmony of our backyard oasis is the unsightly view of an HVAC condenser unit. However, with a little creativity and some do-it-yourself (DIY) skills, you can transform this eyesore into a beautiful and functional addition to your outdoor living area.
Why Conceal the Condenser?
While HVAC units are essential for maintaining a comfortable indoor environment, their presence can sometimes detract from the overall aesthetics of our outdoor spaces. The sight of a bulky condenser can disrupt the visual harmony and curb appeal of our homes. By concealing the condenser, you can not only improve the visual appeal of your outdoor area but also create a more serene and relaxing atmosphere.
Benefits of a DIY HVAC Surround:
Building your own HVAC surround offers several advantages. First and foremost, it allows you to tailor the design to match your personal style and the existing aesthetics of your property. You have the freedom to choose materials, colors, and finishes that complement your outdoor space, ensuring a cohesive and appealing look.
Moreover, a DIY HVAC surround is a cost-effective solution. By utilizing readily available materials and putting in a bit of effort, you can save money compared to purchasing a pre-made enclosure or hiring professionals for installation.
Creating an effective HVAC surround involves striking the right balance between functionality and visual appeal. The enclosure should be designed to allow sufficient airflow for the condenser unit while ensuring it remains hidden from view. You also want to consider access requirements for maintenance and repairs, so your surround is practical as well.
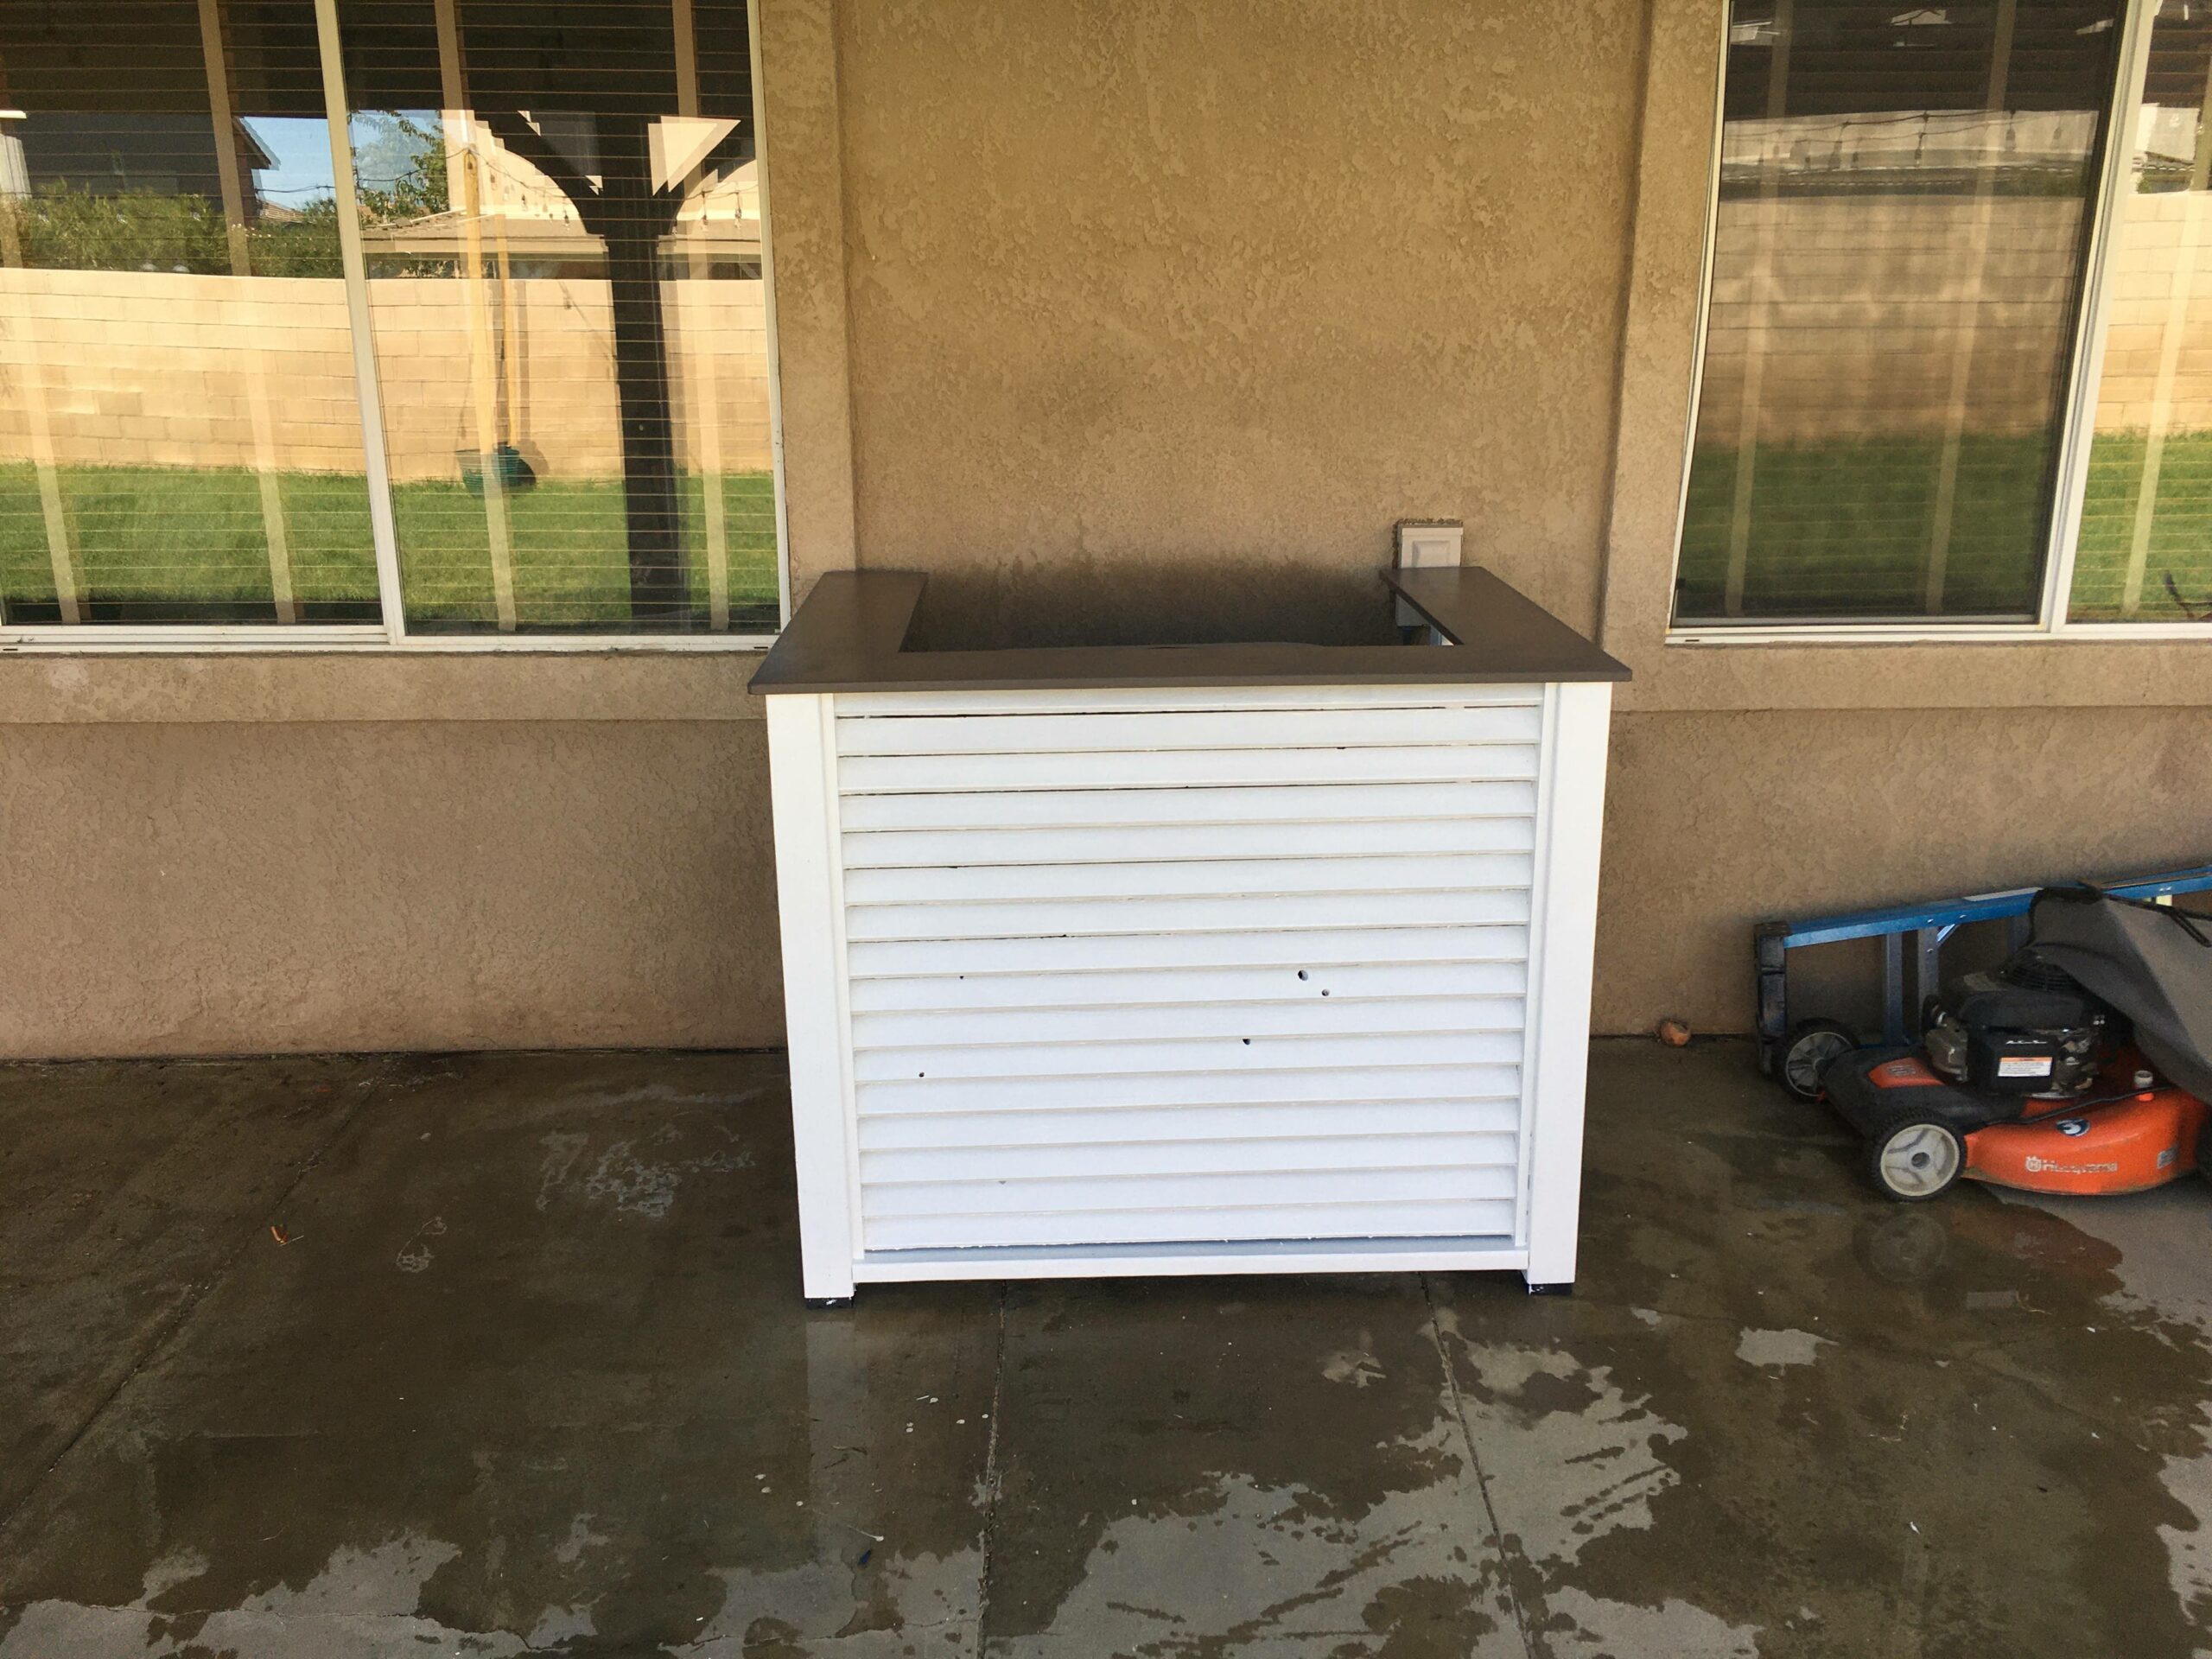
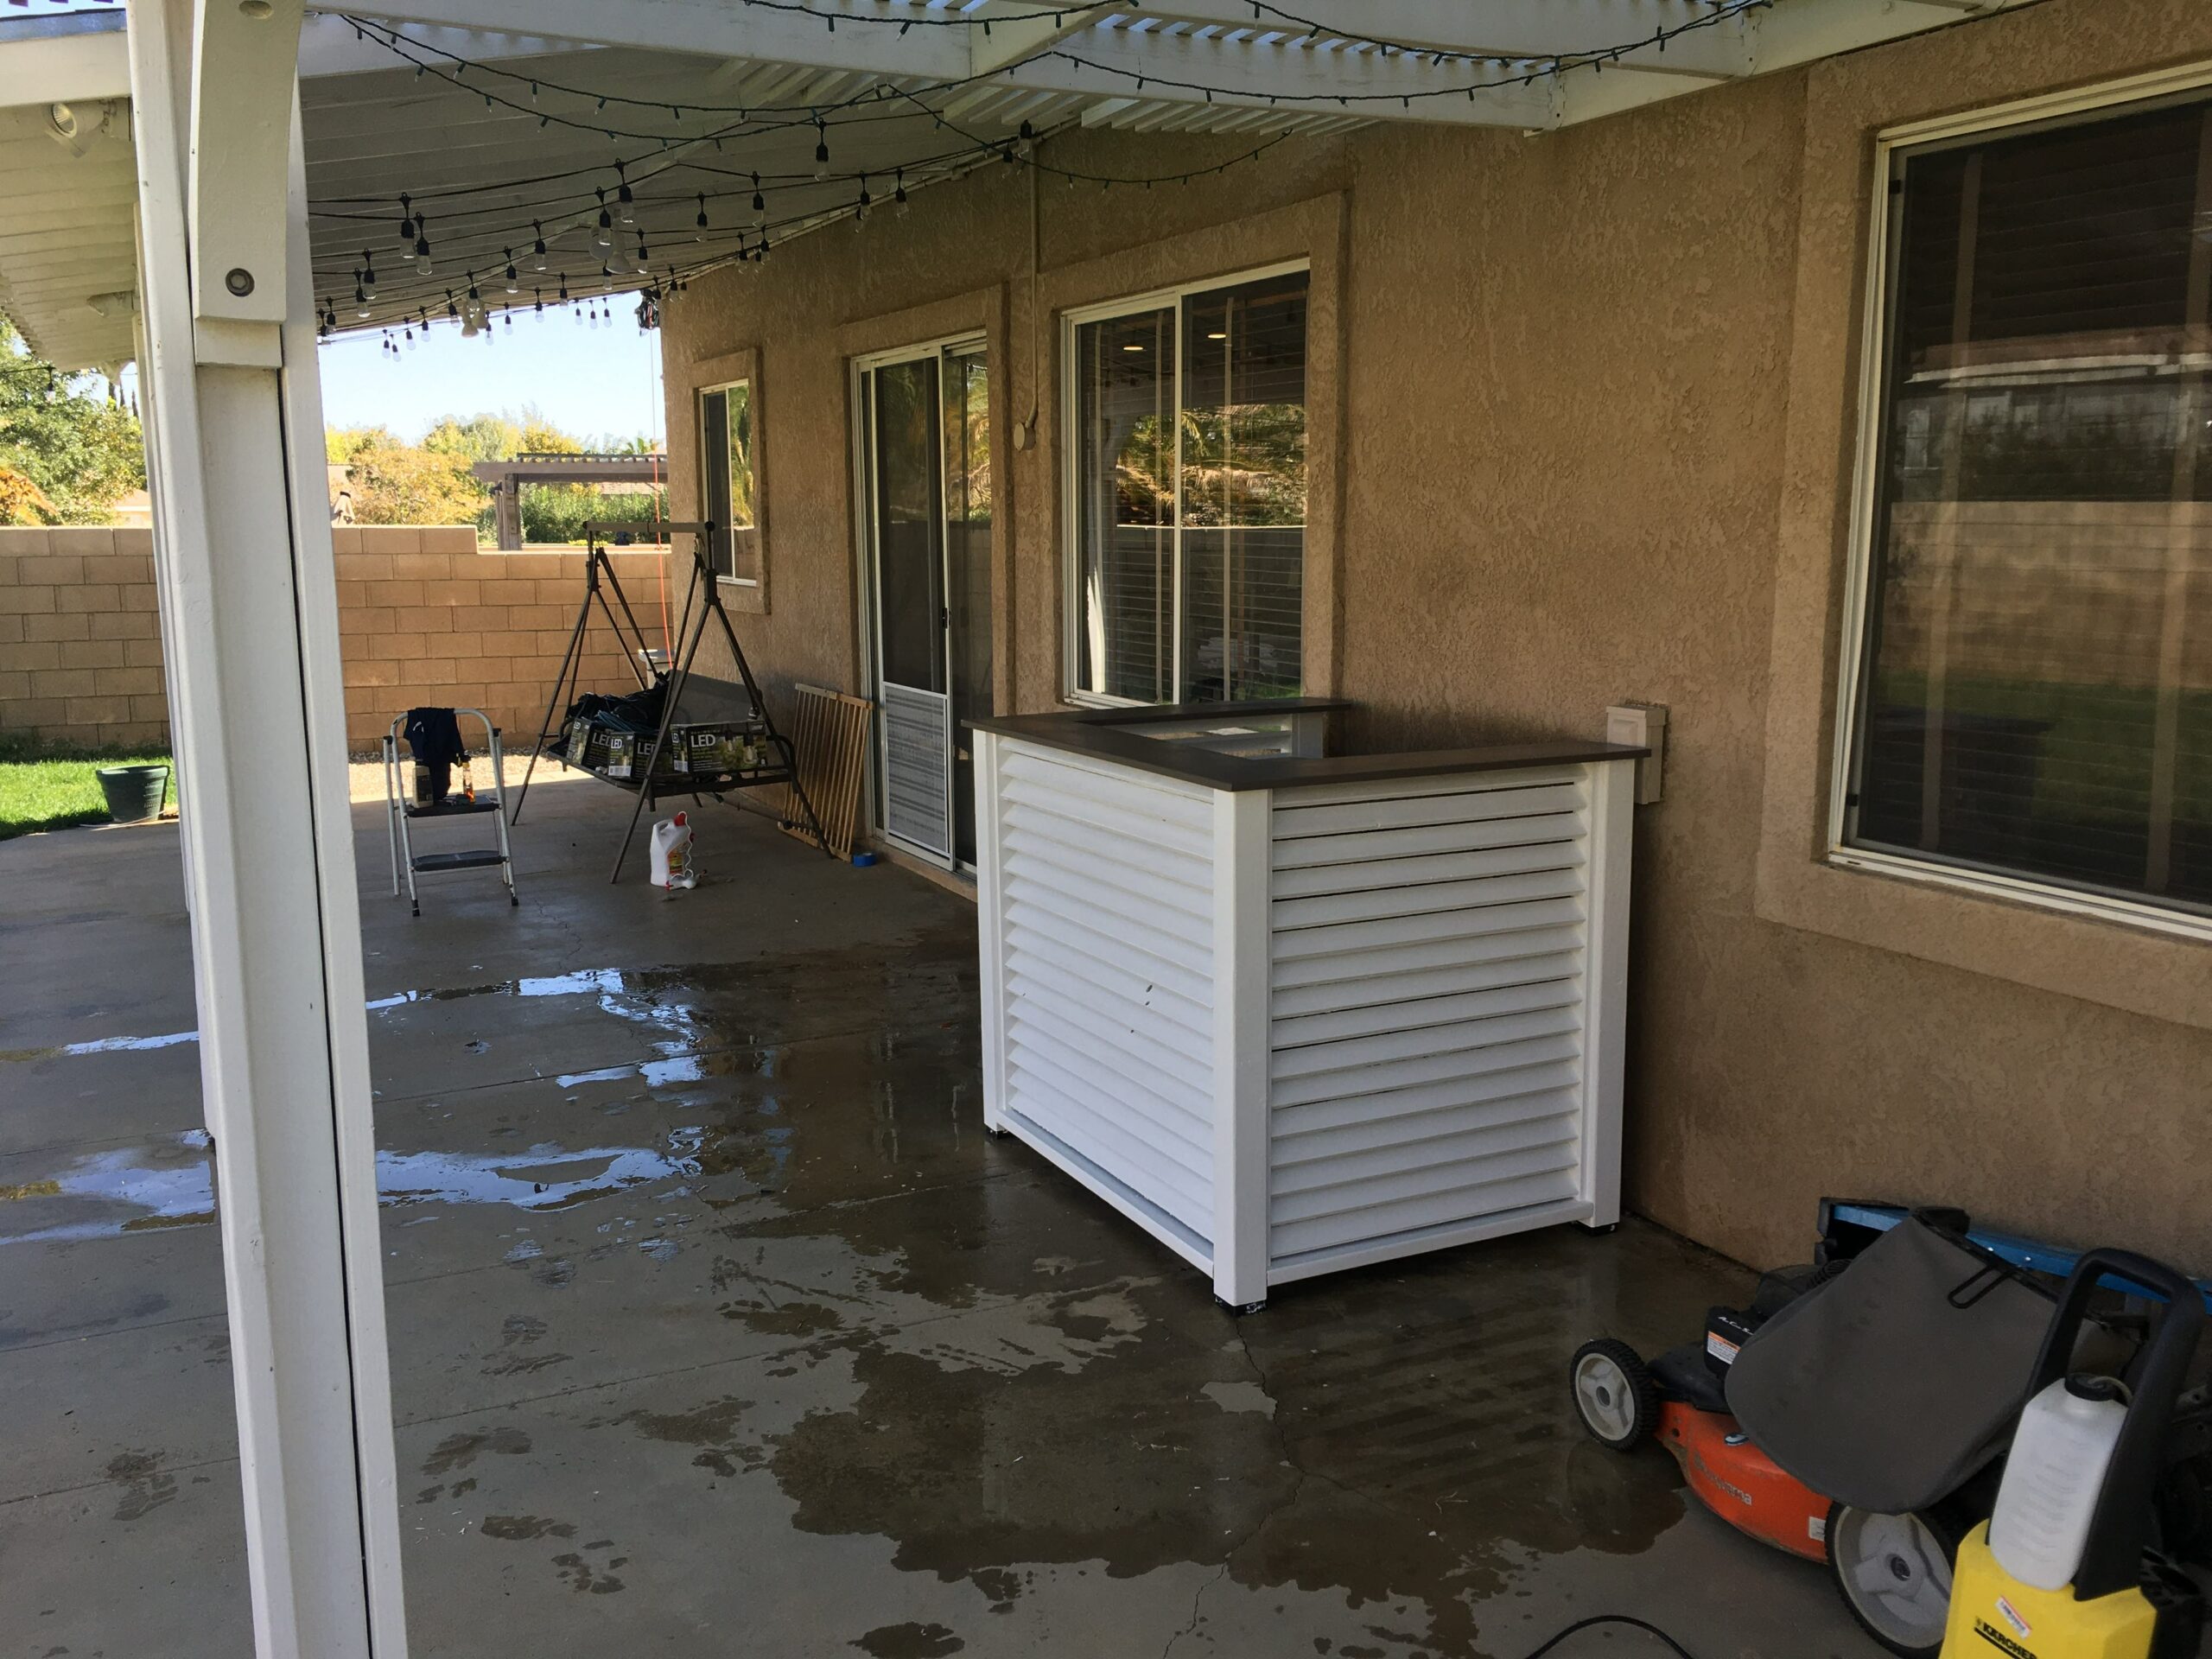
For this project, I wanted it to blend with out existing patio structure and color scheme. I searched high and low on the internet to gather ideas as well as research our specific HVAC unit to find out clearance requirements for proper airflow. We decided to go with a louvered design with a countertop for use during backyard parties. The who unit would also be movable to allow the HVAC servicing I mentioned prior. I don’t have a lot of details from this project, but I’ll share my overall process.
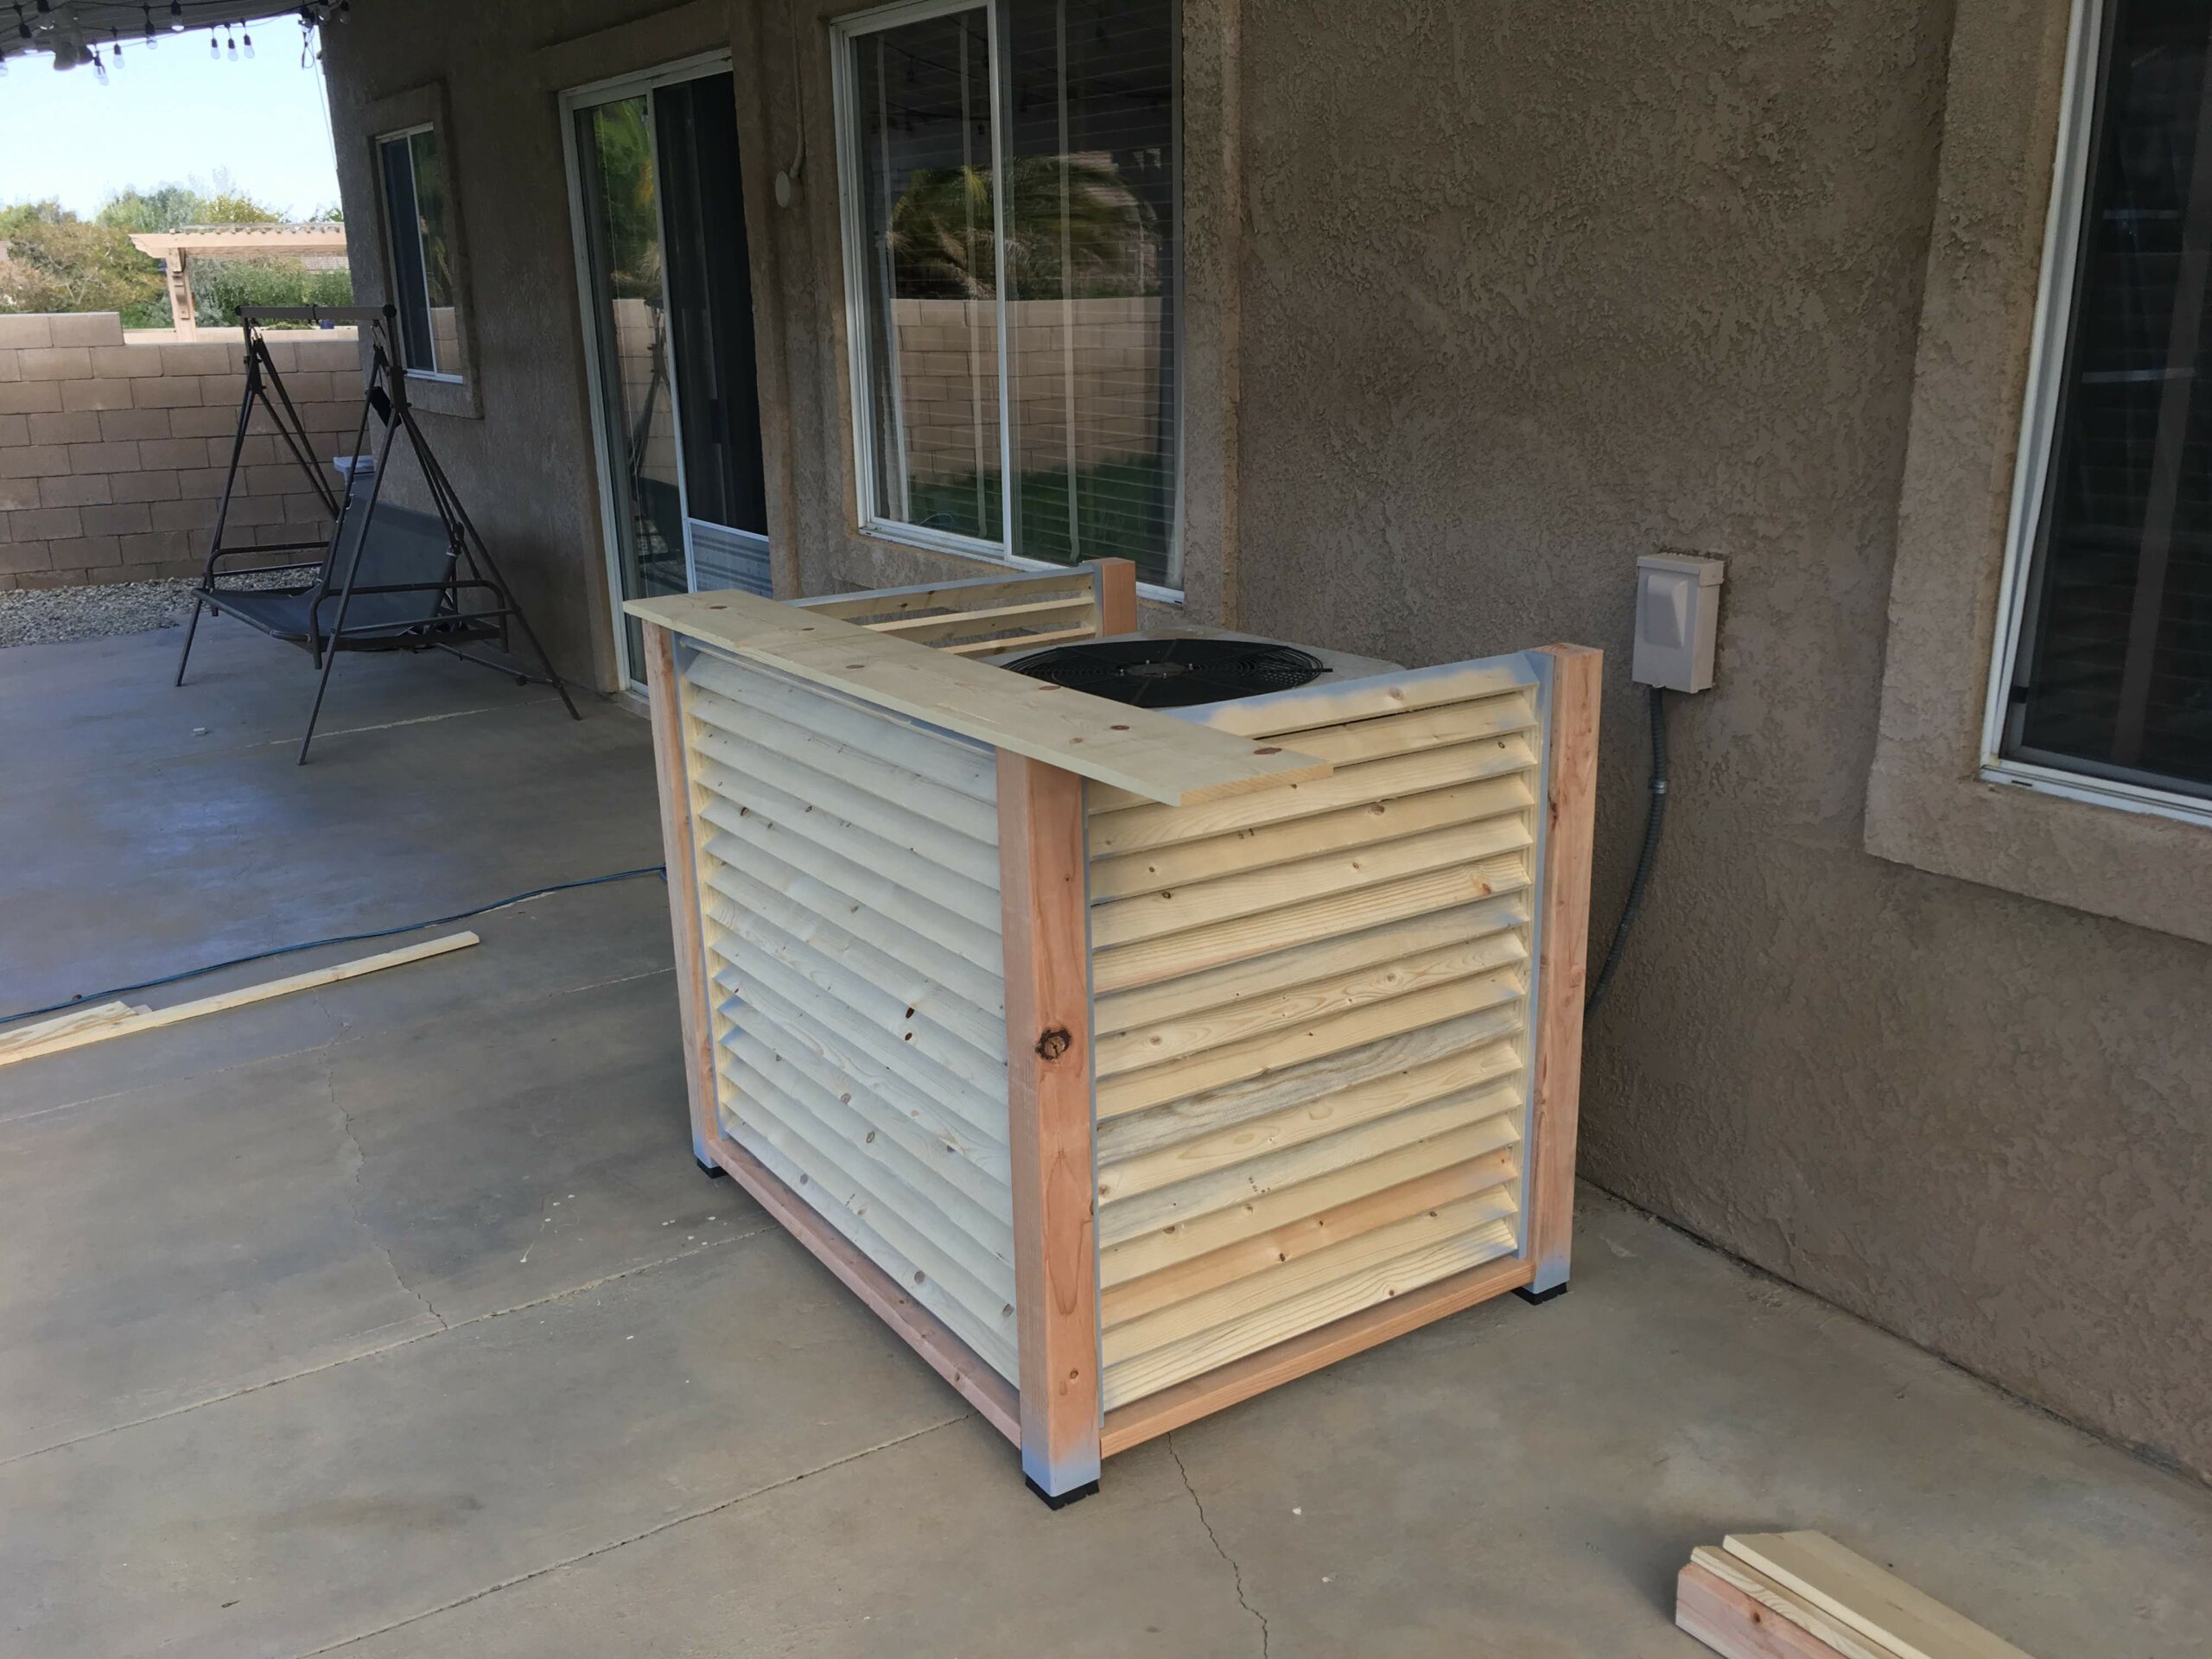
All the materials were bought from my local Lowes store for fairly cheap. I sketched out a rough plan with measurements and used this to guide my build. The most time consuming task was building the louvered inserts. The easiest way to accomplish this was to cut some triangle jigs to place between each board to give matching spacing and angle. I then screwed each louvre from the end.


After the three louver sections were built, I attached them to 4×4 posts creating a three sided wrap. I placed plastic feet on the 4×4 posts to keep them lifted away from water. Finally I cut a 1×10 board to place on the top as a counter.


Lastly, we gave it a good sealer coat and then final paint to protect the structure from water damage. Be very thorough with this process as you’ll want it to last for many years.
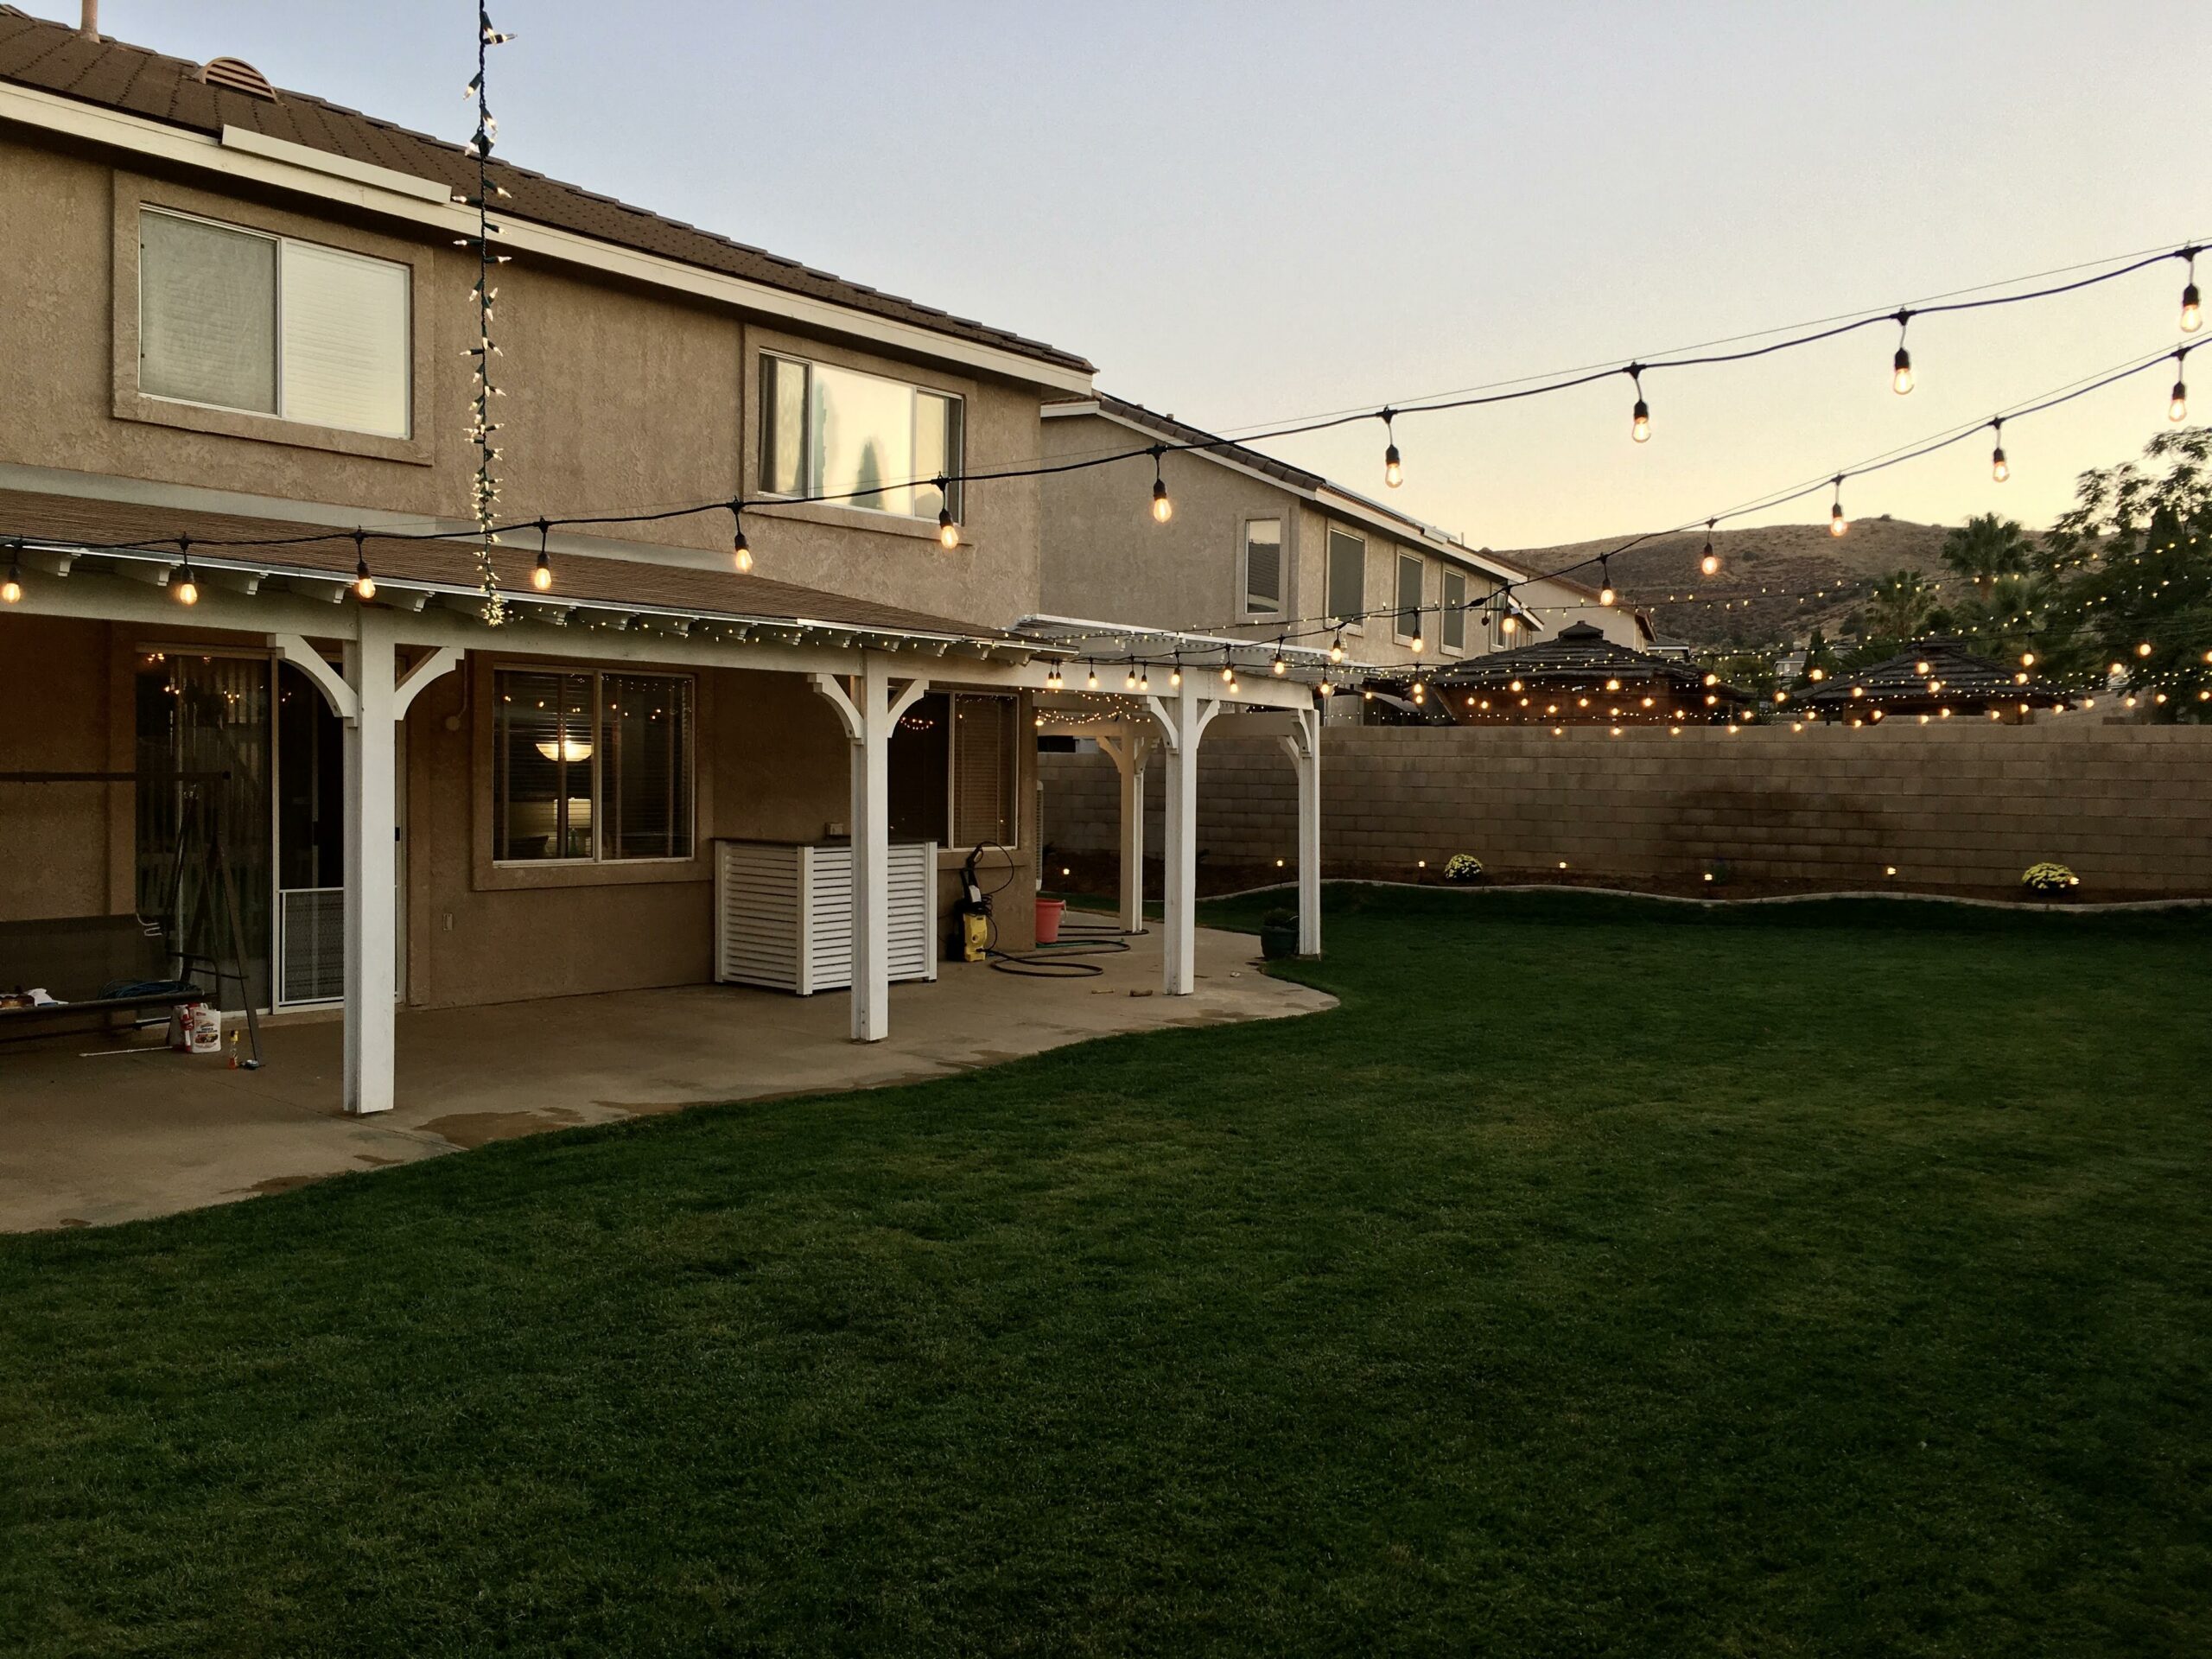
The finished projected turned out exactly as I had pictured! It makes the patio look so much cleaner and knocks down some of the compressor noise during the summer. I can just slide it away from the house to clean around the unit or push closer to house to make more patio space. Just make sure to keep the recommended HVAC clearance while it is operating. Ours was 10 inches on all sides.