A well-organized and visually appealing closet not only simplifies your daily routine but also adds a touch of sophistication to your personal space. With our house having split closets instead of one large master closet and after successfully remodeling my wife’s a few years prior, it was time to turn my attention to my own personal closet.
Having already tackled my wife’s closet remodel, I felt equipped with valuable knowledge and skills that would help streamline the process of transforming my own space. From understanding the importance of organization to incorporating clever storage solutions, I had a head start in creating a closet that is not only visually appealing but also optimized for efficiency.
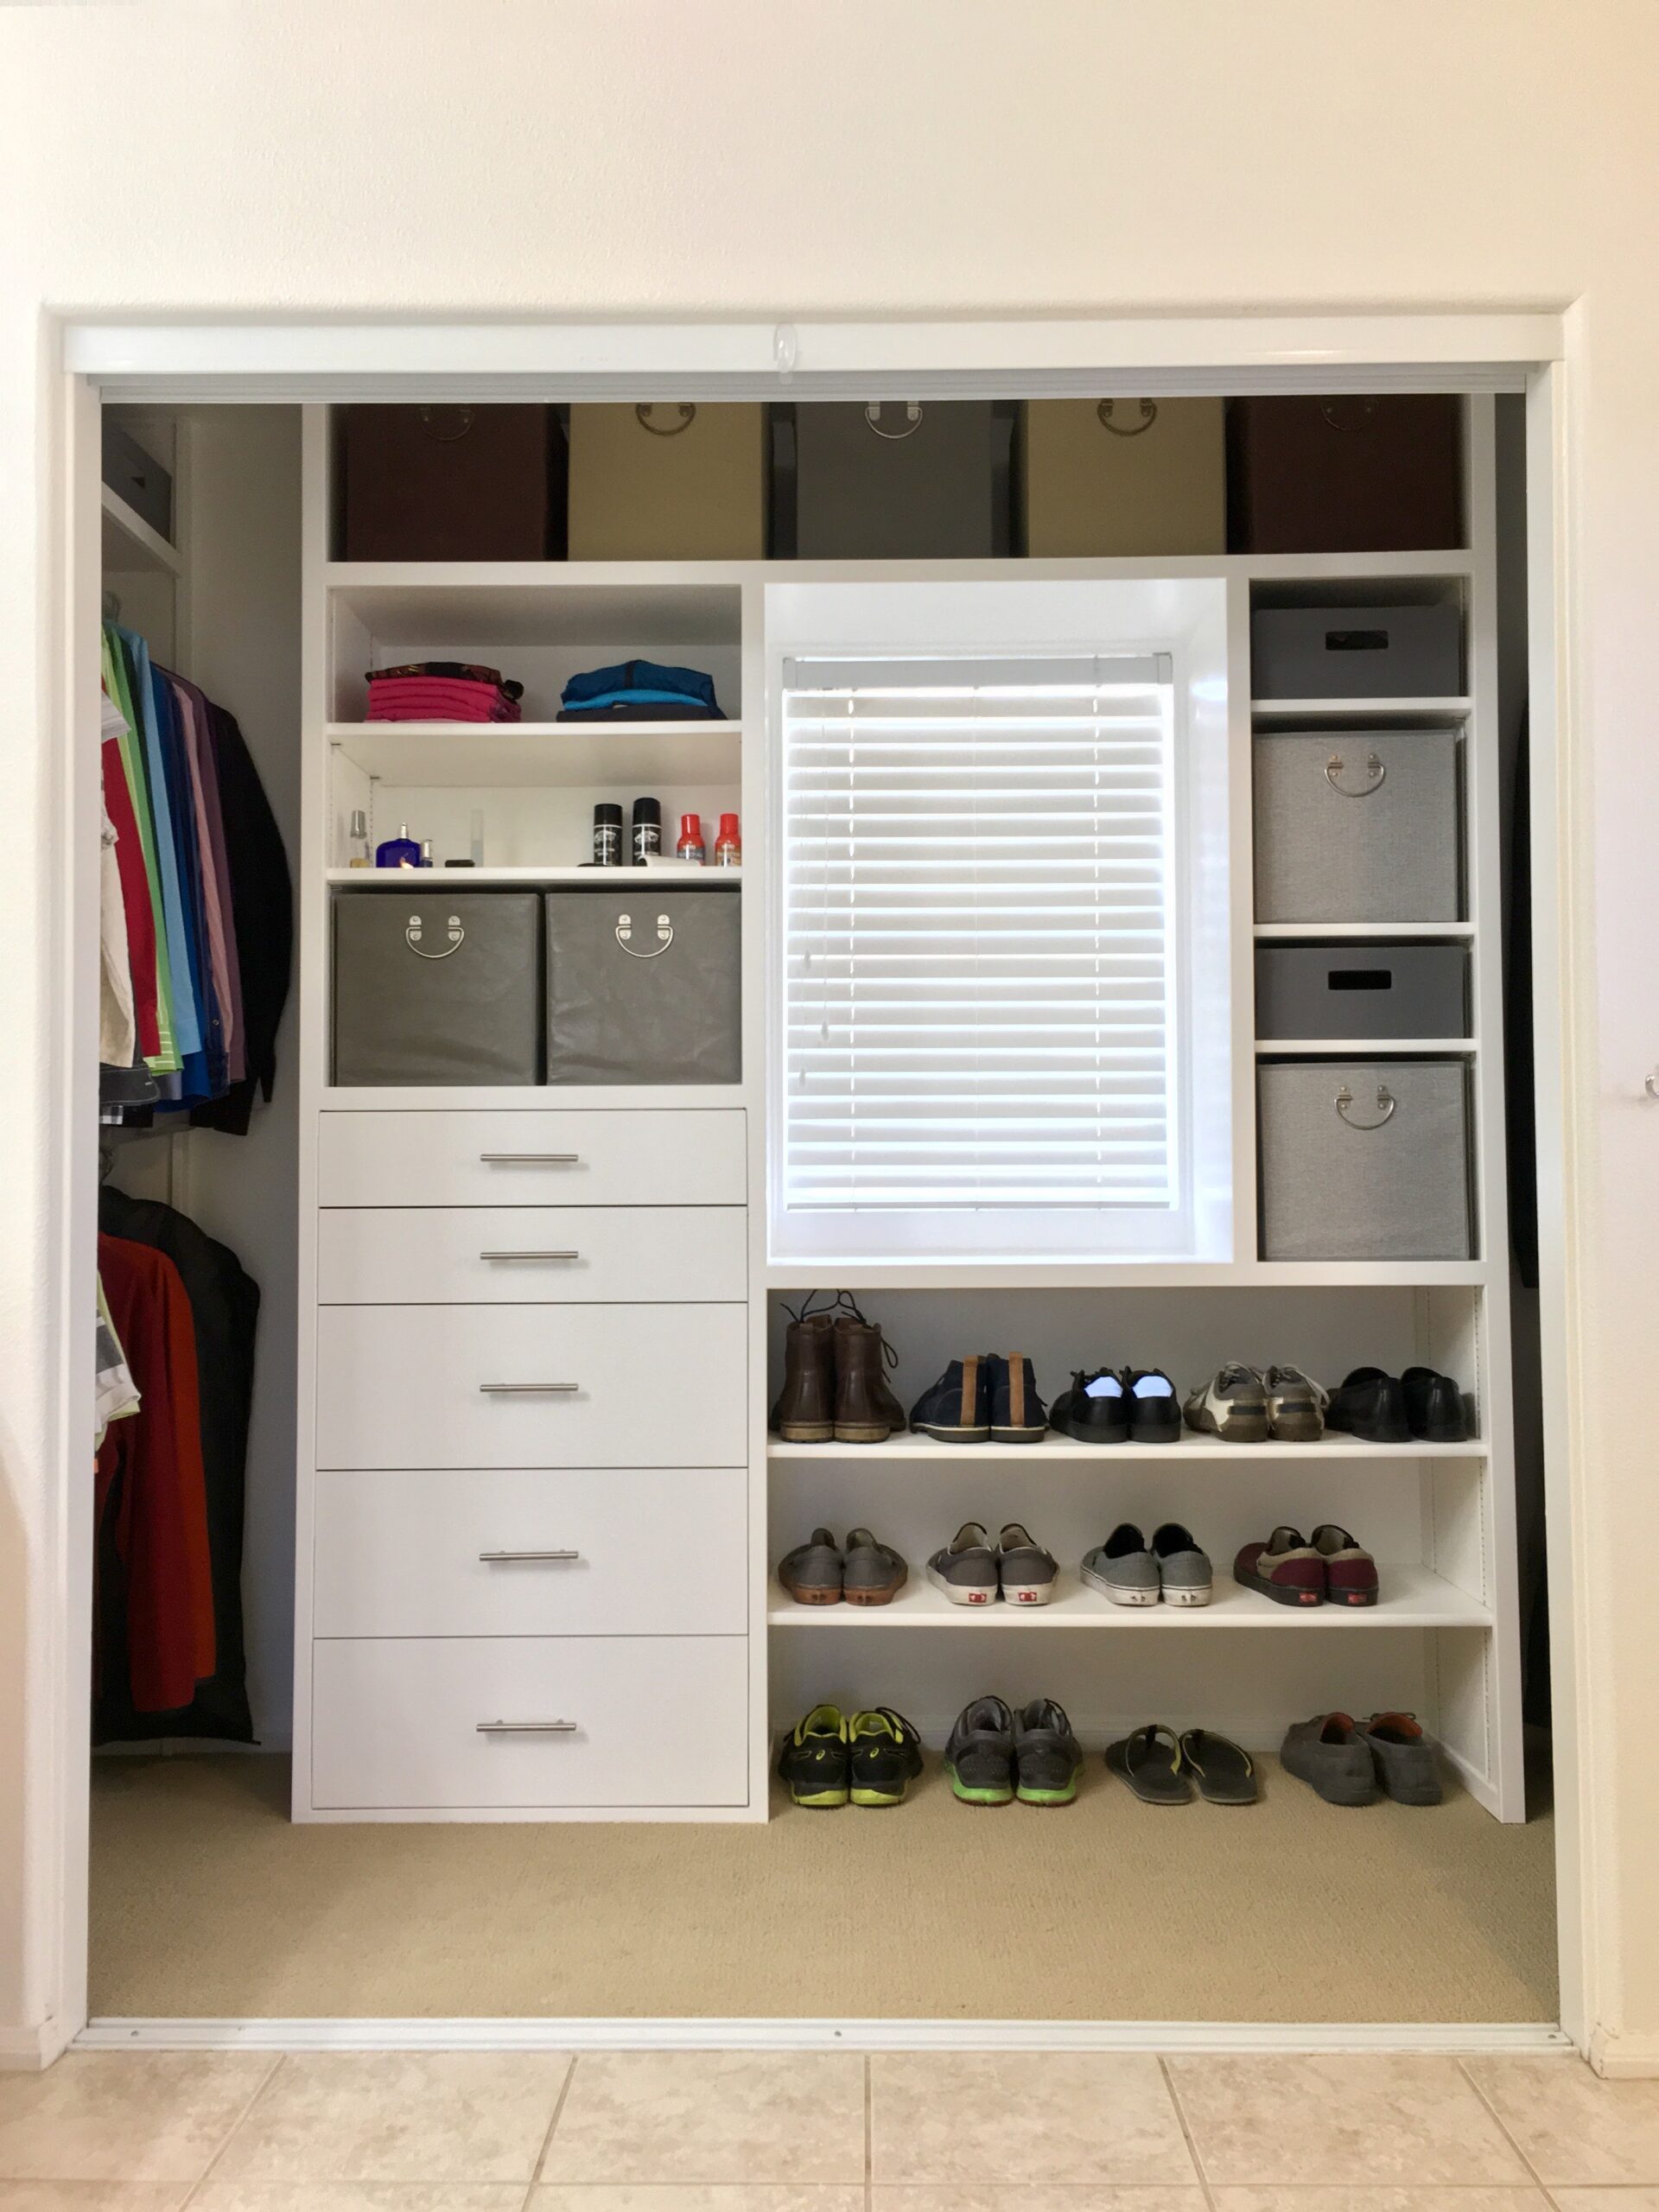
A man’s closet should be a reflection of his personal style, functionality requirements, and individual preferences. In addition, a successful closet remodel is not just about aesthetics; it’s also about optimizing functionality. Assess your storage needs and consider smart solutions such as custom-built shelves, adjustable rods, shoe racks, and drawer organizers. By strategically organizing your clothing, accessories, and shoes, you can create a space that not only looks great but also helps you stay organized and find everything with ease.
As with most homes, the original closet setup leaves much to be desired. Usually just a basic shelf with a bar underneath, storage space is not optimized. My closet was no exception.


First, I drew on inspiration from internet searches and my own experience from remodeling my wife’s closet. I thought about what I needed to store as well as what I may need in the future. How many shelves? How many drawers? how deep of drawers? How much space does my current hanging take? and so on. I finally sketched out a design.

After gathering a supply list, I drove over to my local Lowes and purchased all the needed materials. I don’t remember what my total cost was, but I think it was around $300 which included all hardware, paint, and storage boxes. When I returned home I began deconstruction, being careful not to damage the drywall.


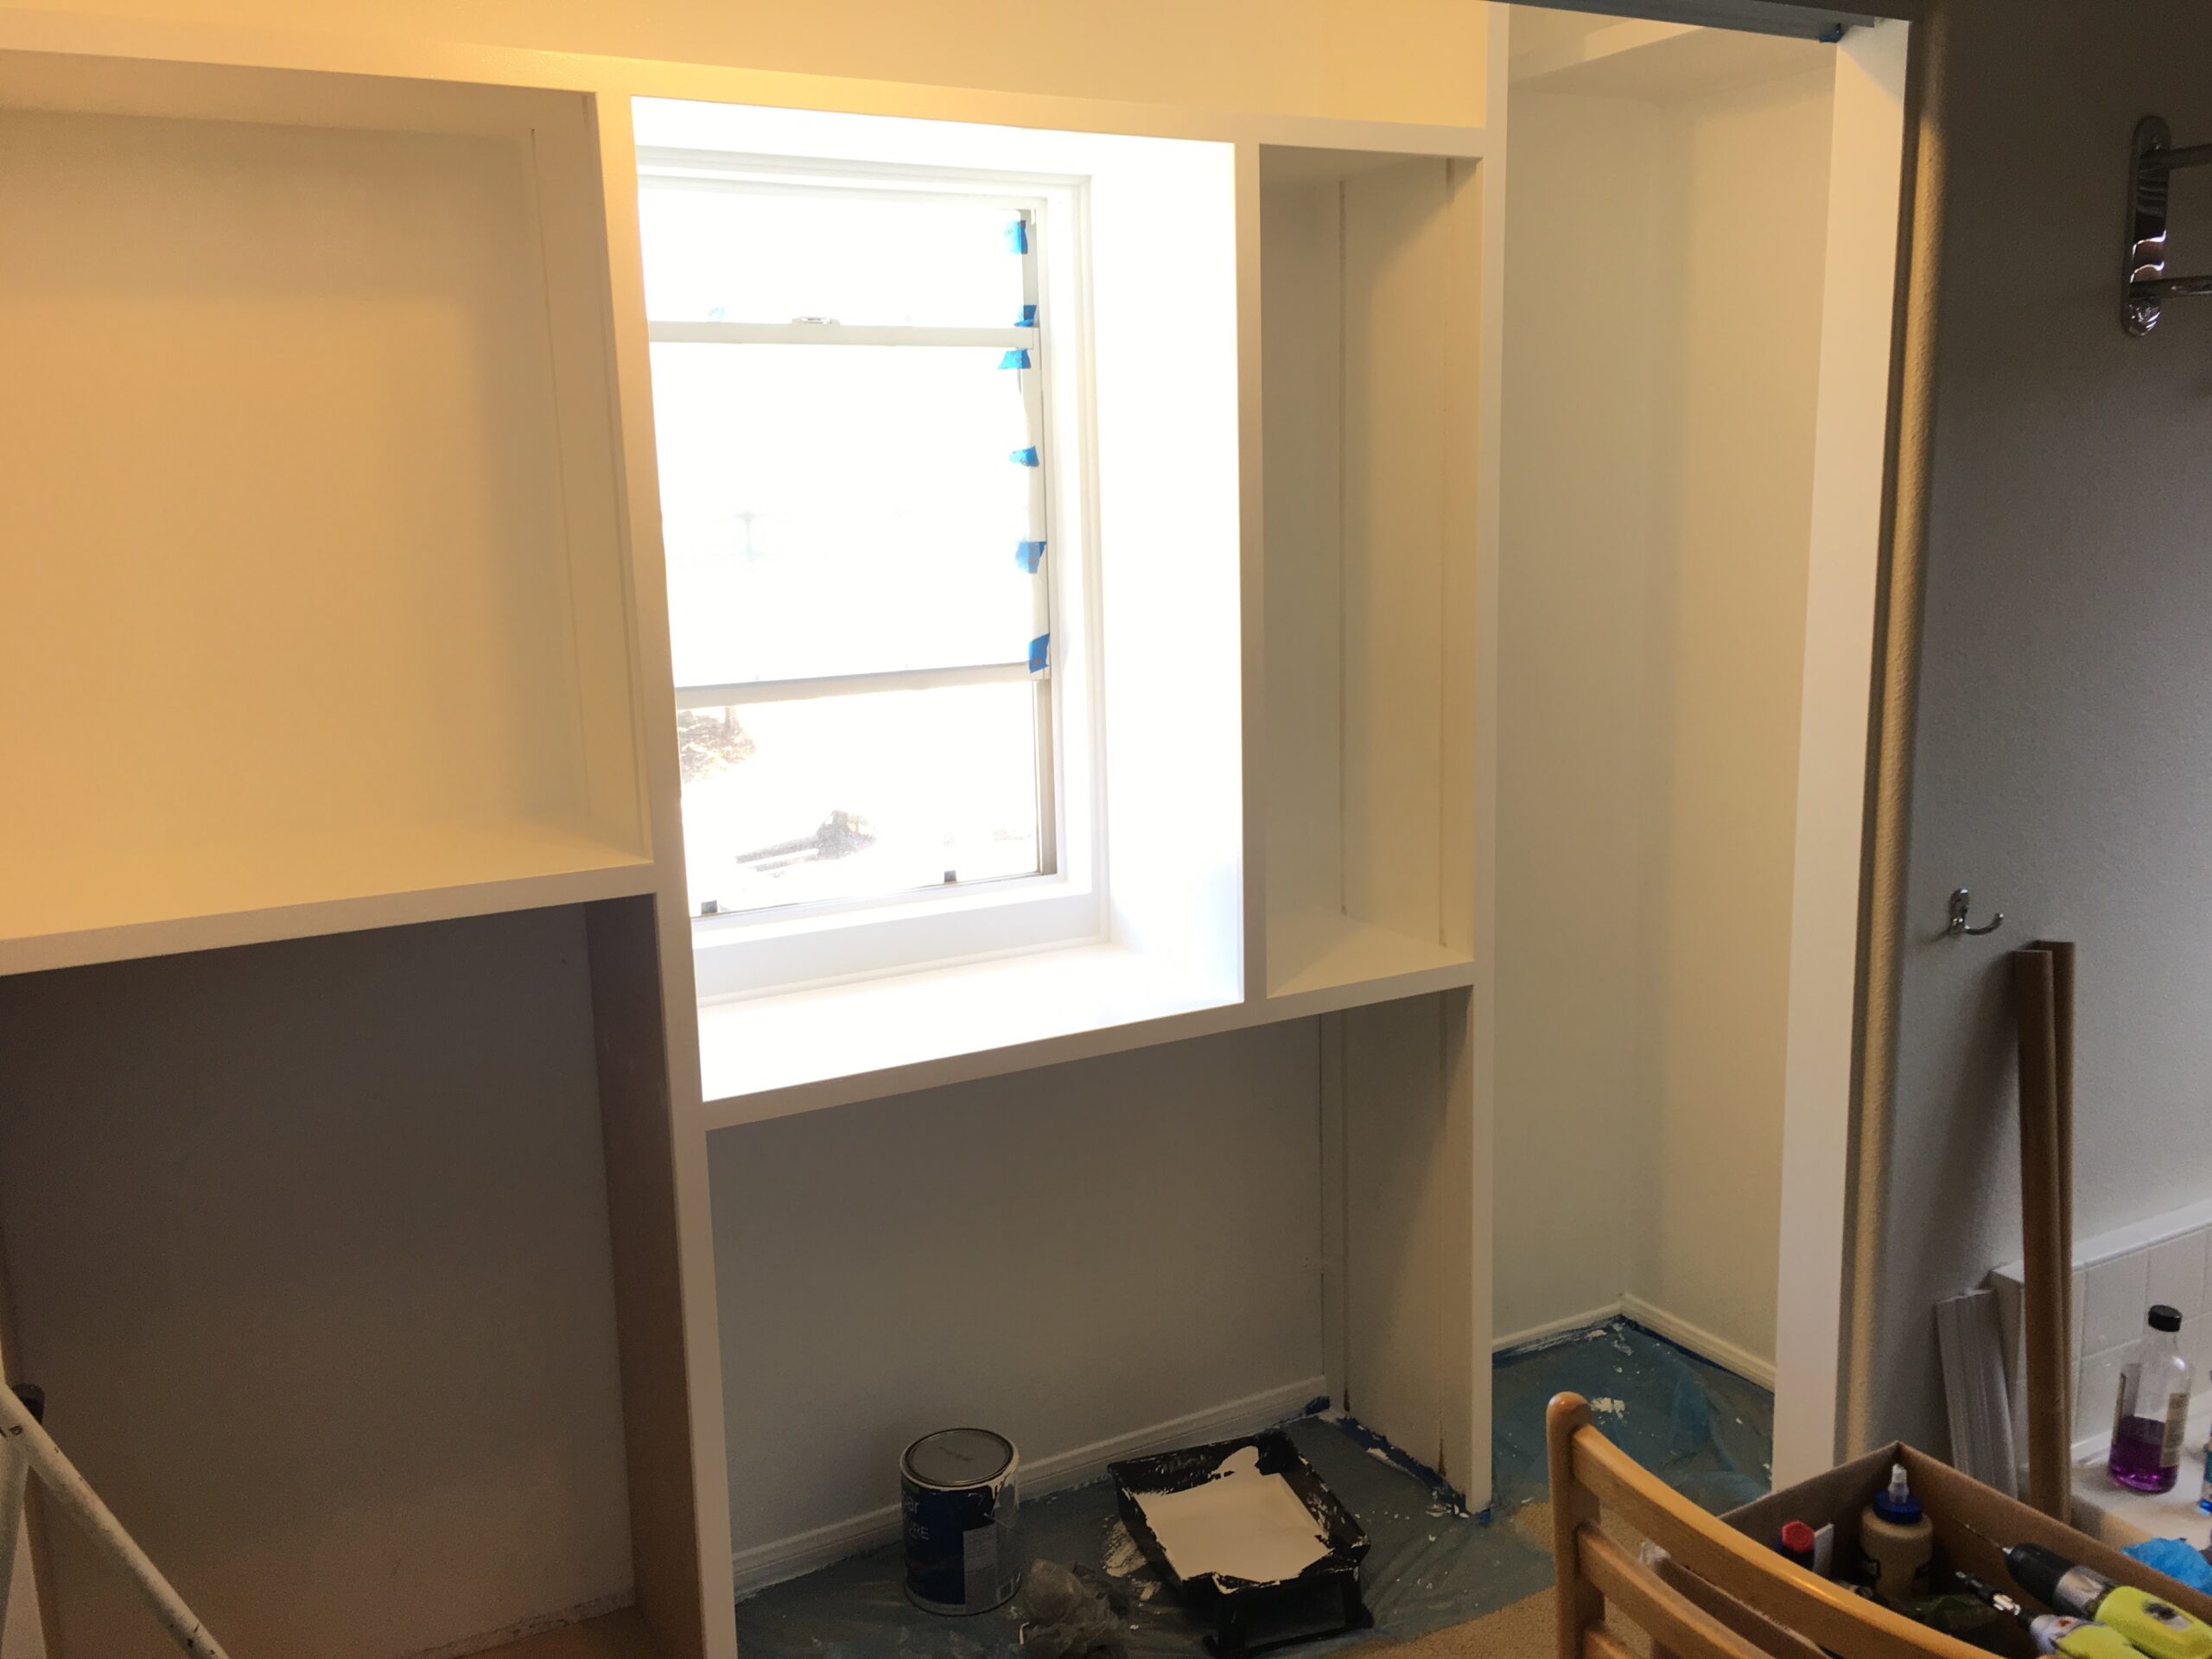
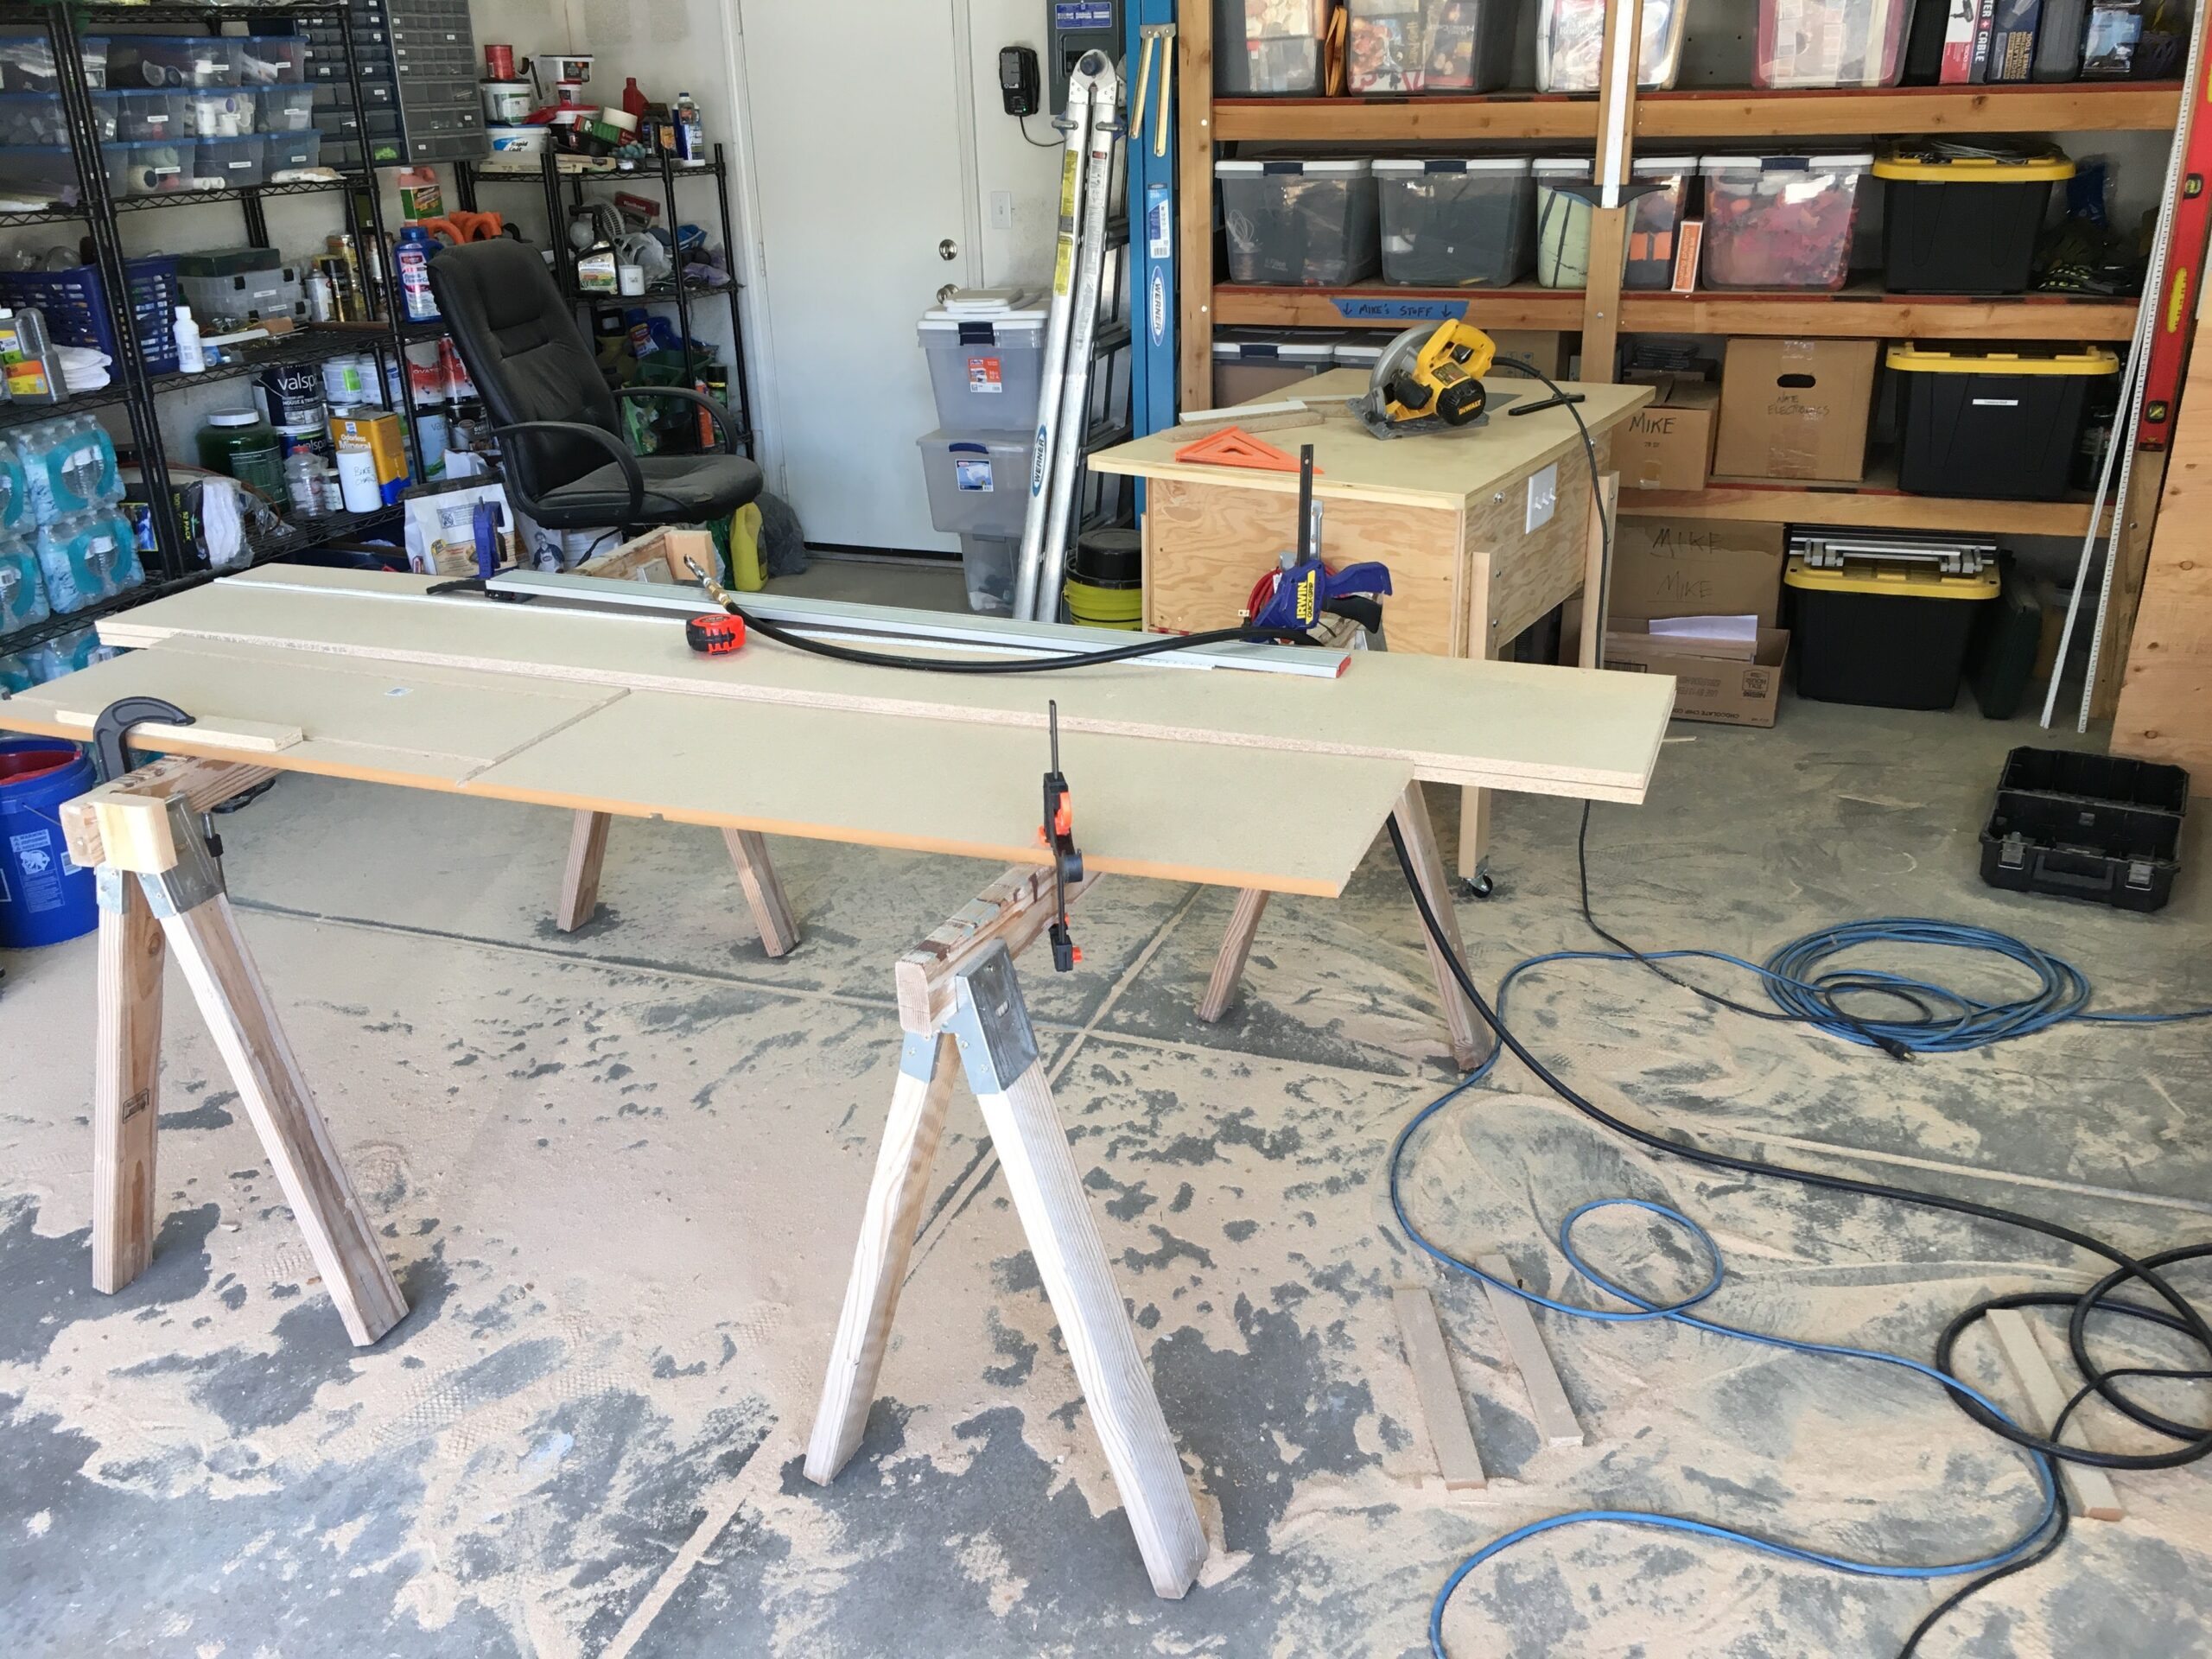
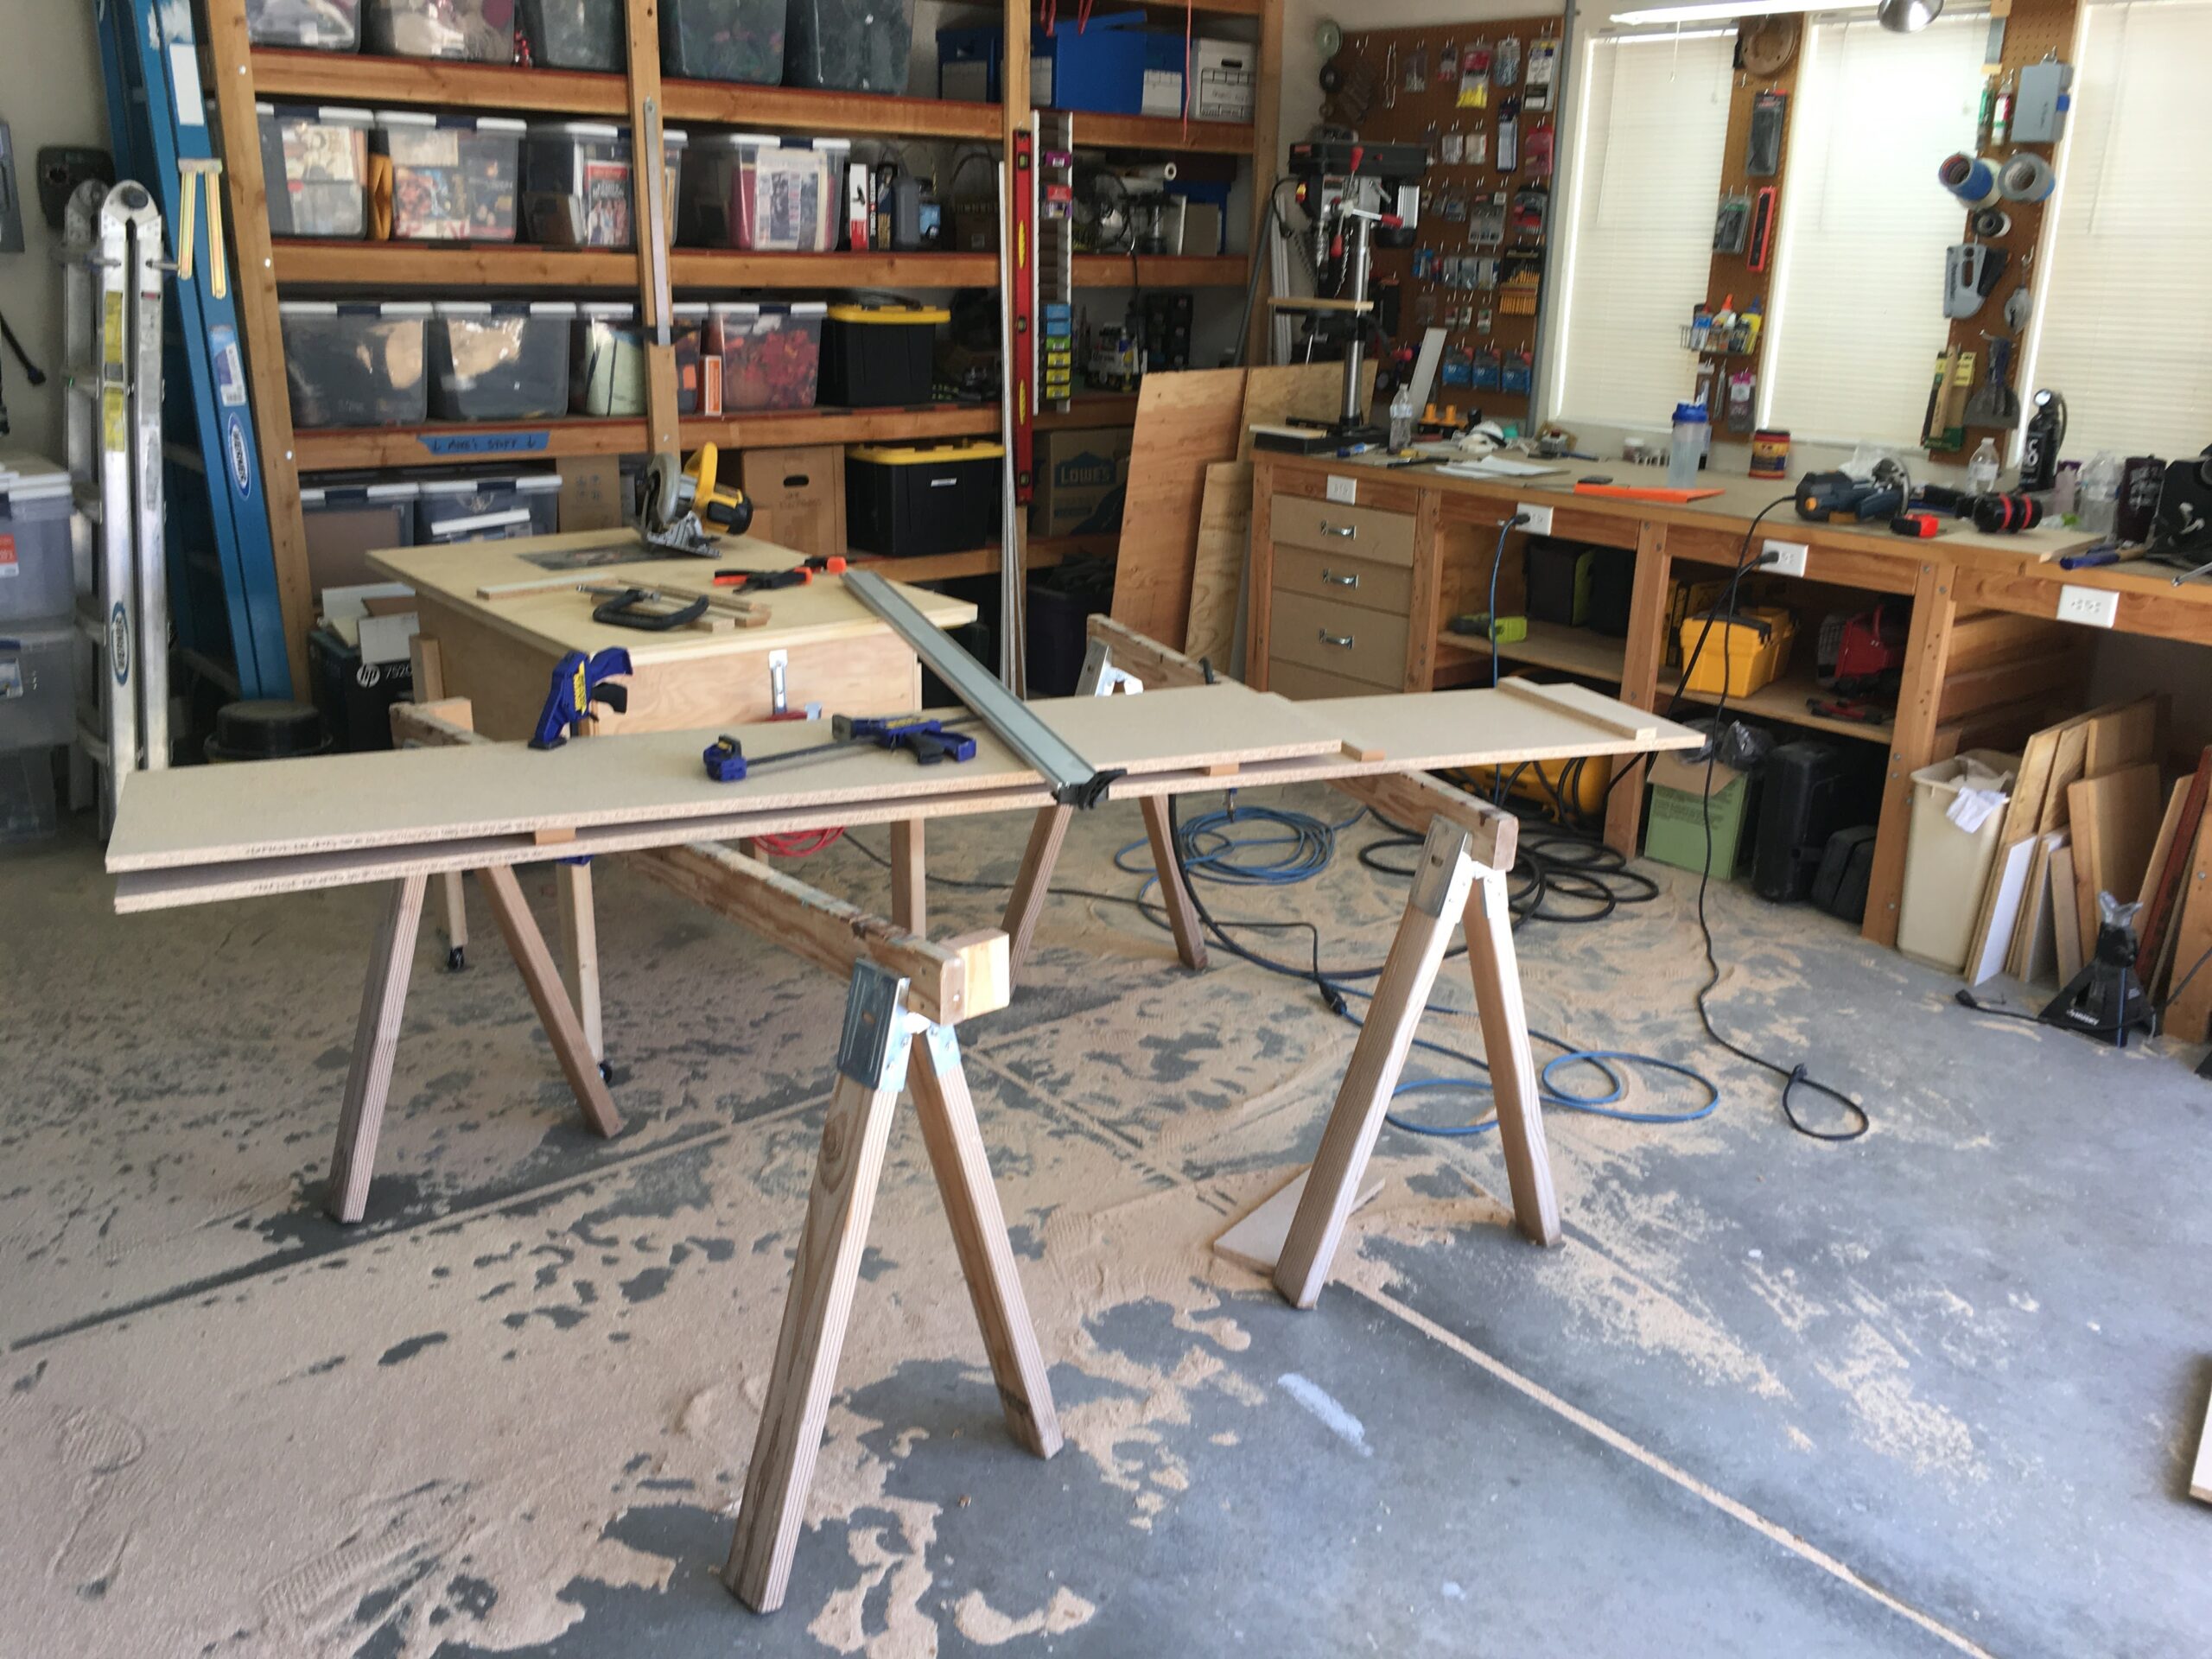
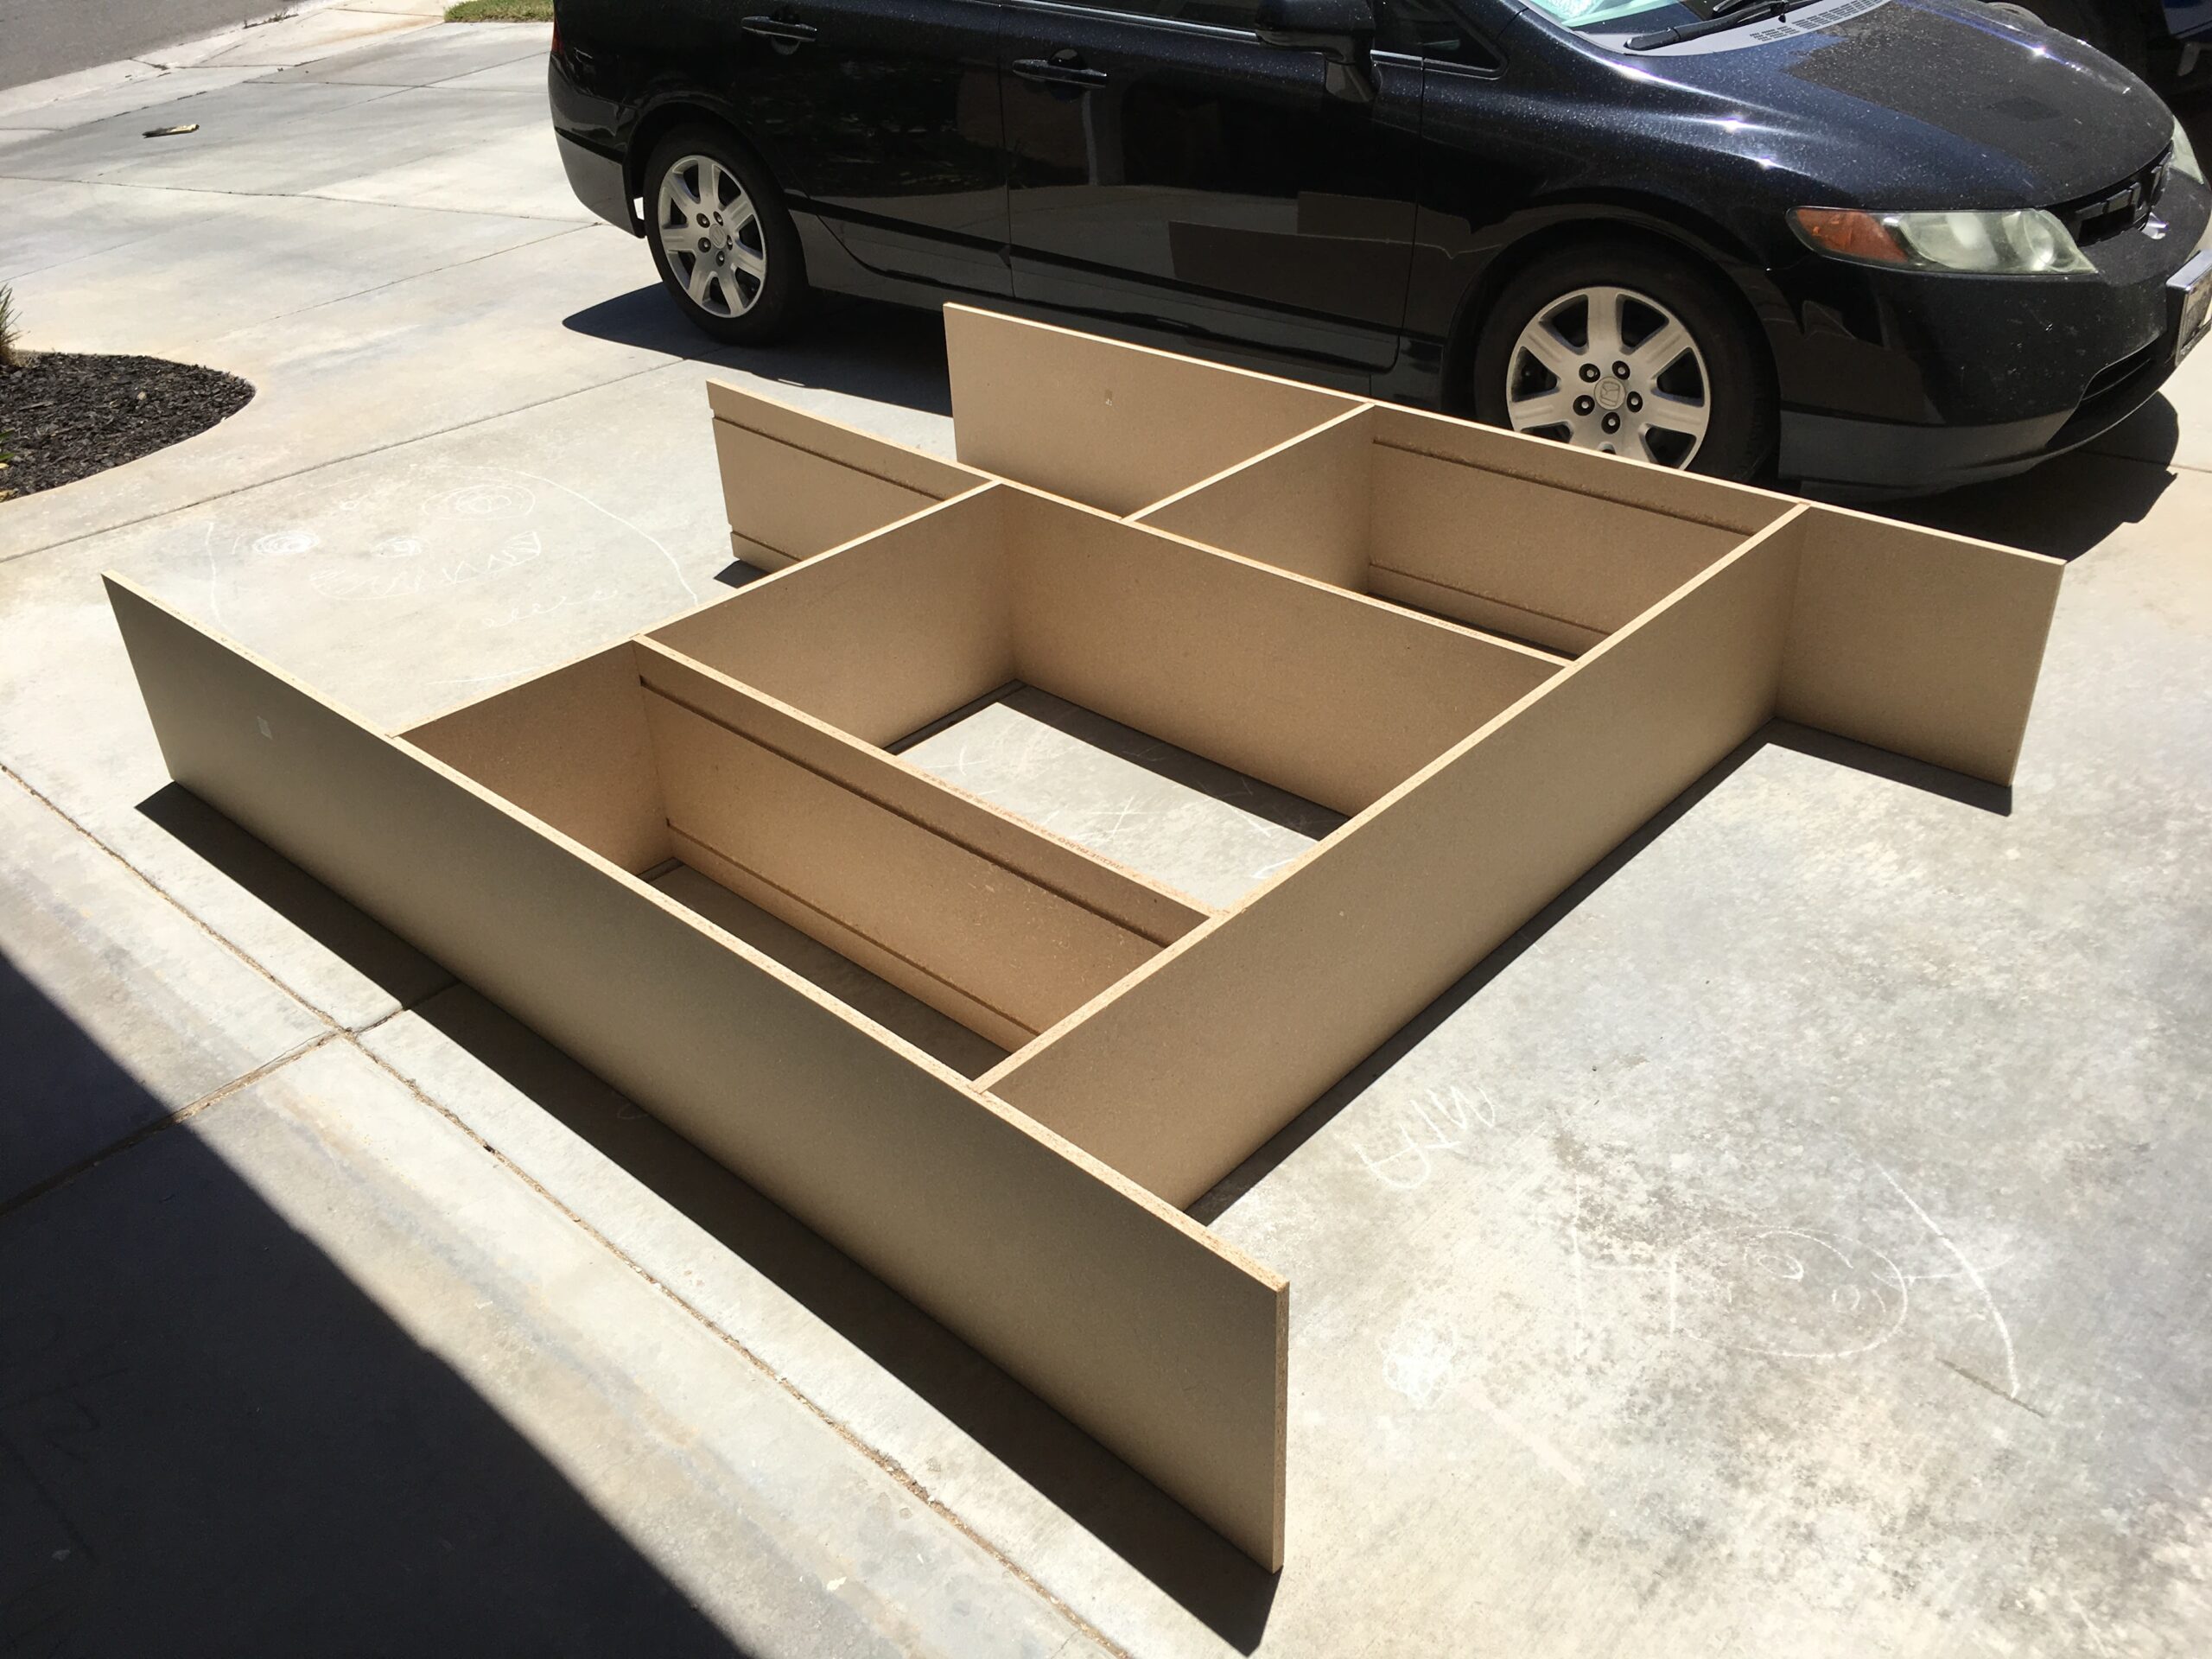
Then it was time to head to the garage to begin construction. I wanted some elements to be adjustable, such as shelving, so I used my router to inlay the rails. I also routered out all the joints to increase strength. Everything was secured with glue and screws. I pre-assembled what I could and the rest I assembled in-place inside the closet.
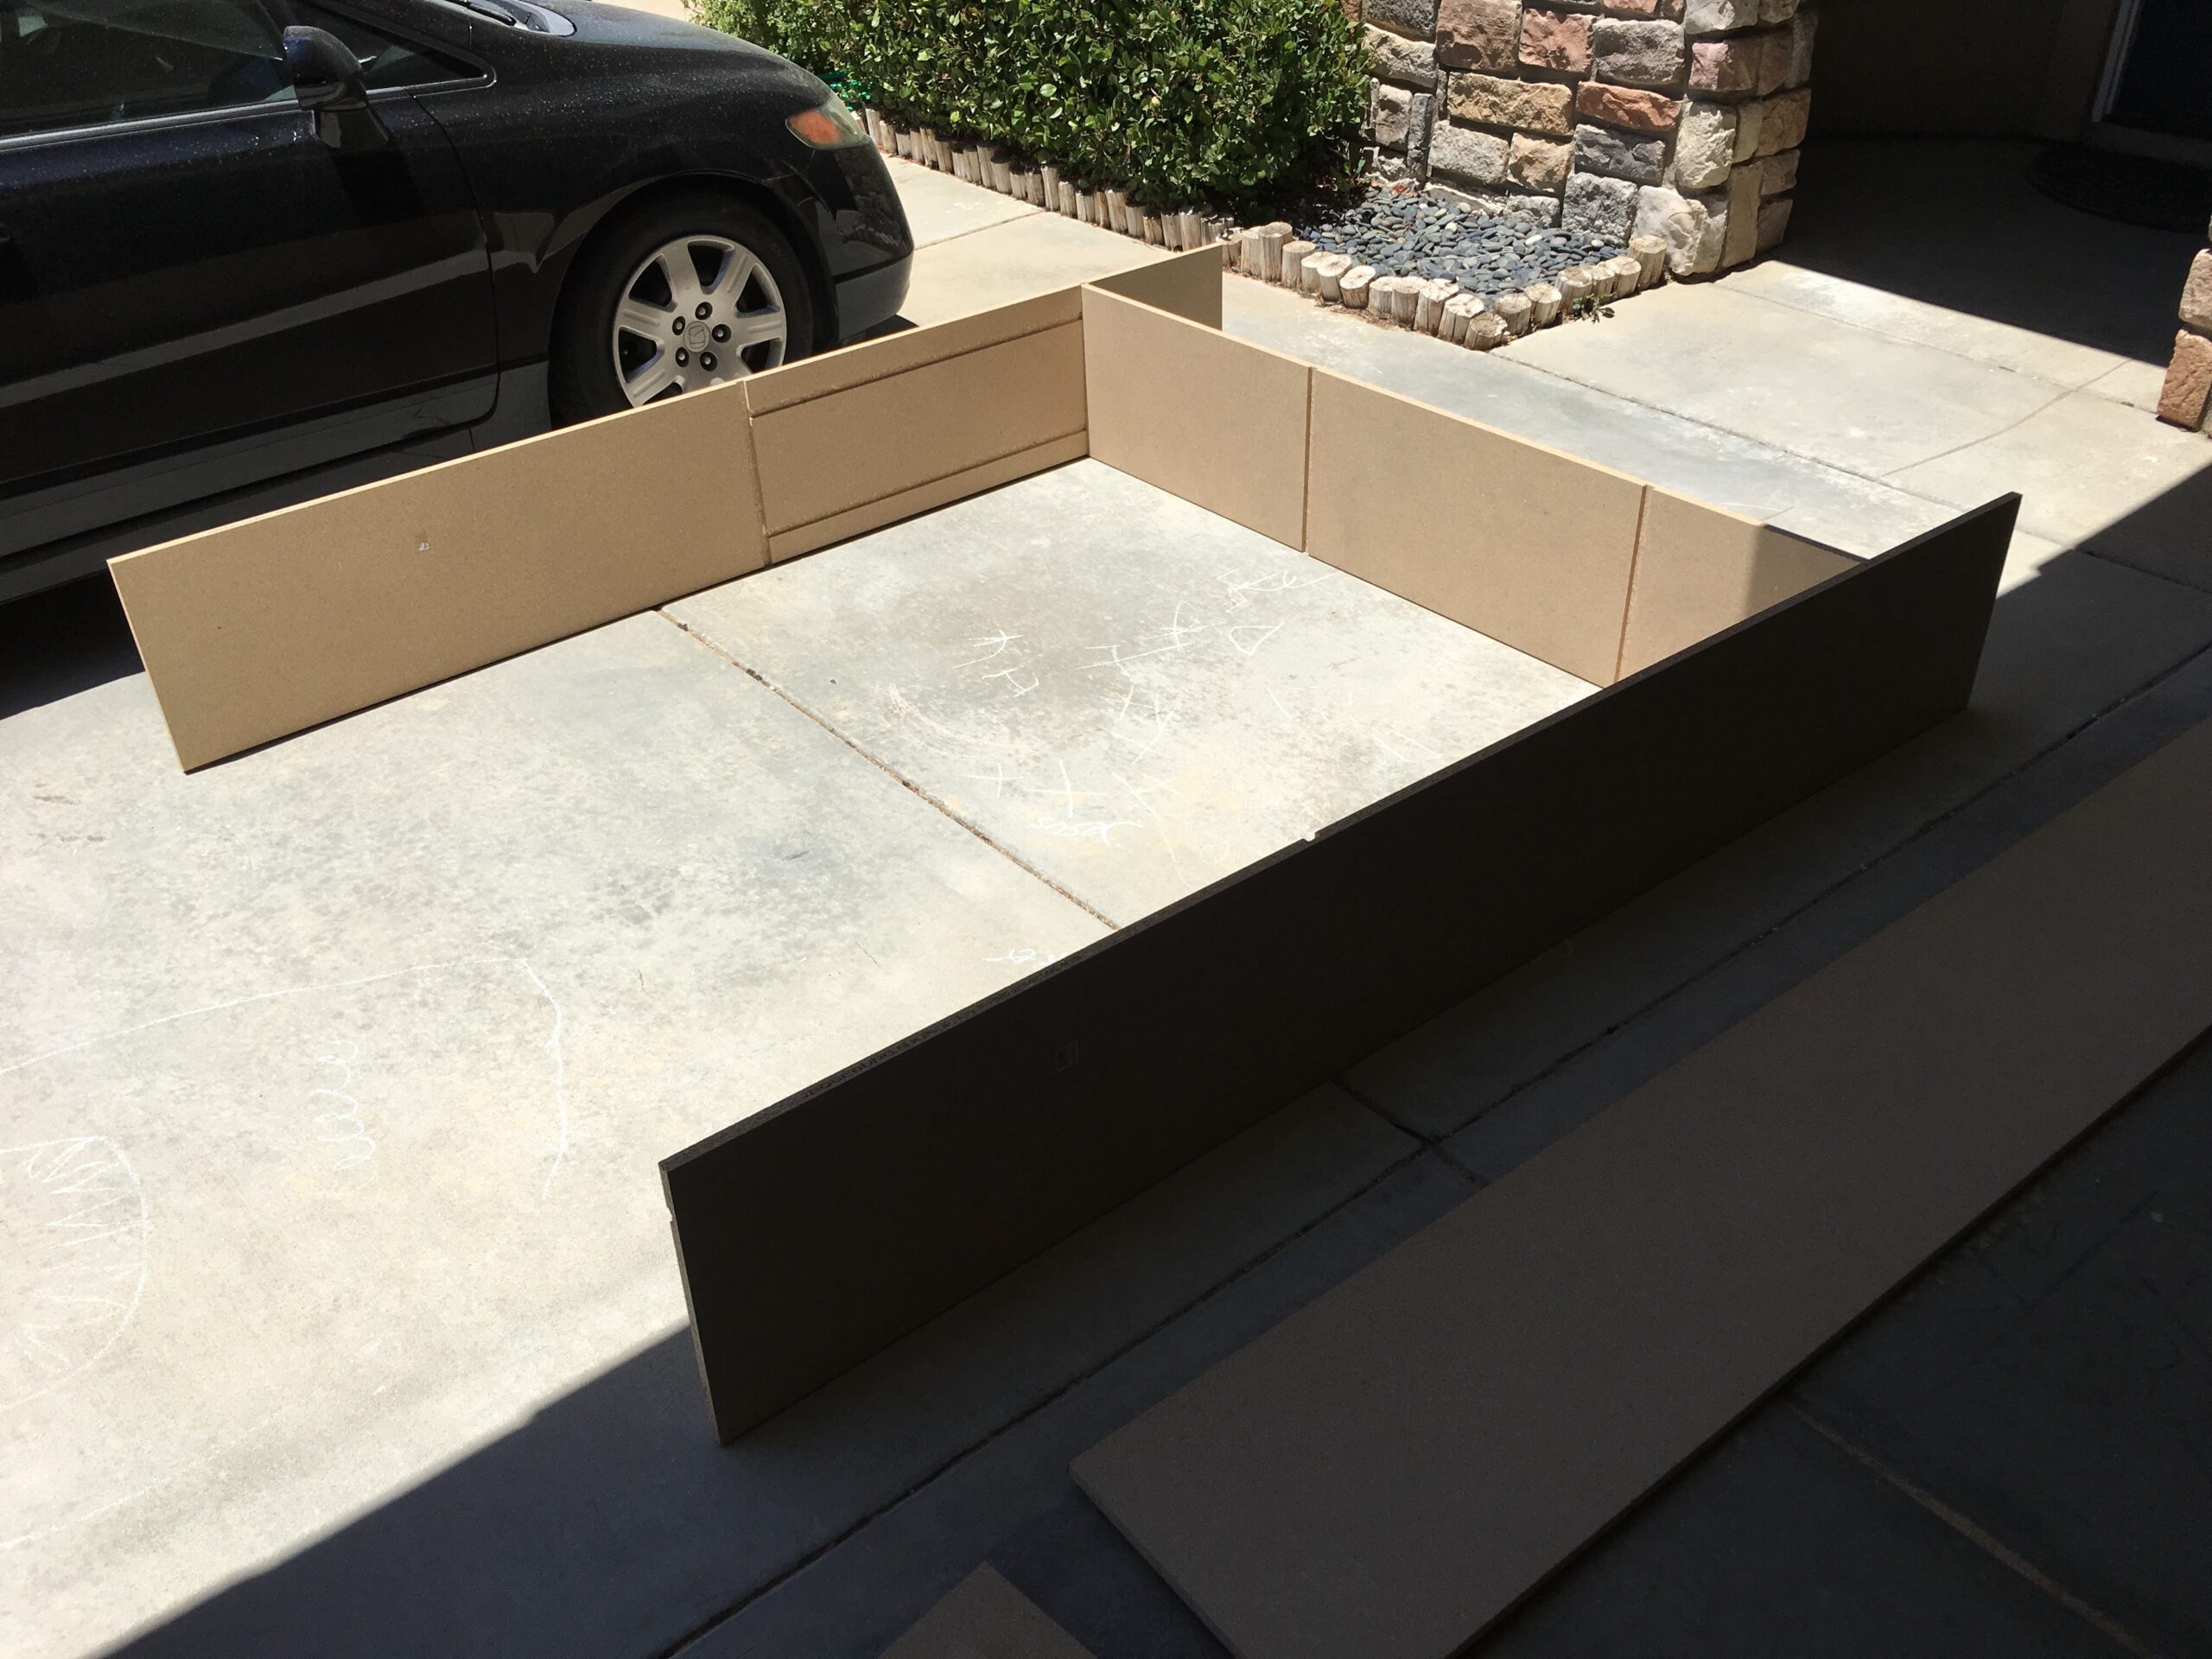
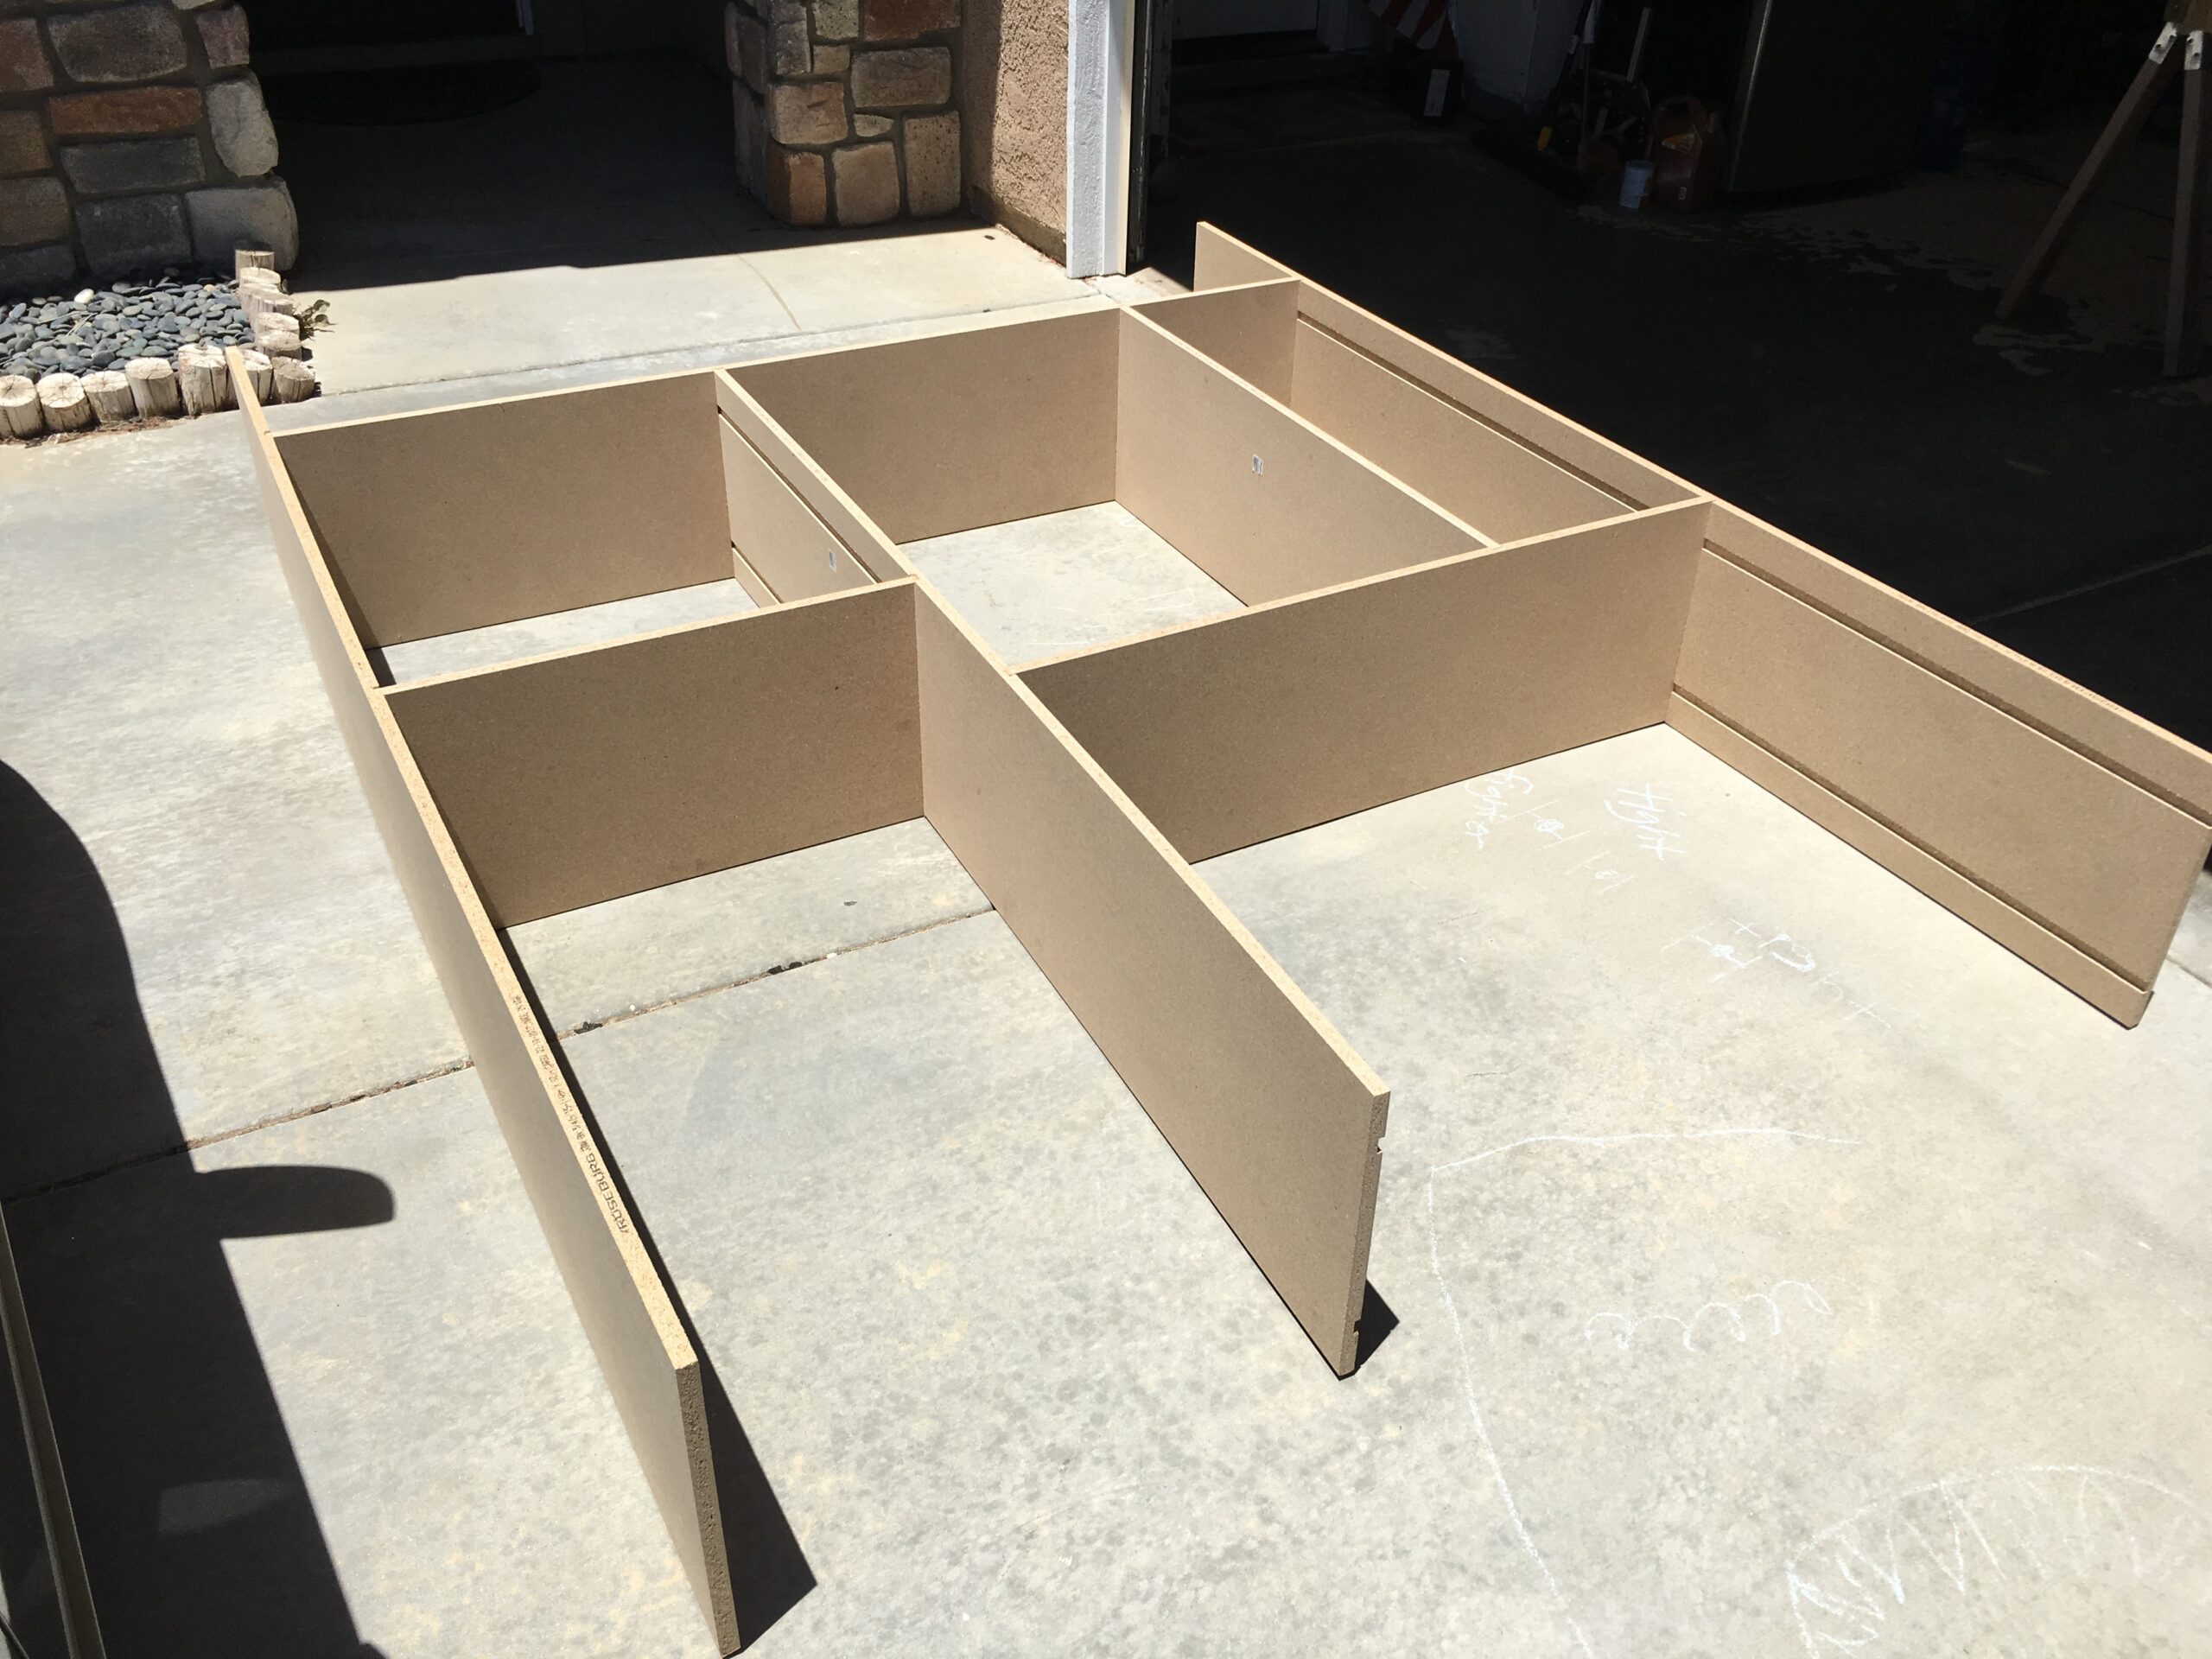
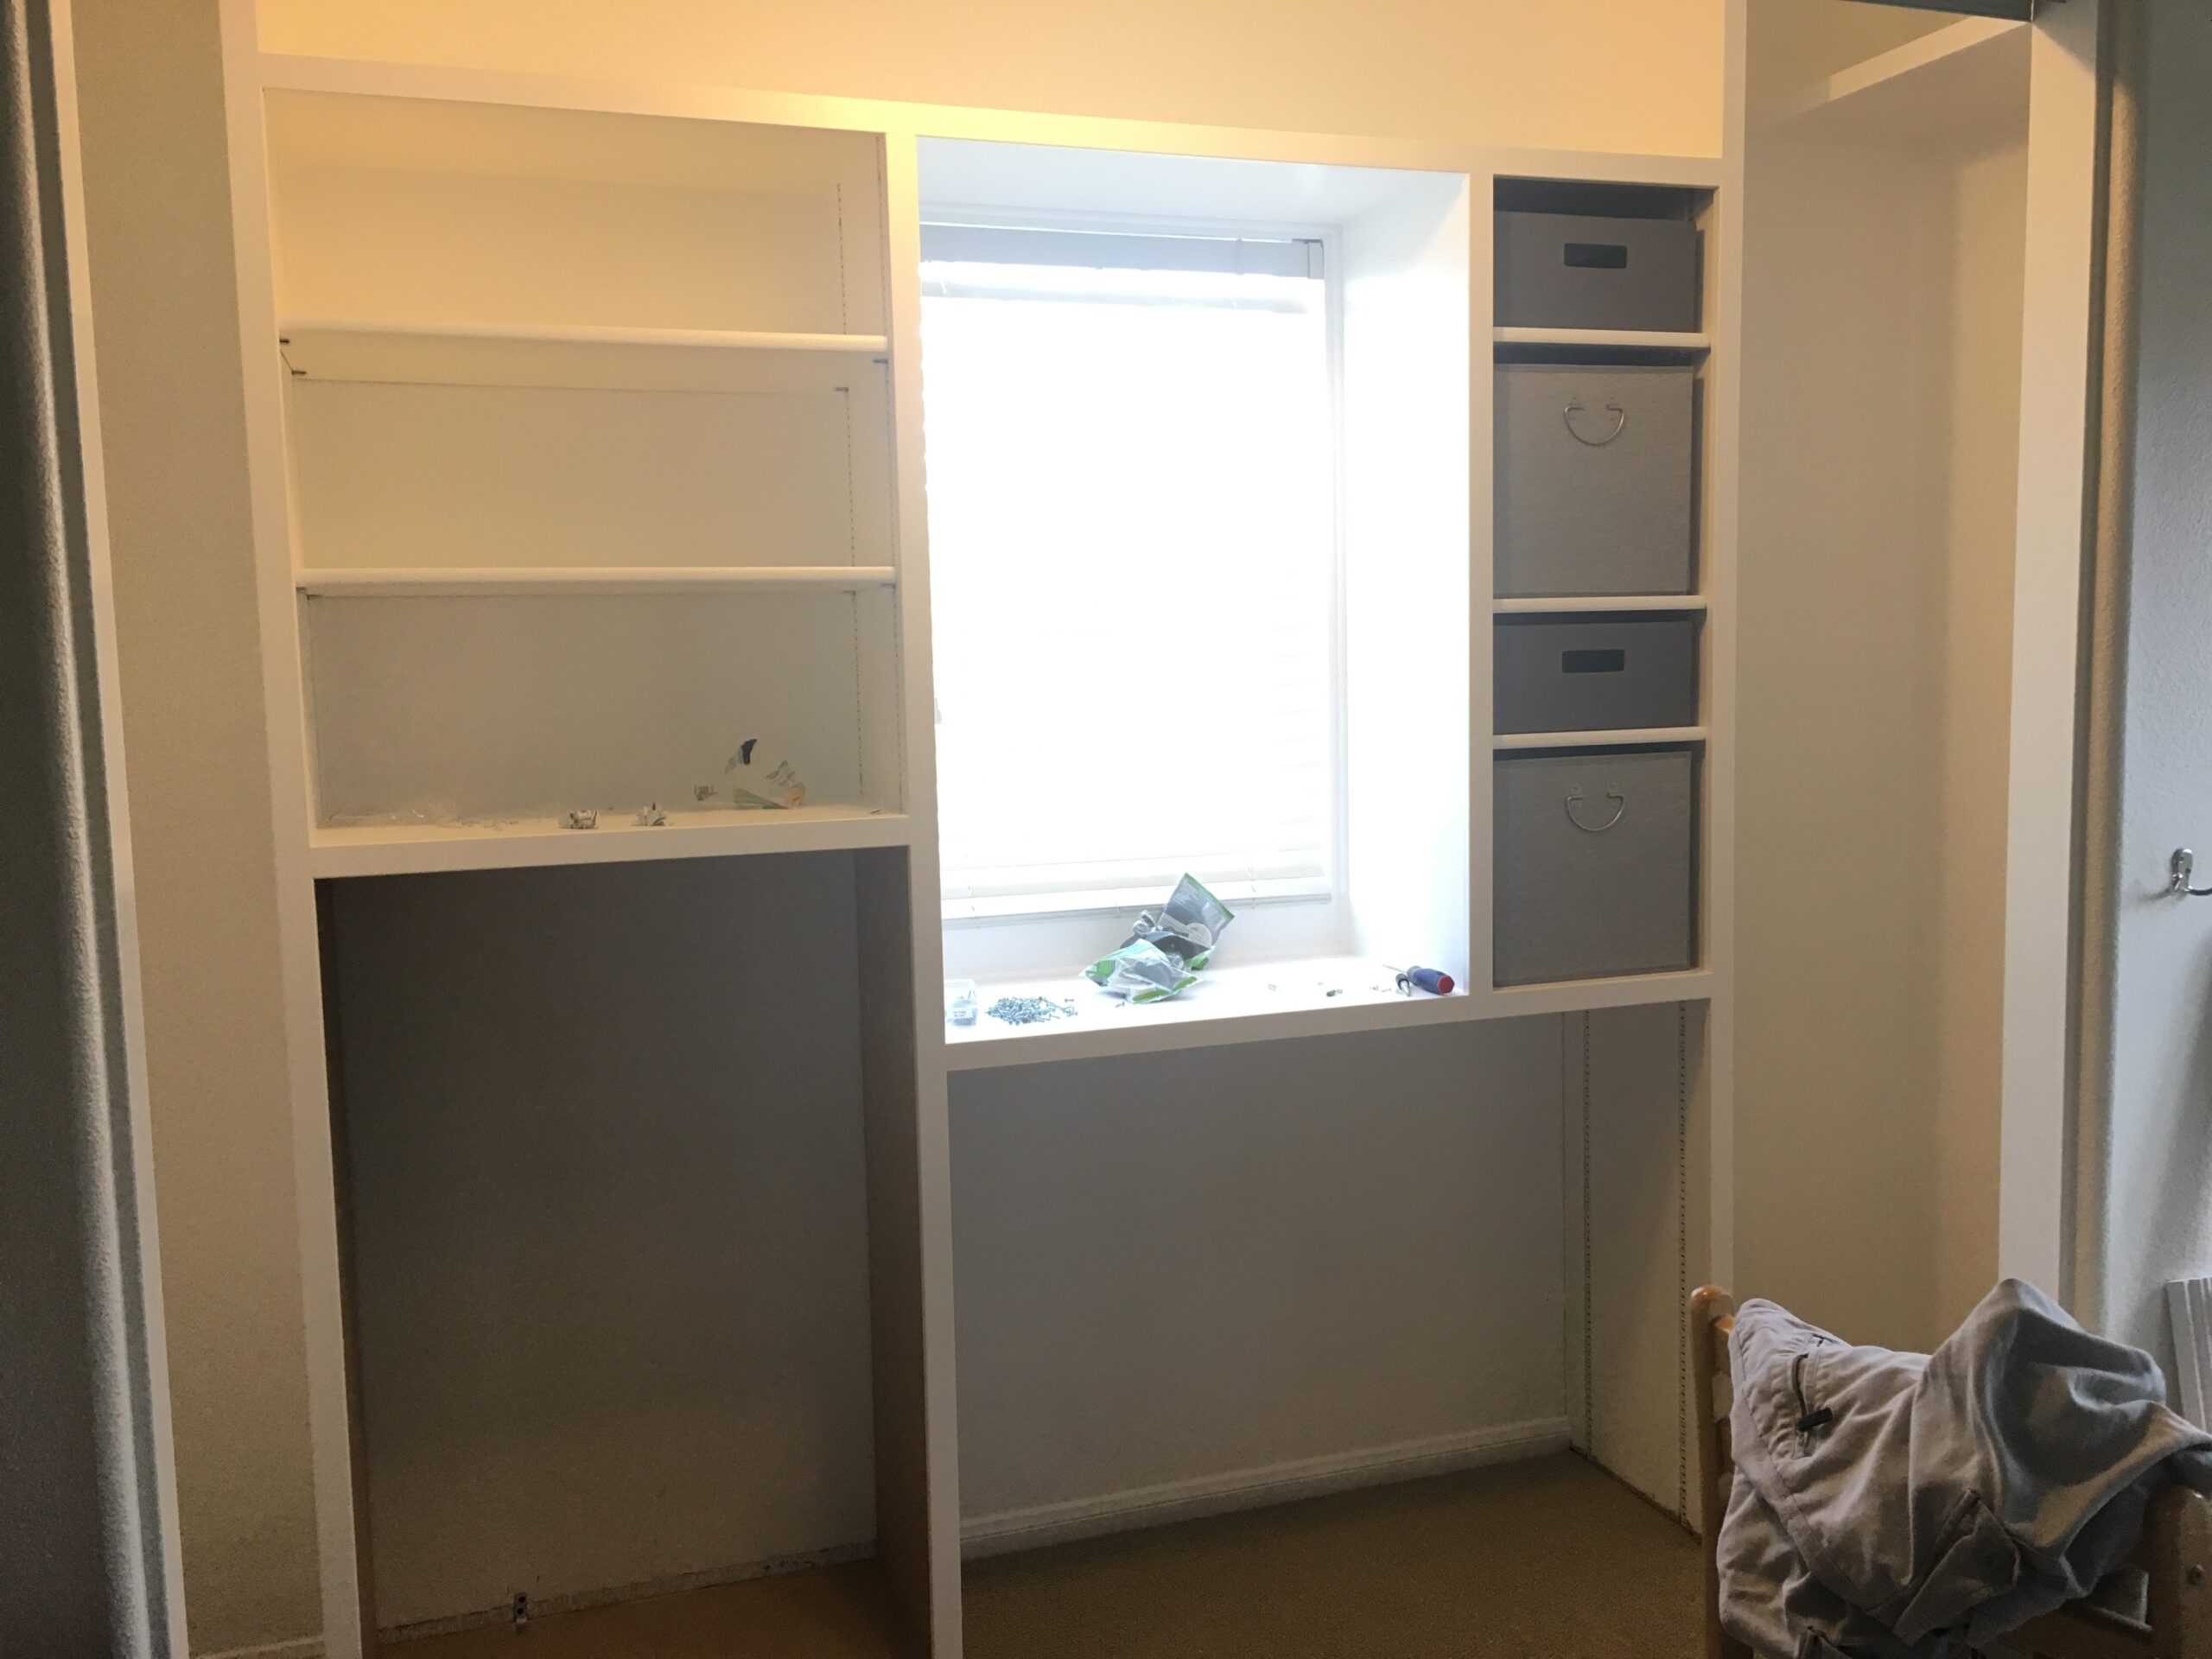
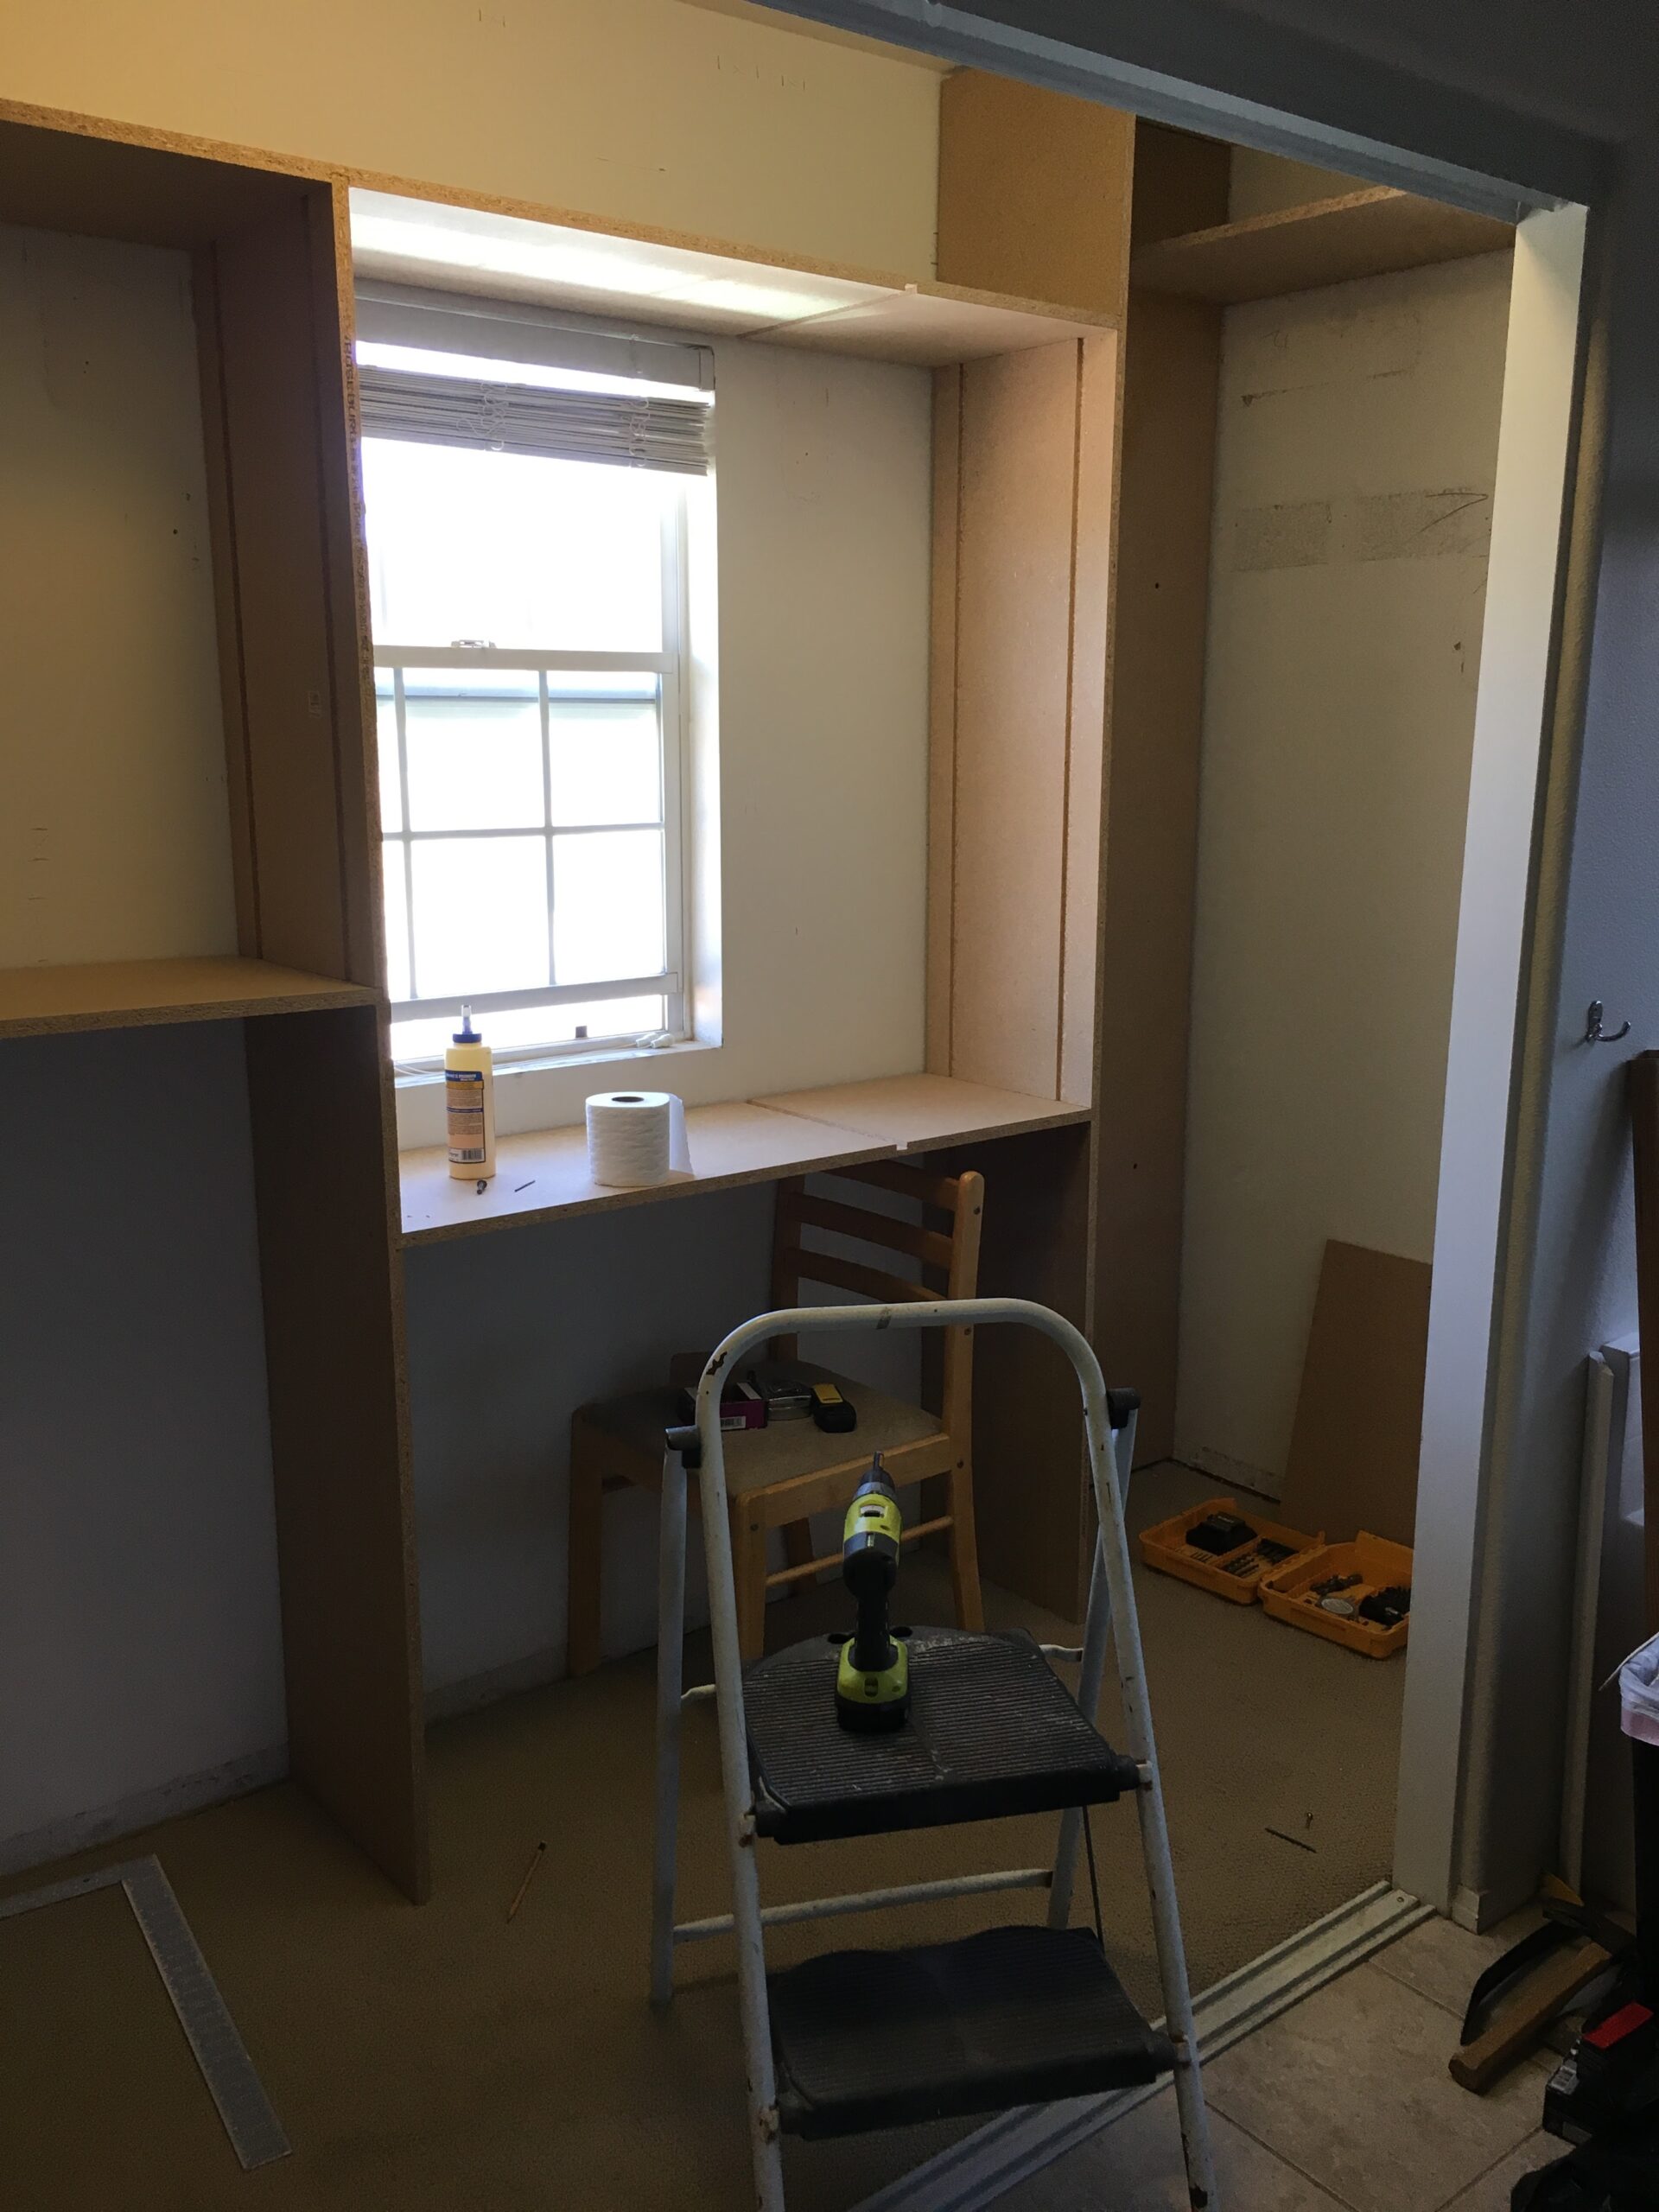
Once as much pre-fab work was done as possible, I started bringing all the pieces inside and assembling inside the closet. I designed it to be as tight of a fit as possible in the closet with minimal shimming only to lock everything in place while I attached to wall. I then brad nailed some 1.5″ molding to the front of everything to give a clean and finished look, caulking all the nail holes and joints.

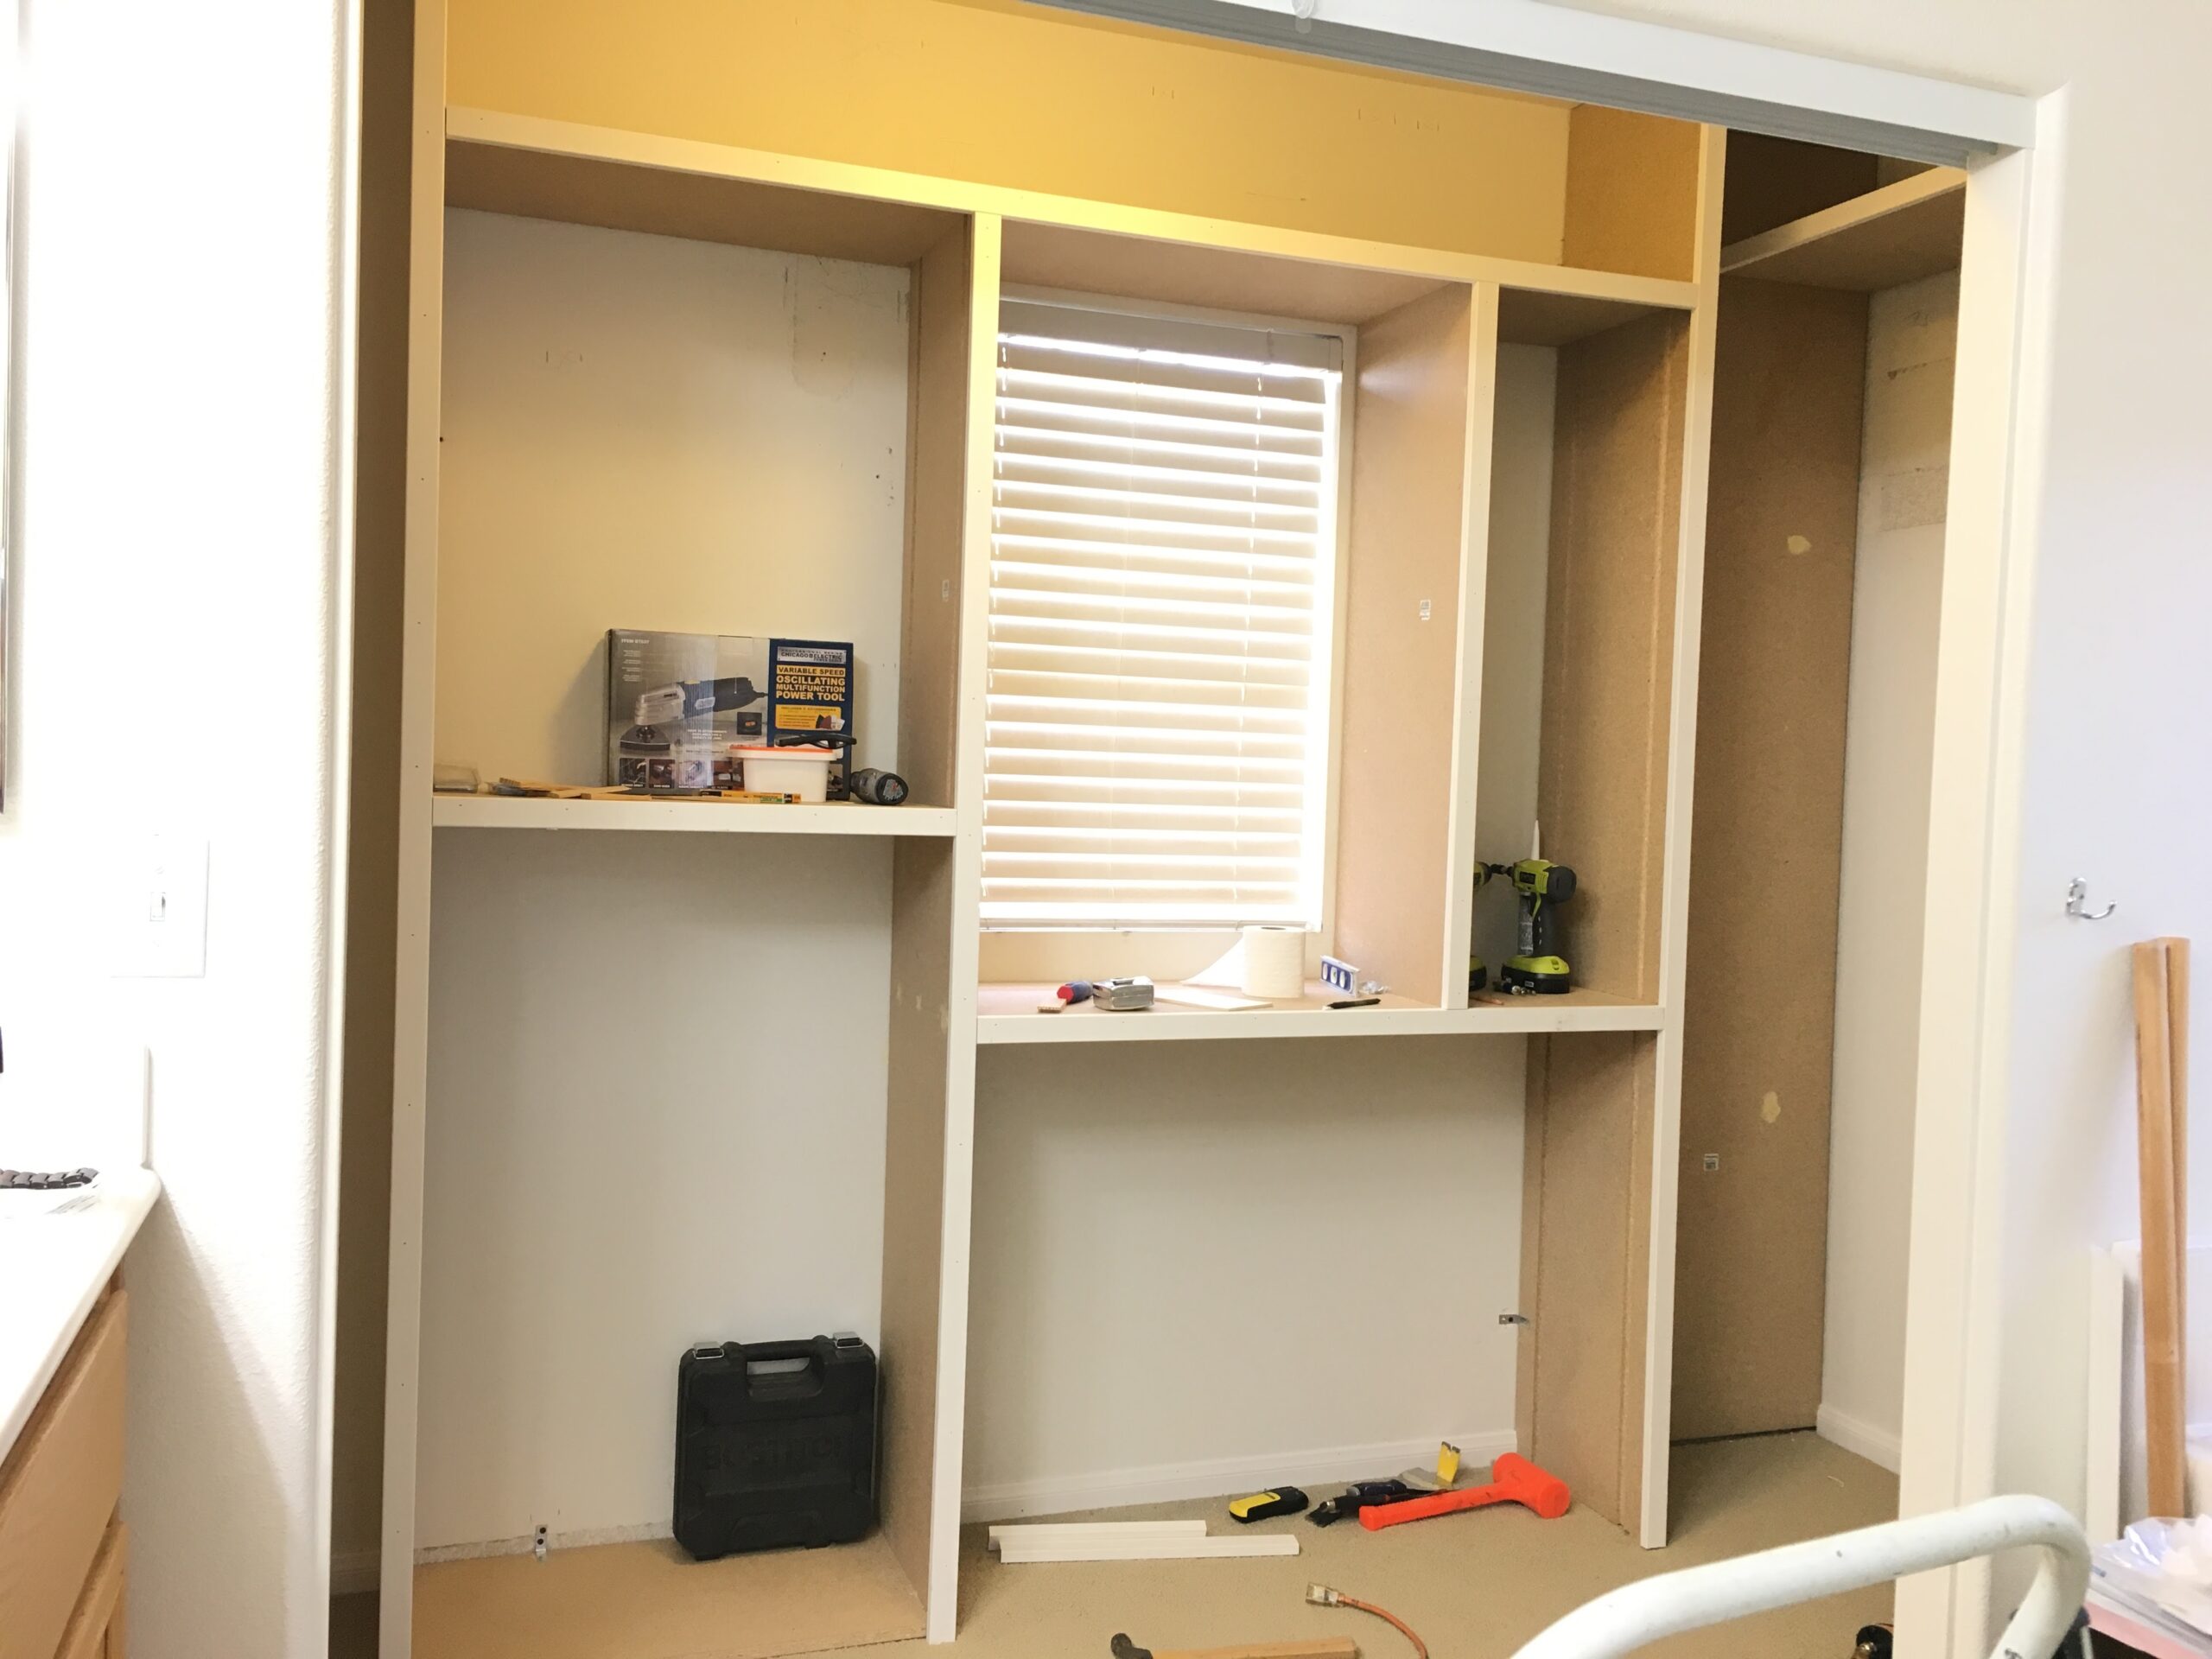

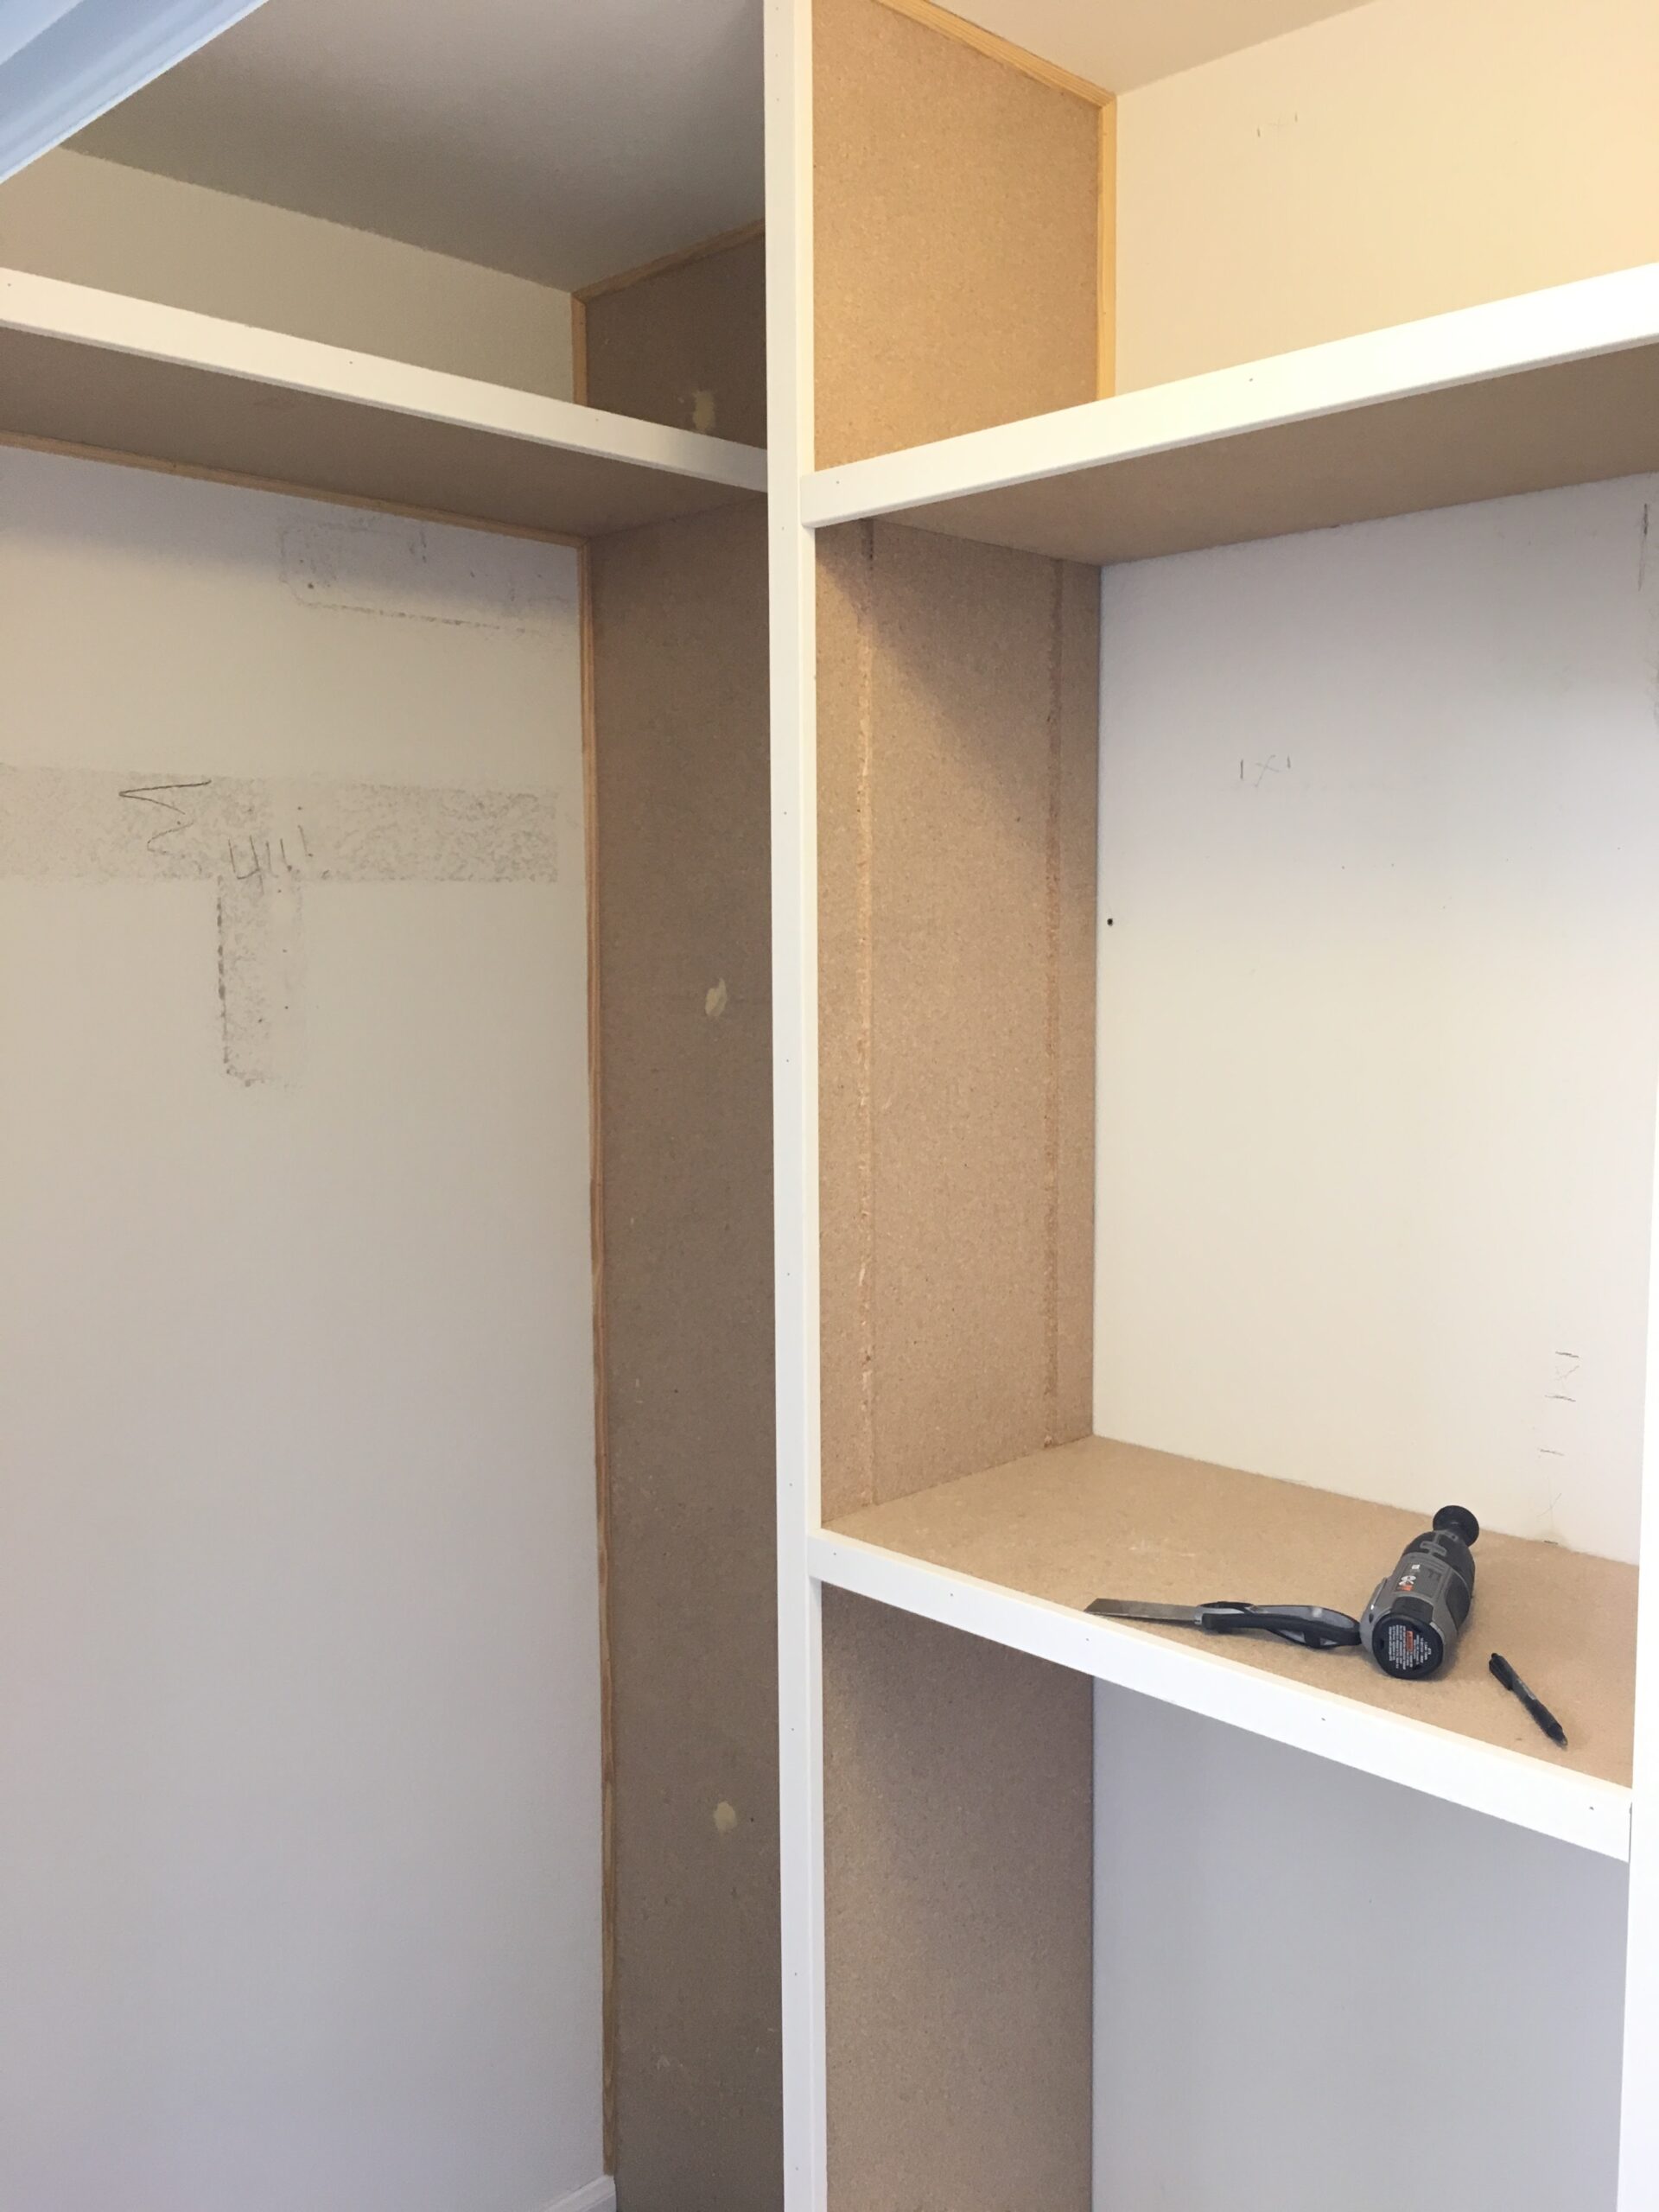
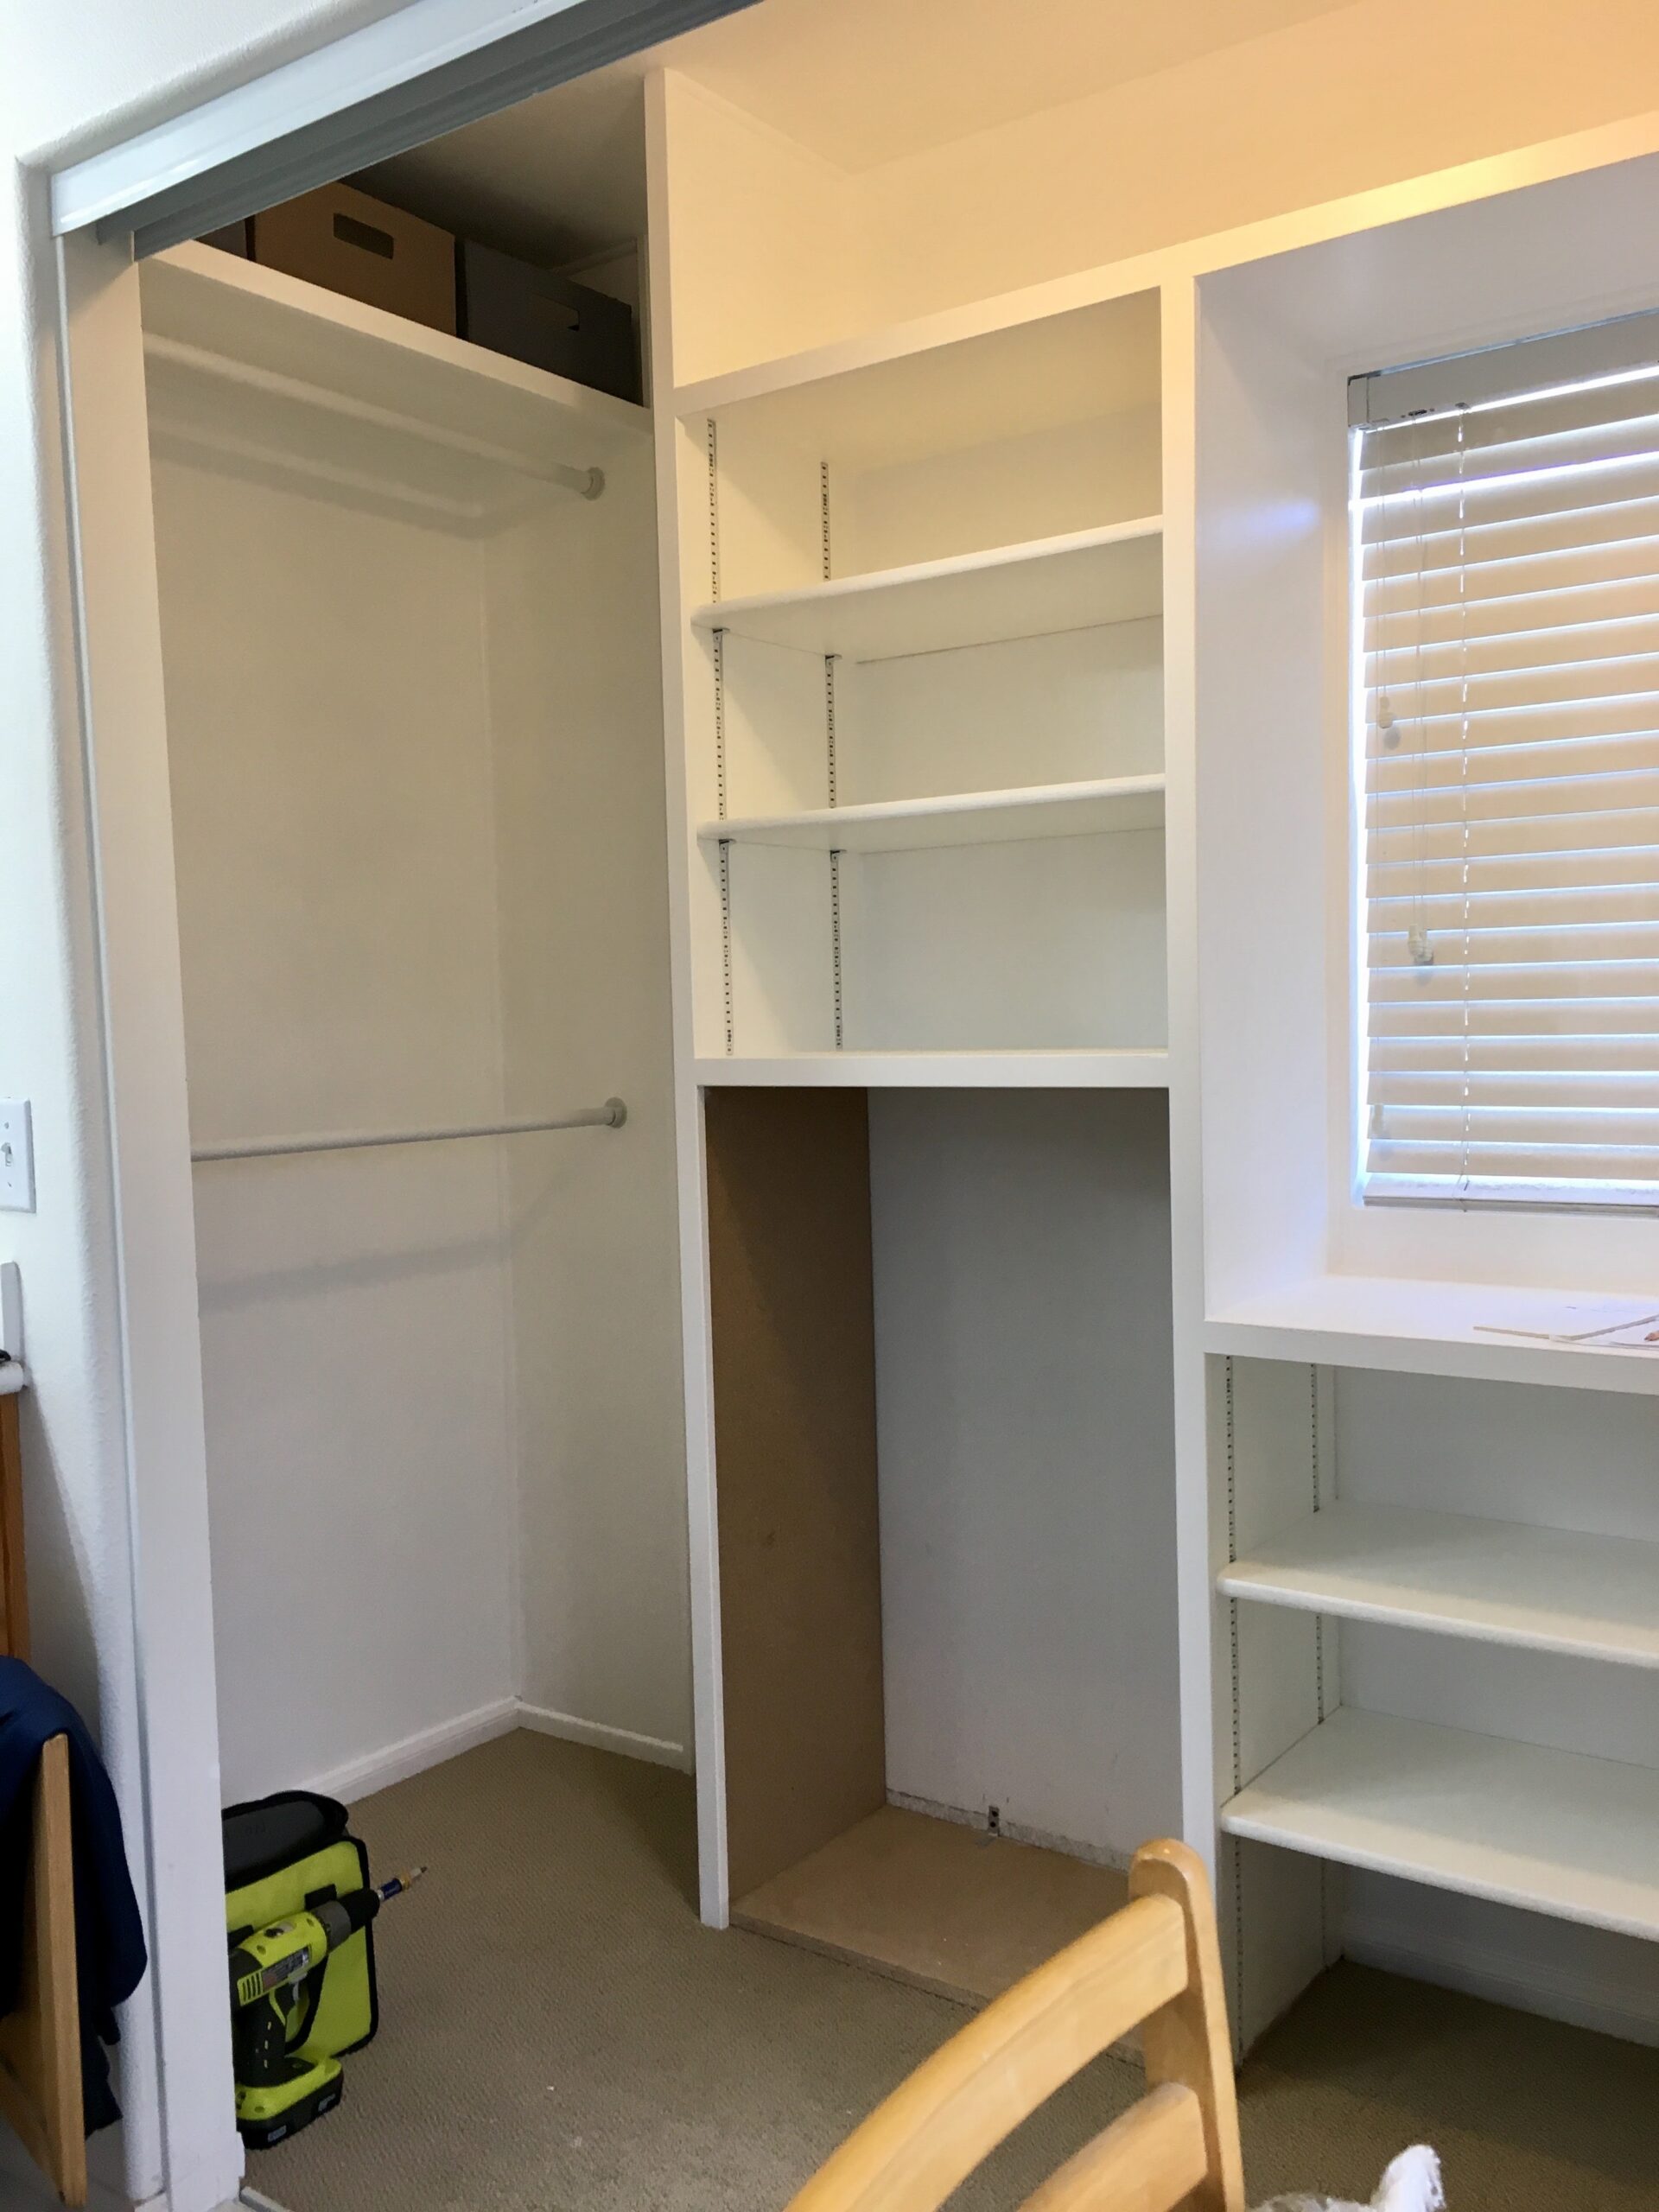
Finally, I gave everything a good coat of primer and then paint. I installed all the rods, hardware, and storage boxes and then began filling with clothes. Due to time constraints, I had to finish the drawers a few weeks later and did not remember to take a lot of pictures of the process. I must admit, I hate building drawers as I always struggle getting a proper fit. However, these turned out great and I have been loving the closet ever since!